Uncategorized

Amish Sugar Cookies


it’s no secret around here that i loooooove cookies
i mean put a slice a cake in front of me and i’m like no thank you.
donuts are good, but i’m partial (like religiously partial) to Krispy Kreme
and since there’s no KK here in upstate … well then there’s not too much donut consumption happening 😦 but cookies … give me cookies everyday anyday and i’m so happy 
like really happy – weirdly happy 🙂
i digress alot

scrolling the insta last week and stopped dead in my tracks for these


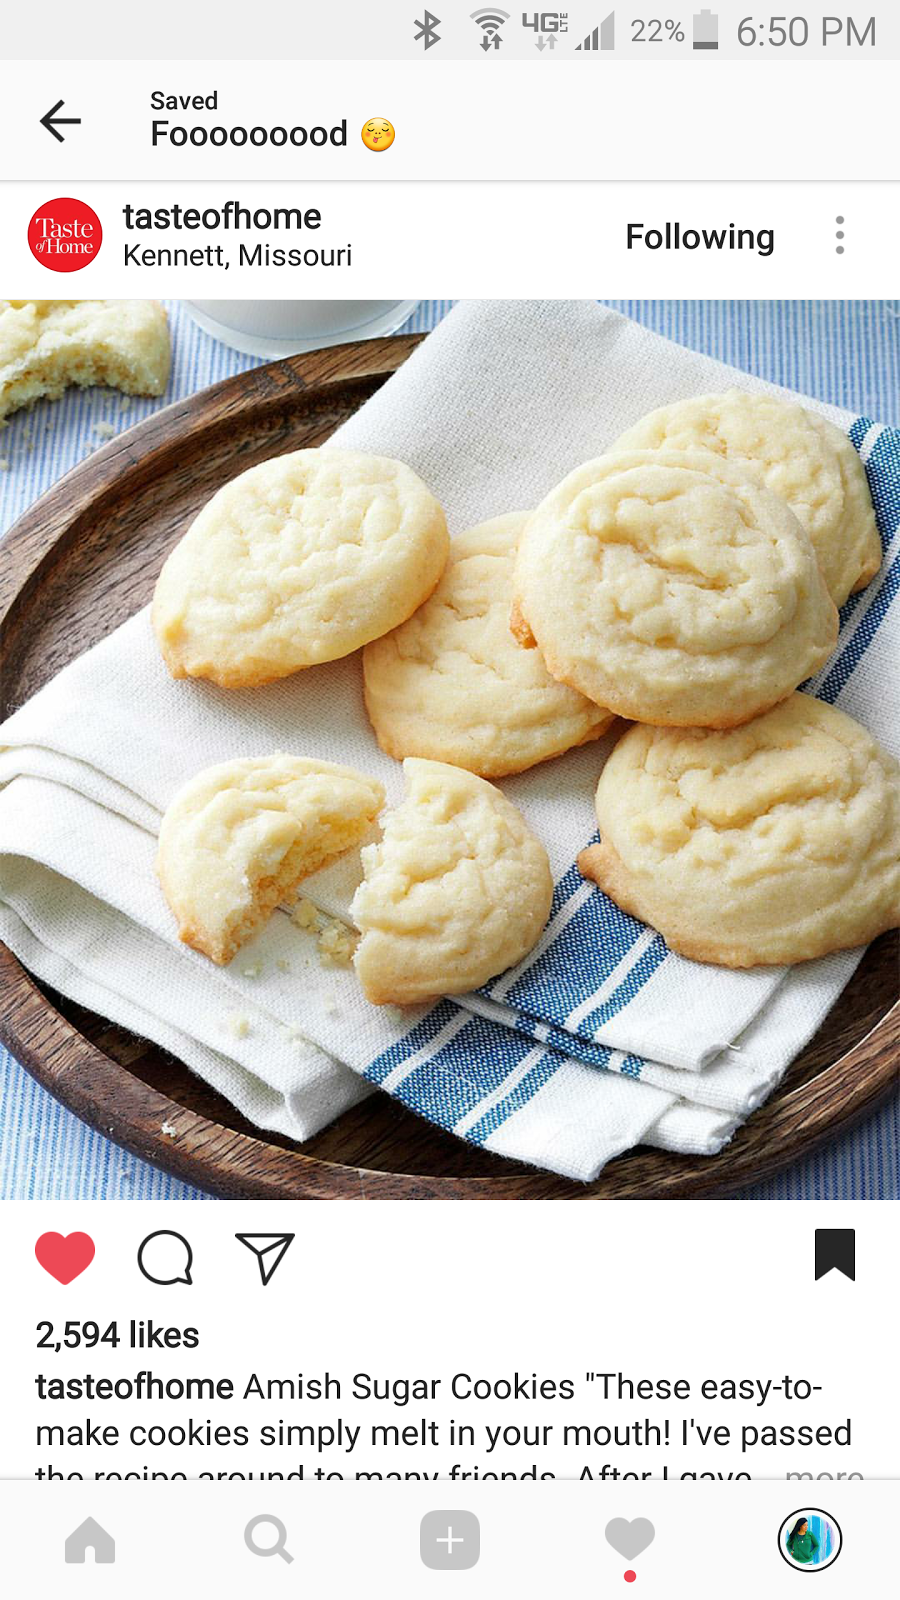
there’s so many good things about taste of home so i’m always inclined to try their recipes
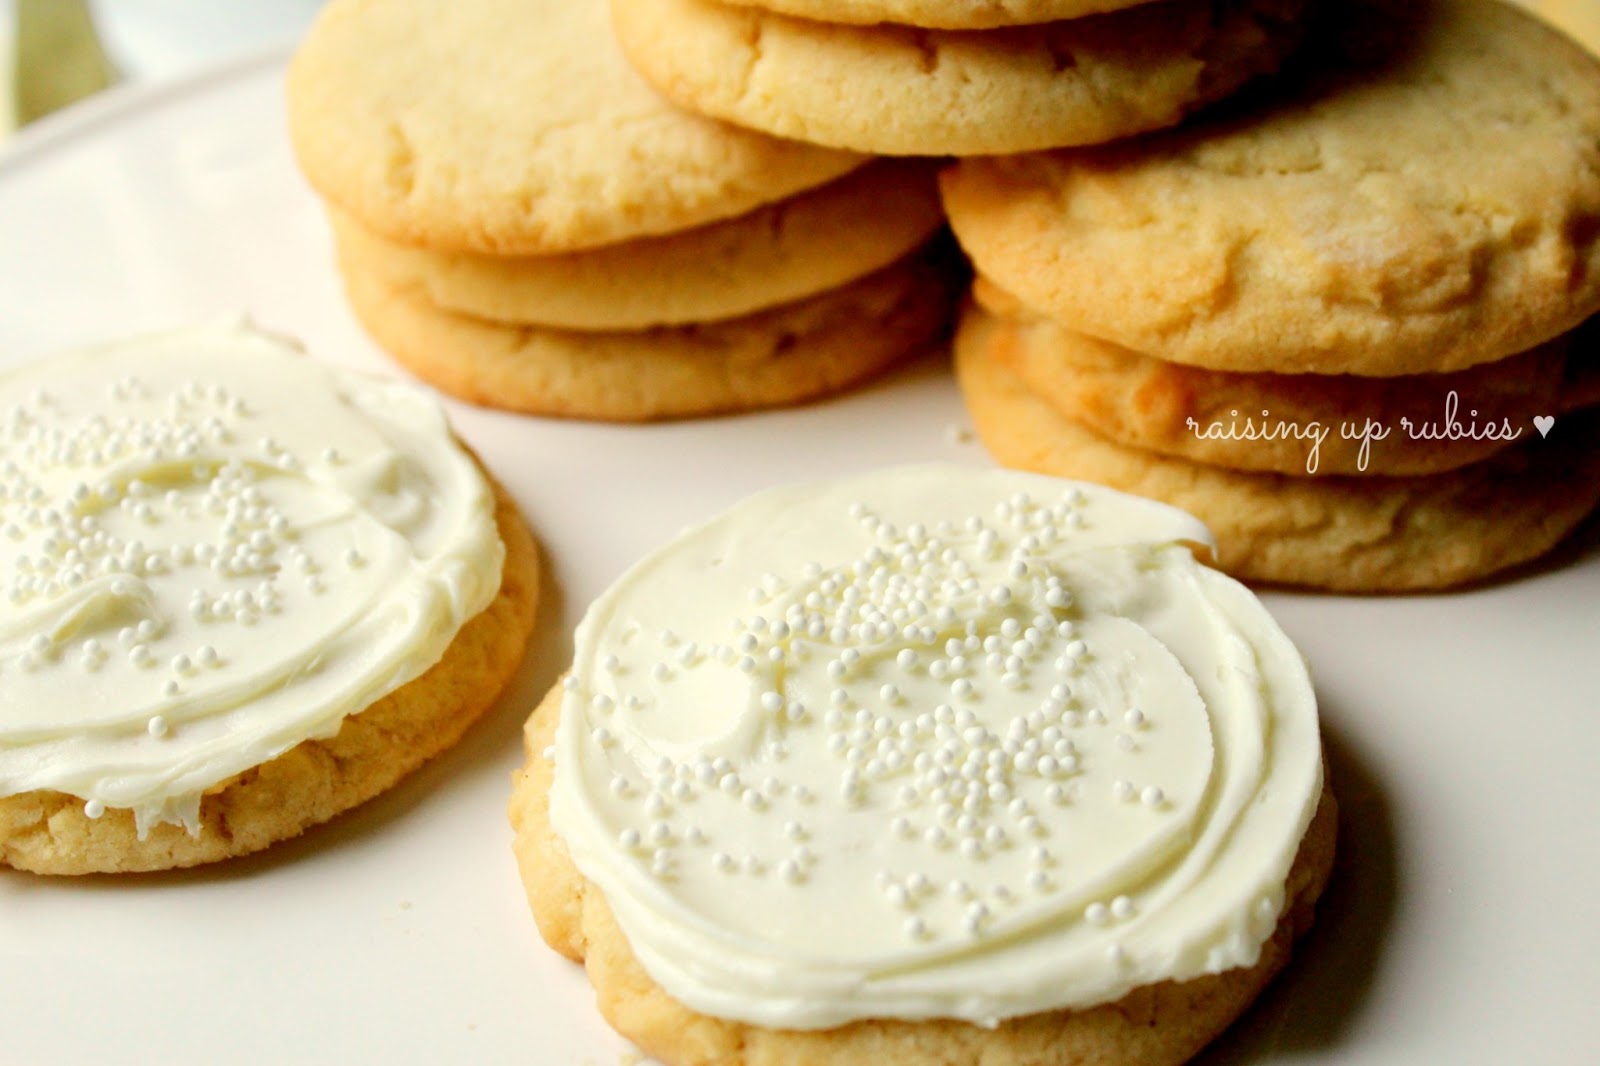
and man these did not disappoint! they were so good we made a double batch


and then we made them again


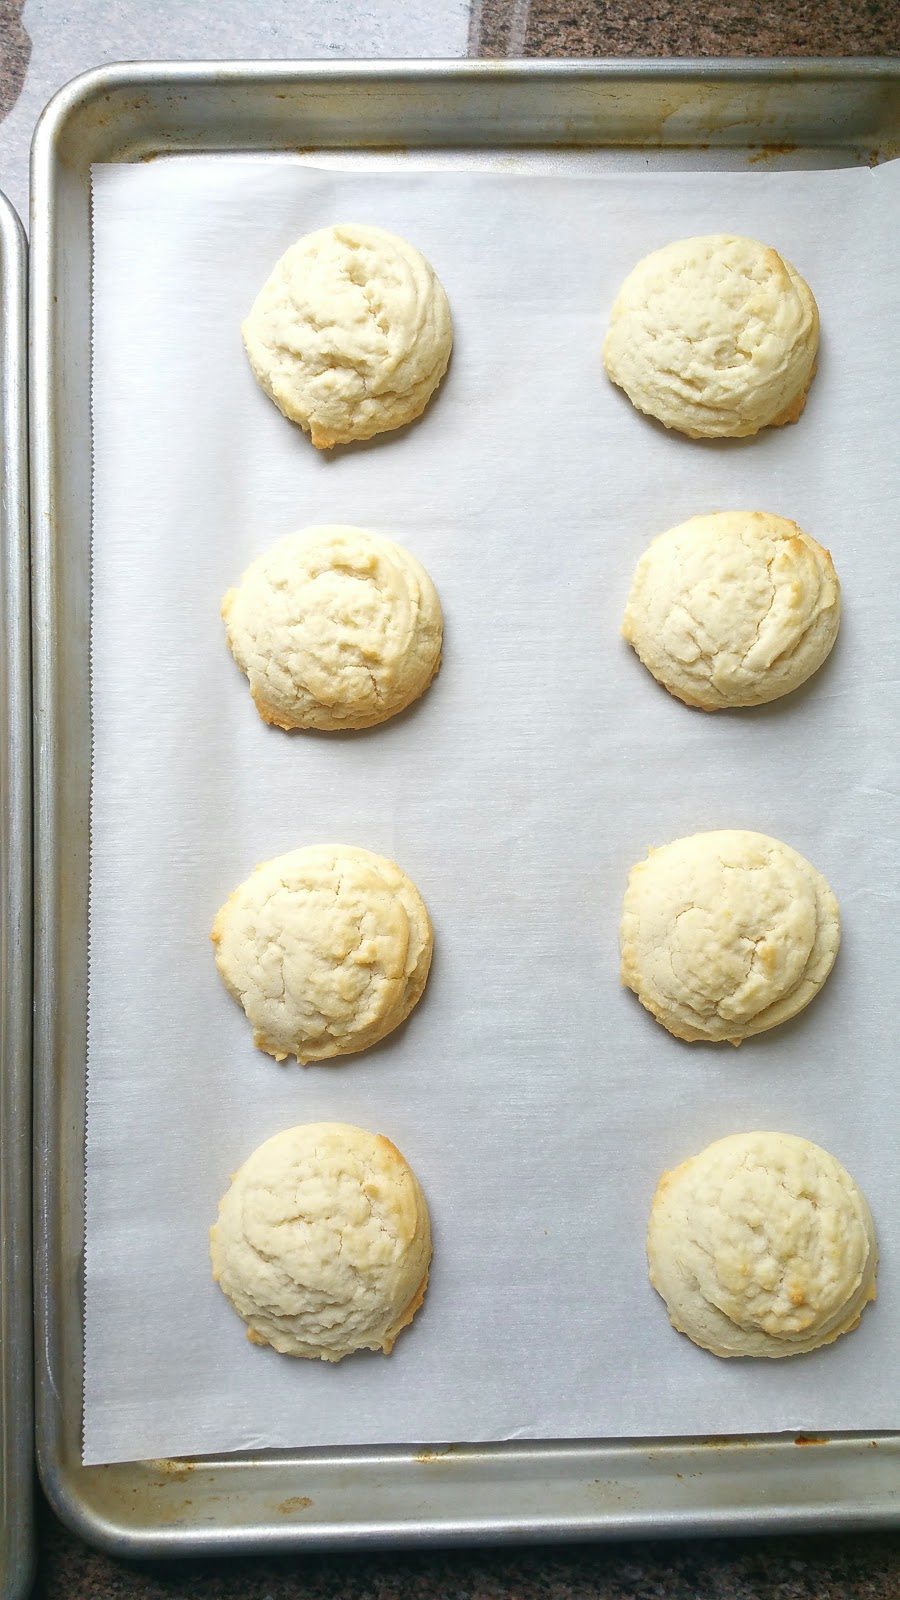
the second time around i realized we were out of cream of tartar – and after a little research on the world wide web i learned that baking powder is a combination of cream of tartar and baking soda (how did we ever live without google?) so i substituted the baking soda and cream of tartar with 2 teaspoons of baking powder and we actually liked that batch better than the first! a very slight difference really but lotsa cookie experts over here at out house so we can tell these things 🙂


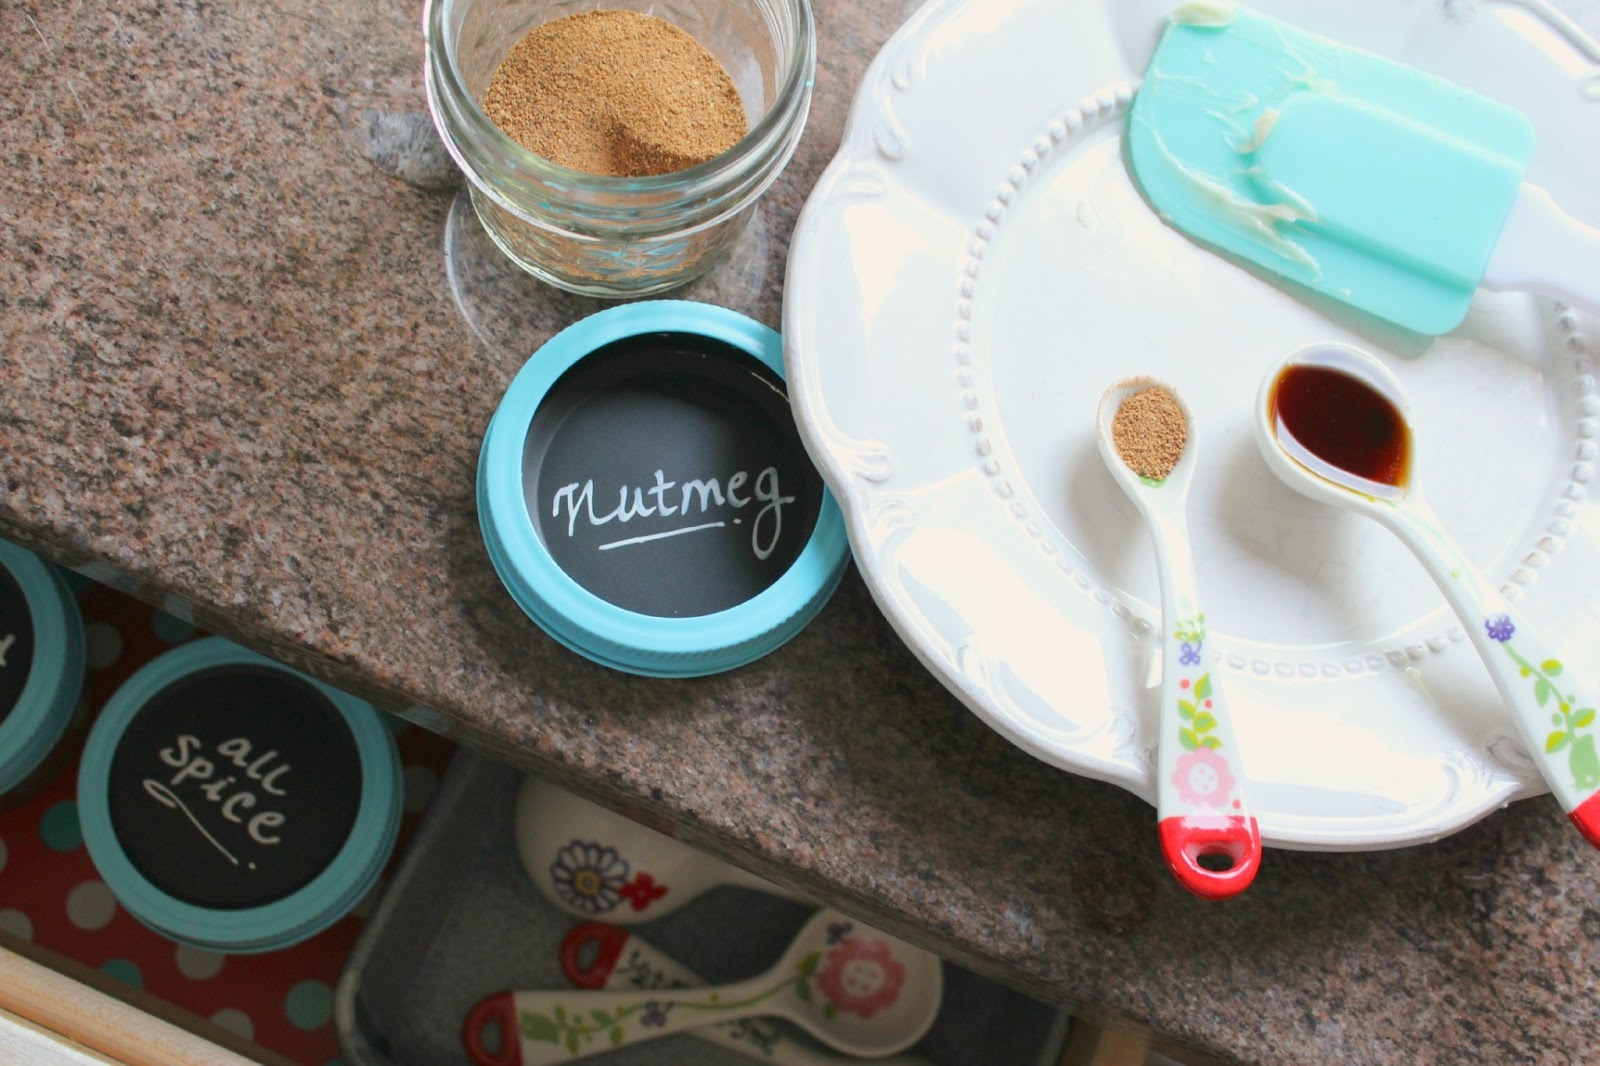
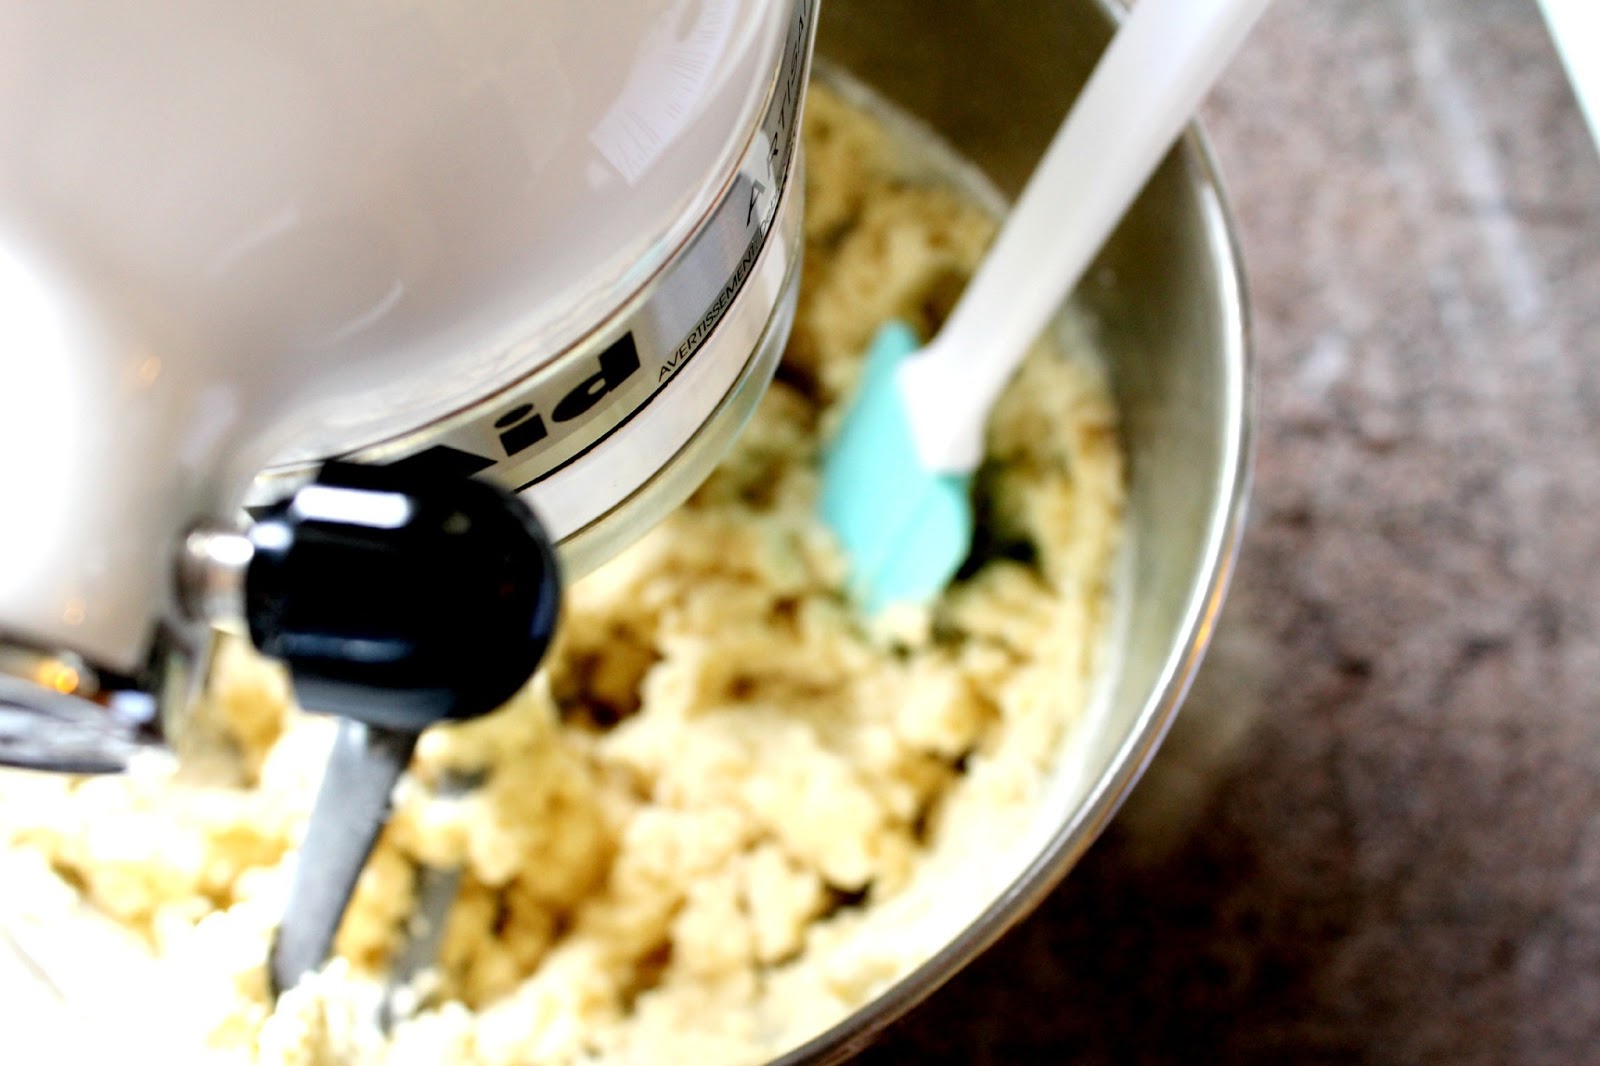
these bake up so light and fluffy, they practically melt in your mouth if you eat them after a few minutes out of the oven … two things i always do when baking cookies: 1.use parchment paper ALWAYS. it just makes for better cookie bottoms & 2. use a cookie scoop ALWAYS it makes for perfectly shaped cookies and all uniform in shape & size. both of those items are #gamechangers trust me.


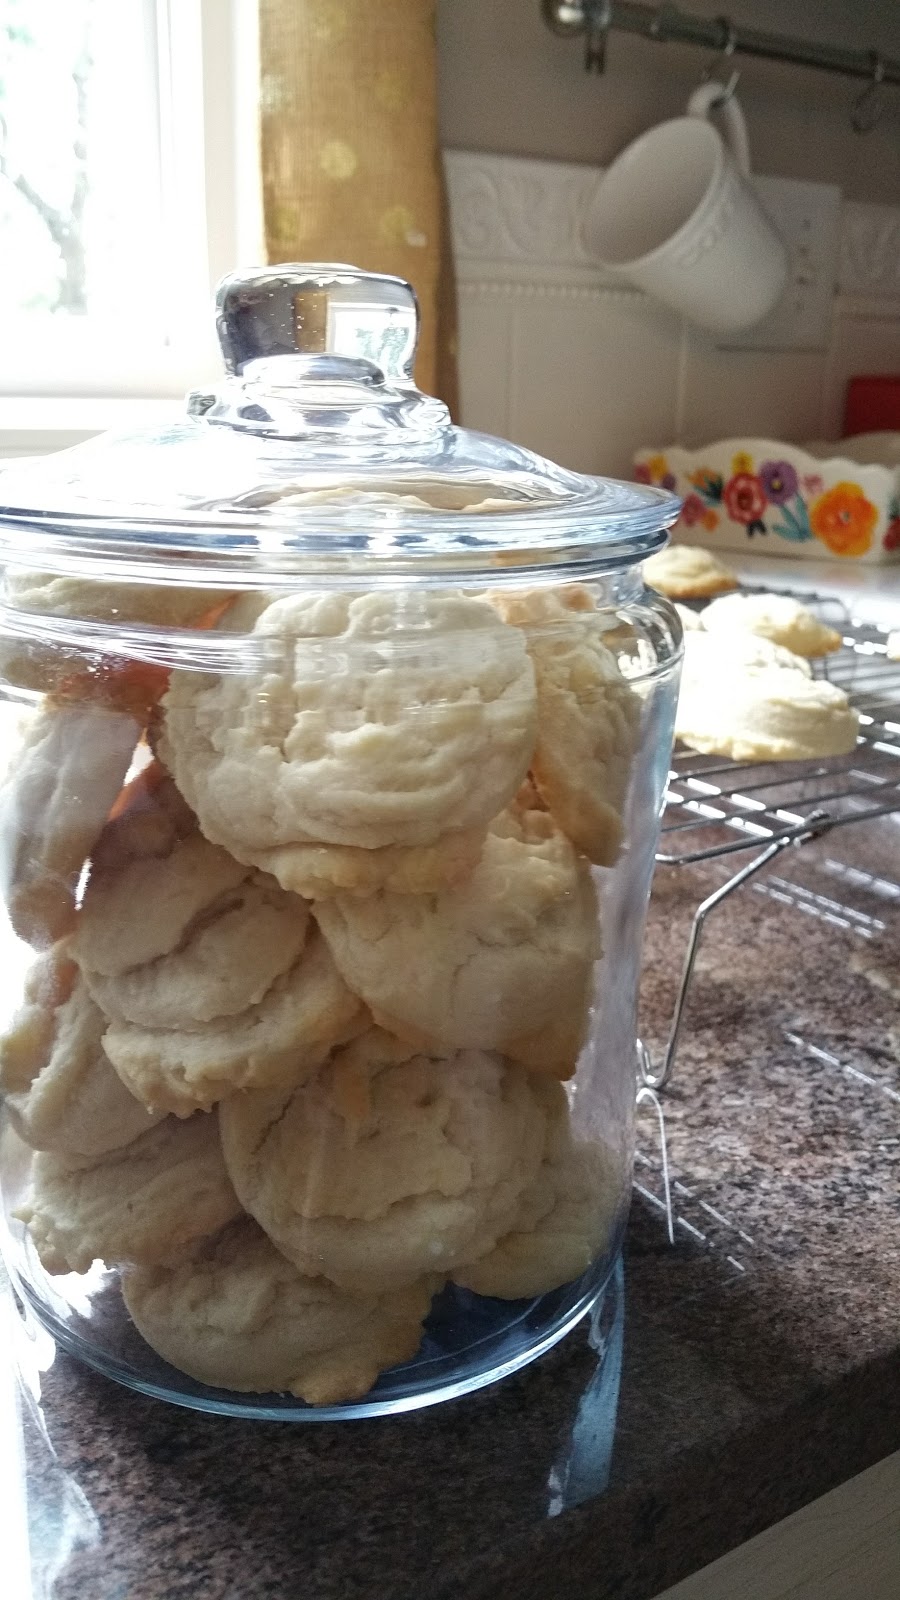
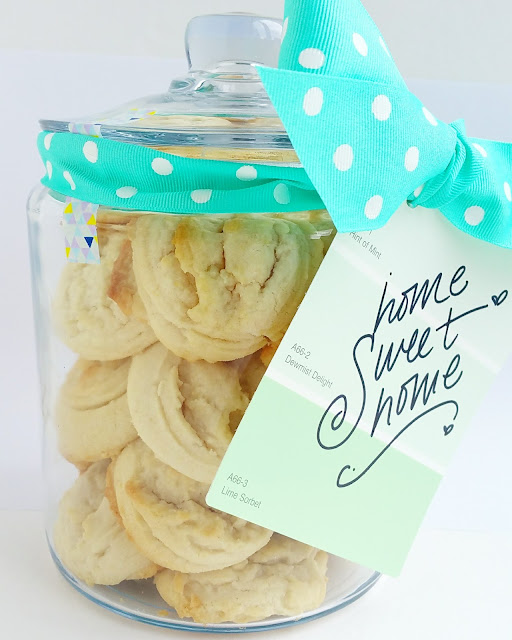
this batch was going in a glass cookie jar from walmart
and over to a friends new house that she just moved in to ♥


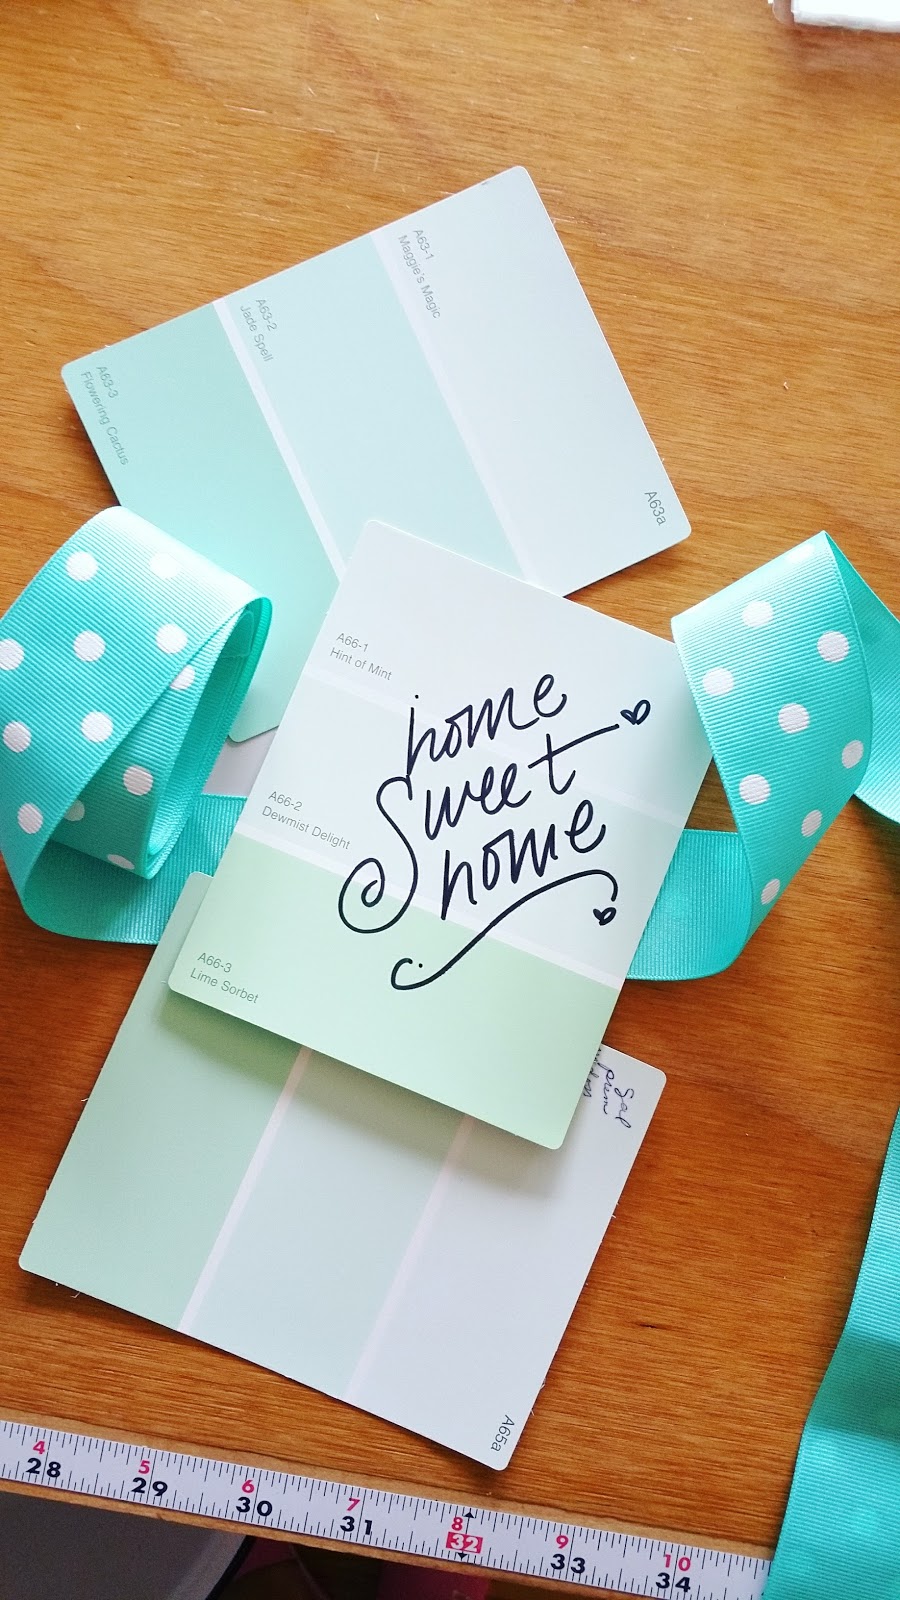
cut some ribbon from my stash and wrote home sweet home on a paint swatch


it’s always the simple little things that we have laying around
that make the best unexpected gifts dont you think? 


make these cookies guys! i know you will love them as much as we do
much love ♥

function printDiv(e){var divToPrint=document.getElementById(e);newWin = window.open(“”, “printwin”); newWin.document.write(divToPrint.innerHTML); newWin.print(); newWin.close(); }

#therecipewiz {width:95%; padding:8px;} #therecipewiz{border:#E1E1E1 solid thin;}#therecipewiz #printbutton{float:right; cursor:pointer; margin:-8px 0px 0px 0px;} #therecipewiz #rechead img{float:left; margin:0px 8px 0px 0px;}#therecipewiz #recbody{padding:0px 30px 0px 30px;}#therecipewiz div.title{ font-size:18px; font-weight:bold; margin:5px 0px 1px 0px; padding:0px;}#therecipewiz div.byline{ font-size:12px;}#therecipewiz div.subtitle{ font-size:16px; font-weight:bold; margin:10px 0px 5px 0px;}#therecipewiz div.summary{font-style:italic; font-size:14px; margin:5px;}#therecipewiz .ingredient{ /*width:46%; float:left;*/ display:block; margin:5px 0px 5px 15px;}#therecipewiz .instruction{ margin:5px 0px 5px 15px; display:block;}#therecipewiz .time{ margin:5px 0px 5px 15px; display:block;}#therecipewiz .clear{clear:both}
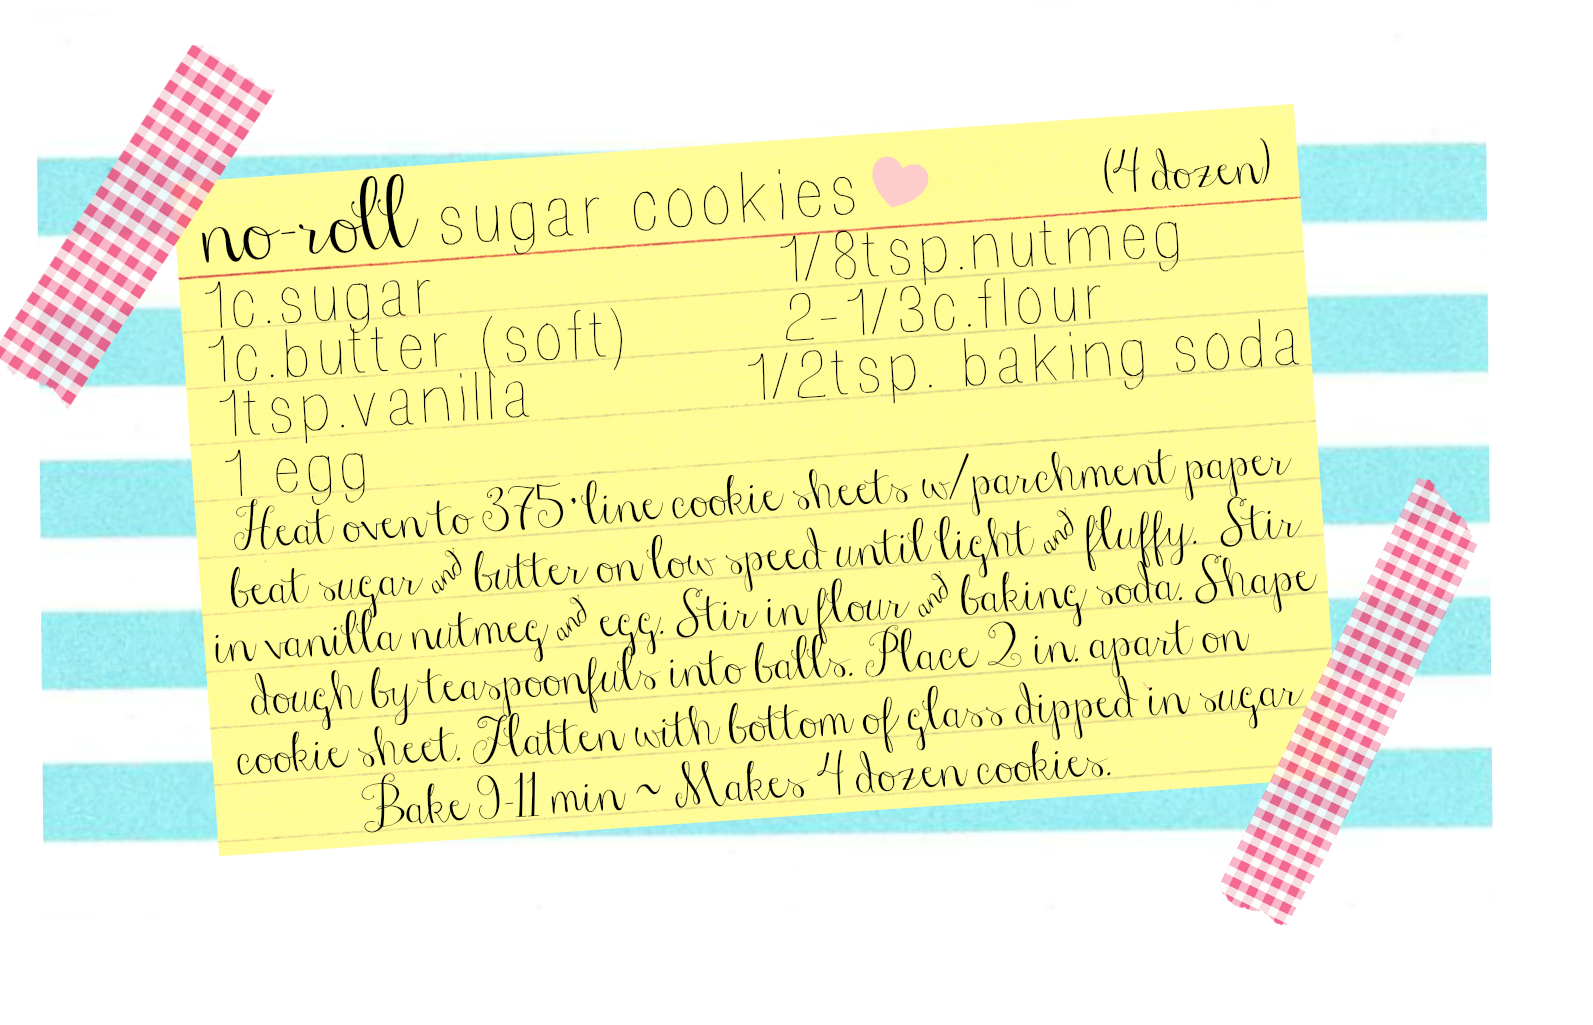
print recipe

Amish Sugar Cookies
(adapted from Taste of Home.com)
Ingredients
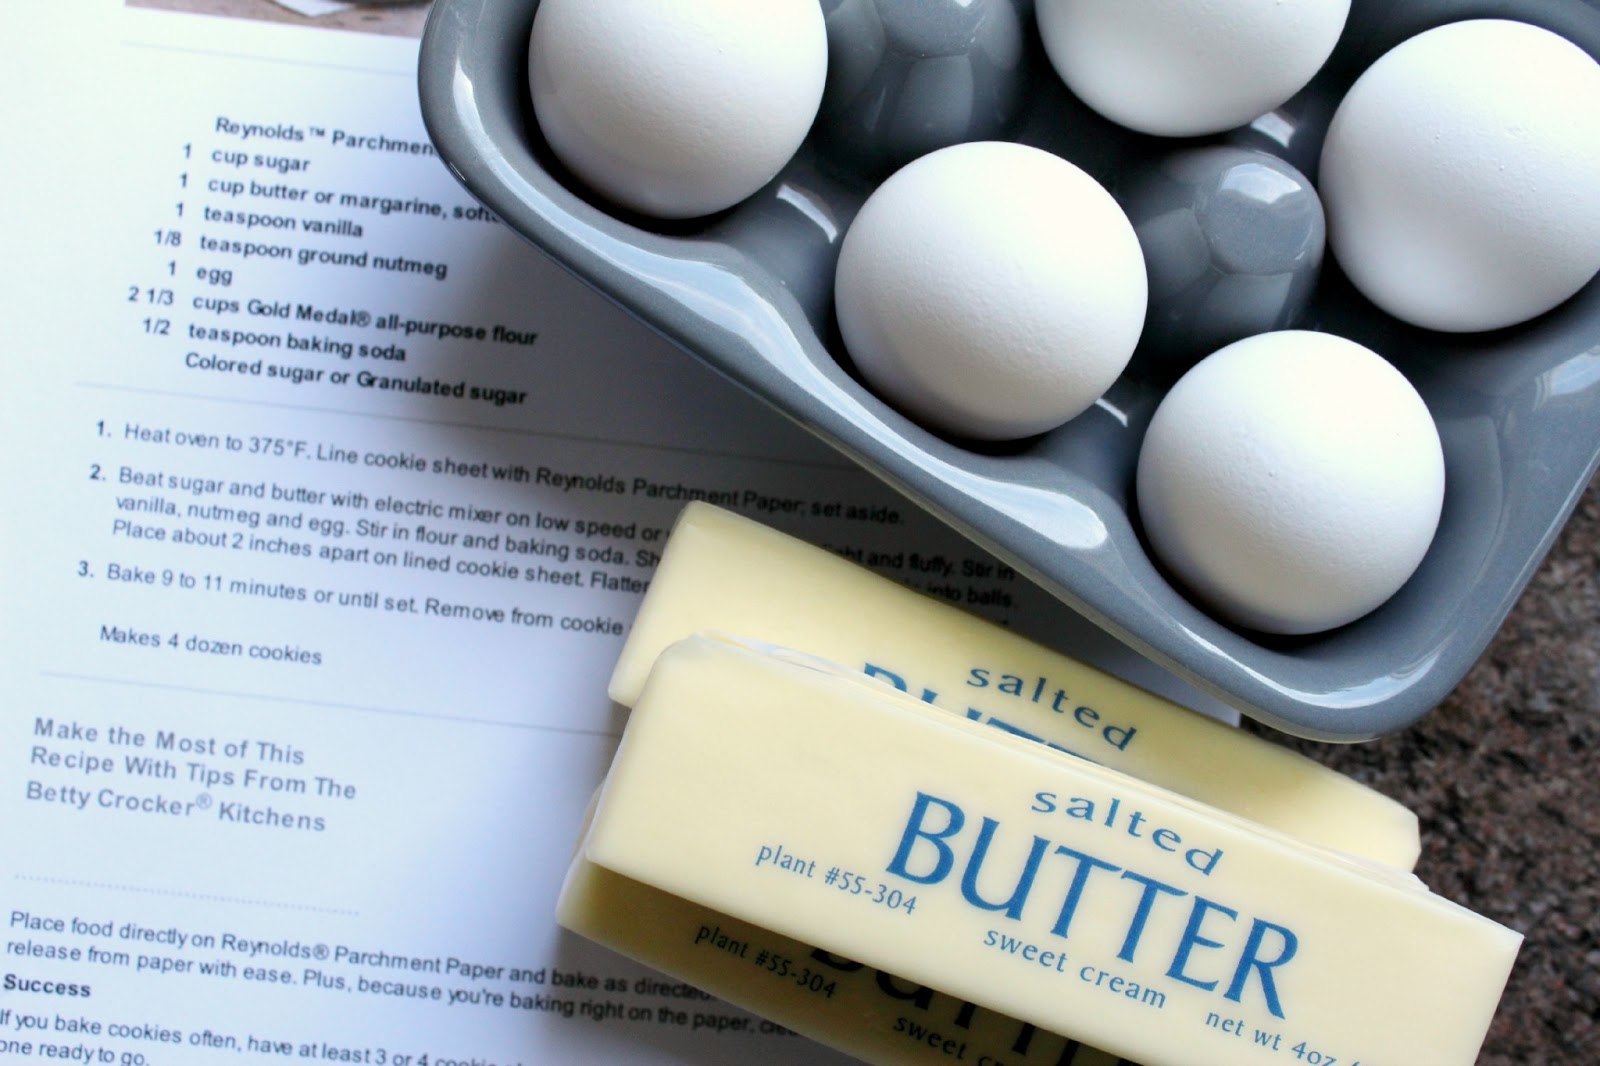
  • 1 cup softened butter
  • 1 cup vegetable oil
  • 1 cup sugar
  • 1 cup powdered sugar
  • 2 large eggs
  • 1 teaspoon vanilla extract
  • 4 1/2 cups all purpose flour
  • 2 teaspons baking powder
Instructions
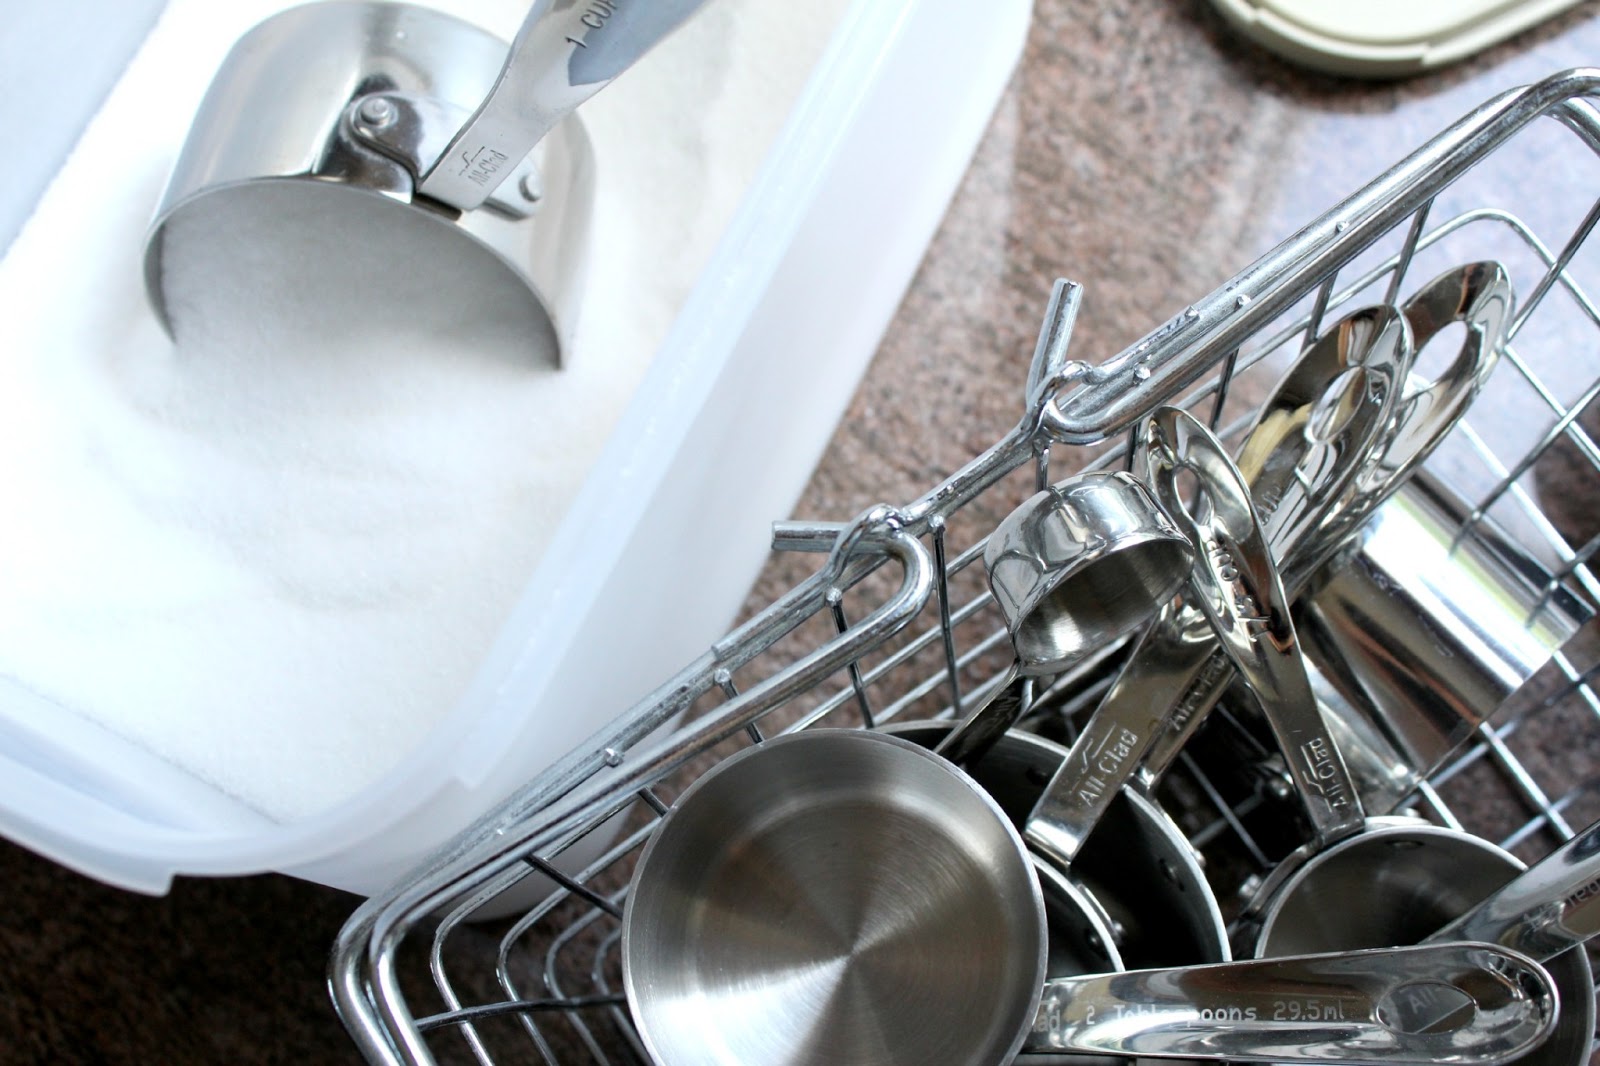
– With the paddle attachment of an electric mixer cream butter, oil and sugars– Add eggs & vanilla mix until blended well– In a separate bowl combine flour & baking powder then gradually add to creamed mixture– Using a 1.5 inch cookie scoop, drop batter onto parchment lined cookie sheets– Bake @ 375 (or @350 with a convection oven) for 8-10 minutes or until bottom edges are golden brown– Let cool for one to two minutes then transfer to a wire cooling rack. Yeilds approx 5 dozen
Details

Prep time: Cook time: Total time: Yield: 5 dozen

Uncategorized

gold striped mason jar caddy ♥


nothing earth-shattering … just a little idea here for ya 
i had this caddy on my kitchen counter, it held four plain glass mason jars with all of our silverware in them.  i think i got it at Walmart last year in the same section as the canning jars but i cannot remember the brand that makes it … sorry!
i’d been wanting to do something fun to the caddy and the jars for a while but just couldn’t decide what.
since there’s lots of color in my kitchen, i wanted to do something different … a little more on the neutral side

i found this project here … and knew what i wanted to do!
especially since i had just brought 2 cans of shiny metallic gold spray paint 
home with me from home depot for a different project.
i gave the jars a quick coat of flat white spray paint first
then taped them off with painter’s tape just like she did.


i couldn’t decide whether to leave them clean & crisp or rough & sanded
a quick poll on instagram still had me undecided … 


but i think most people liked the sanded ones better
and since i’m more into the chippy not perfect look right now i went ahead and gave them a light sand … sprayed the caddy white too, and done! 


our silverware has a pretty new home and my kitchen has a pop of gold
i have a few other little ideas for the kitchen i want to tackle too … 
that might involve gold polka dot burlap of course 🙂


happy new week!
linking up here:

Uncategorized

an easy way to meal plan for one year with free printables ♥


it sounds crazy i know.
but it’s not! trust me!
i’ve been working on this project probably for at least a year.
oh not because it took that long to finish … just because i’m a slacker.
along with the fact that i was going back & forth between making my own printables for this whole system, and what i was coming up with just wasn’t to my liking.
so i mentioned last week that i teamed up with my bestie AmyJ. for this project
SHE designed, created and cutified a whole new meal planning kit for me
and even more exciting, we have a few free printables here today just to get you started!
so exicted.

i’m going to keep it as simple as possible and break it down into a few easy steps.
the most time consuming part might be filling out the monthly calendars but i finished mine over the course of a few evenings (watching shark tank) (i’m obsessed)
i really hope you love this whole set-up! 
let’s get started …


how will meal planning work for you? is a year too much to think about?
would you rather just tackle a week or a month at a time to start?
planning for 12 months is a little extra work, but worth it when you’re done!
and it’s really all about repeating & rotating meals you make now and leaving space to try new recipes later. either way Amy’s kit allows you to plan with the weekly calendar…
and if you decide to plan monthly, that calendar is a free print at the end of this post.


what you’ll use for supplies is up to you … but Amy’s kit makes it all so simple 
aaaaaand way cute. like way. 


a binder & page protectors are the necessities, but i also used a few other things …
stick on tabs 
(these were Martha Stewart from Staples)
a couple clipboards
(dollar bins at target)

any recipe cards or page markers 

to make finding & organizing your dinner or make ahead recipes easier
(Amy’s cute recipe cards come in her meal planning kit)

start by filling out a master meal list & a new recipes to try list.


so basically your master meal list consists of all the things you make for dinner currently
… family favorites, quick & easy meals, really anything that you cook for your family on a regular basis.  
i filled mine out in groups by meat & category … for instance:
beef, chicken, pasta, misc/quick meals


the new recipe list is just simply that 🙂
any recipe you’ve been wanting to try, those magazine clippings stuffed in a file somewhere, 
all those recipes you pinned on pinterest… yeah those.
all that … write it down on the recipes to try list.
don’t forget to source it … in case you’re like me and can’t find a certain recipe among the seventeen thousand pins you pinned to your meal board.
cookbook page numbers, magazine volume numbers … whatever 
… however you keep your stuff
if you just jot down where it came from you’ll be able to track it down faster.


if you’re planning for the year, 
print out 12 copies of the free month at a glance calendar at the end of this post
along with the shopping list & the week at a glance page (from the meal plan kit)


i put the calendars each in their own page protector along with 2 shopping lists
(i grocery shop every other week, if you shop weekly print 4 for each month)
and 4 week at a glance planning pages
(i use these to copy down what the “week in meals” looks like
and i put it up on the fridge for my family to see … i’ll get to that in a minute)


don’t forget to fill out the sticky tabs for all 12 months 
and attach them at the end of each page protector


to fill out your meals for the whole year, use your master meal list and just start with January … 
fill in most of the days of the month with the meals you currently make.
i like to make it easy by keeping certain days for certain meals, for example…


mondays – chicken
tuesday – beef
wednesday quick & easy/misc.
thursday – leftovers (yay!)
fridays – pasta


that’s why keeping the master list separated by type makes it easier to rotate the meals as you fill in the days … you can see that my calendar has a few blank spaces, i left those open for trying new recipes and don’t forget to leave space for when those new recipes become a part of the master meal list… as the months pass i’ll look back at the additions to the master meal list and slowly fill in those blanks.


make sense?


you can fill in all 12 months or just do a few at a time every so often…
 whatever works best for you.
this is the most time consuming part, but like i mentioned before 
it took me maybe a total of 1-2 hours to fill all the calendars in with dates and meals


sunday afternoon is usually the time i like to sit down and take a look at our week
cut coupons, plan meals and such … i’ll just grab a weekly meal planning sheet from behind my monthly calendar, fill in what is on the menu … and make adjustments from there based on what’s going on that week … church, practice, birthdays … whatever.
but it’s nice to have it already laid out in front of me, 
i just have to fill in blanks and do some tweaking.


plus my family really likes knowing what’s on the menu!
 i also jot down quick things for breakfast & lunch 
which helps to eliminate arguing over what they have for breakfast in the morning)


by the way a few of my favorite things about Amy’s pages are …
the encouraging verses at the bottom of each page
(cause God knows i need encouragement when it comes to dinner time)
the cutest clipart in the history of the world times infinity in every corner
aaaand a spot to write down what you should be baking during the week.
cause it’s no secret i love to bake. well really i just love cookies.
so go fill this space out right now.
bake something.
do it.


last thing to do!
fill those page protectors with all the recipes you have clipped, cut or printed on paper 
and put them in the back of the binder behind your calendars.
when it’s time to cook dinner, check your calendar and flip to the back for easy access to your recipes 
(i keep only dinner or stock up in the freezer recipes back here, 
baking and other recipes are in a separate binder)

i actually took it a step further and created a template in publisher for recipes from the web that we decide are keepers.  i hate having things printed from the internet with all the mumble jumble and random ads & images in my recipe inventory … it’s not pretty 🙂
i take a few minutes to copy & paste the text with the main image along with the source into my template and i add a space for my own notes about the recipe.
but that’s an optional step. if you’re crazy like me.
problems. yeah i know.


Amy’s kit comes with pantry & freezer inventory lists to help keep track of what’s in the back of those hard to see spaces in the kitchen … and will help avoid the dreaded missing ingredient issue just as you’re about to start dinner
i put them on clipboards and hung the pantry one on the inside of the door
the freezer list is in my basement near my big box freezer which holds bulk purchases from sam’s club or extra freezer meals if i cook a few ahead of time


i also like to keep my cookbooks on display.
they’re within reach and double as cute decor in a wire basket
right?
right.


you can tab the pages of the recipes you make most often
then just grab it off the shelf and flip through your tabs for easy access


well, i think that’s it!
information overload i know!
funny thing about all this, is that i do not enjoy cooking … at all
 baking yes … cooking, no.
but i’m very very italian so i love to eat
and those two things don’t go together so well


so having any sort of plan in place, makes me feel like being prepared and cooking dinner most of the week is something i can accomplish … happily. with no curse words.


Amy also whipped up this super cute binder cover for you!
you can slide it into the front of your blank binder or inside of a page protector
i just love this so much 


{click on the images to download the files}

{click on the images to download the files}

aren’t they so sweet?! enjoy them!
i plan to do a follow-up post about my coupon binder and how i use Amy’s planner printables
as well as a little info about that pantry inventory list and how i organize my pantry!


if you have any questions just leave them in the comments 
i’ll do my best to answer them quickly ♥
happy planning!


linking up here!

Uncategorized

sugar cookie recipe and a little bit of kitchen love … ♥

the summer is already starting to fly by
every year i say the same thing…
i will not let summer fly by
i will not let summer fly by 
but sometimes it does anyways … 
even still, i’m determined to make a summer bucket list and complete at least half of it. 
our summer seems to start later here. weather wise and when school ends. 
school starts the first week of September … so i feel like i’m still sorta ahead of the game. sorta.

the past few tuesdays we’ve been making & taking cookies to daddy’s work
last week we tried this recipe for no-roll sugar cookies that i found via Pinterest
it was simple & quick
i’ve been feeling the weight of not doing enough for others
and pointing out to my girls, that contrary to what society tells us, 
the world does not revolve around them… or even around our family. 
there are kids we can sponsor, people who are sick that we can help, 
or even just for our neighbors. is there something we can do for them? or bring to them?
are we paying attention? to what’s going on outside of our little box.
all around us. everyday.
that’s the only way. they only way something will be seen as different in us.


not to point towards religion.
religion is empty. it’s void.
not to point towards rules
what we should wear, or what type of music we should listen to 
… what version we should read.
rules are empty.
and they fall on the deaf ears of a world 
that has already pinned the Creator as next to non-existent.
no… i don’t want to point others towards rules

i want to point towards a Savior. 
the One who is meant to fill the void.
the One who sets us free.
free to live in His Truth & in His Grace…
and striving to find a good balance between the two.
anyways … that’s what’s been on my heart lately
and with all this baking goin on, i’m thinking about how thankful i am 
for our home, our kitchenit’s spacious and comfy … 
so much revolves around this room.
my kitchen sink gets a lot of hours out of me 🙂
i love sprucing it up, adding little things that make it a fun area to spend time in
i found a little white pedestal dish at the thrift store, and put our hand soap & a bottle of lotion on it right near the sink
then i saw these lights on Pinterest and fell in love
and then decided to make a few strands of my own
i strung them over the sink and later found the aqua bird cage at hobby lobby 
threw that and some pom pom flowers into the mix
and now it’s like a little party 24/7 right over my kitchen sink 🙂
to make your own lights, all you need is a string of patio or Christmas lights 
(got these white ones at Target in the outdoor stuff) 
and some cupcake papers. snip a little hole in the base and fit over the bulb
then repeat. like a hundred times
but it’s worth it.
at night when we go to bed i turn off all the other lights and leave these on 🙂
they’re like night lights in the kitchen ♥
much love ♥
linking up here: