Uncategorized

a happy little hot chocolate station … ♥


i’m just starting to catch up on sleep, food and my Christmas to-do list
well not really catching up on the list
just trying to frantically get some of it done before the weekend. yikes.


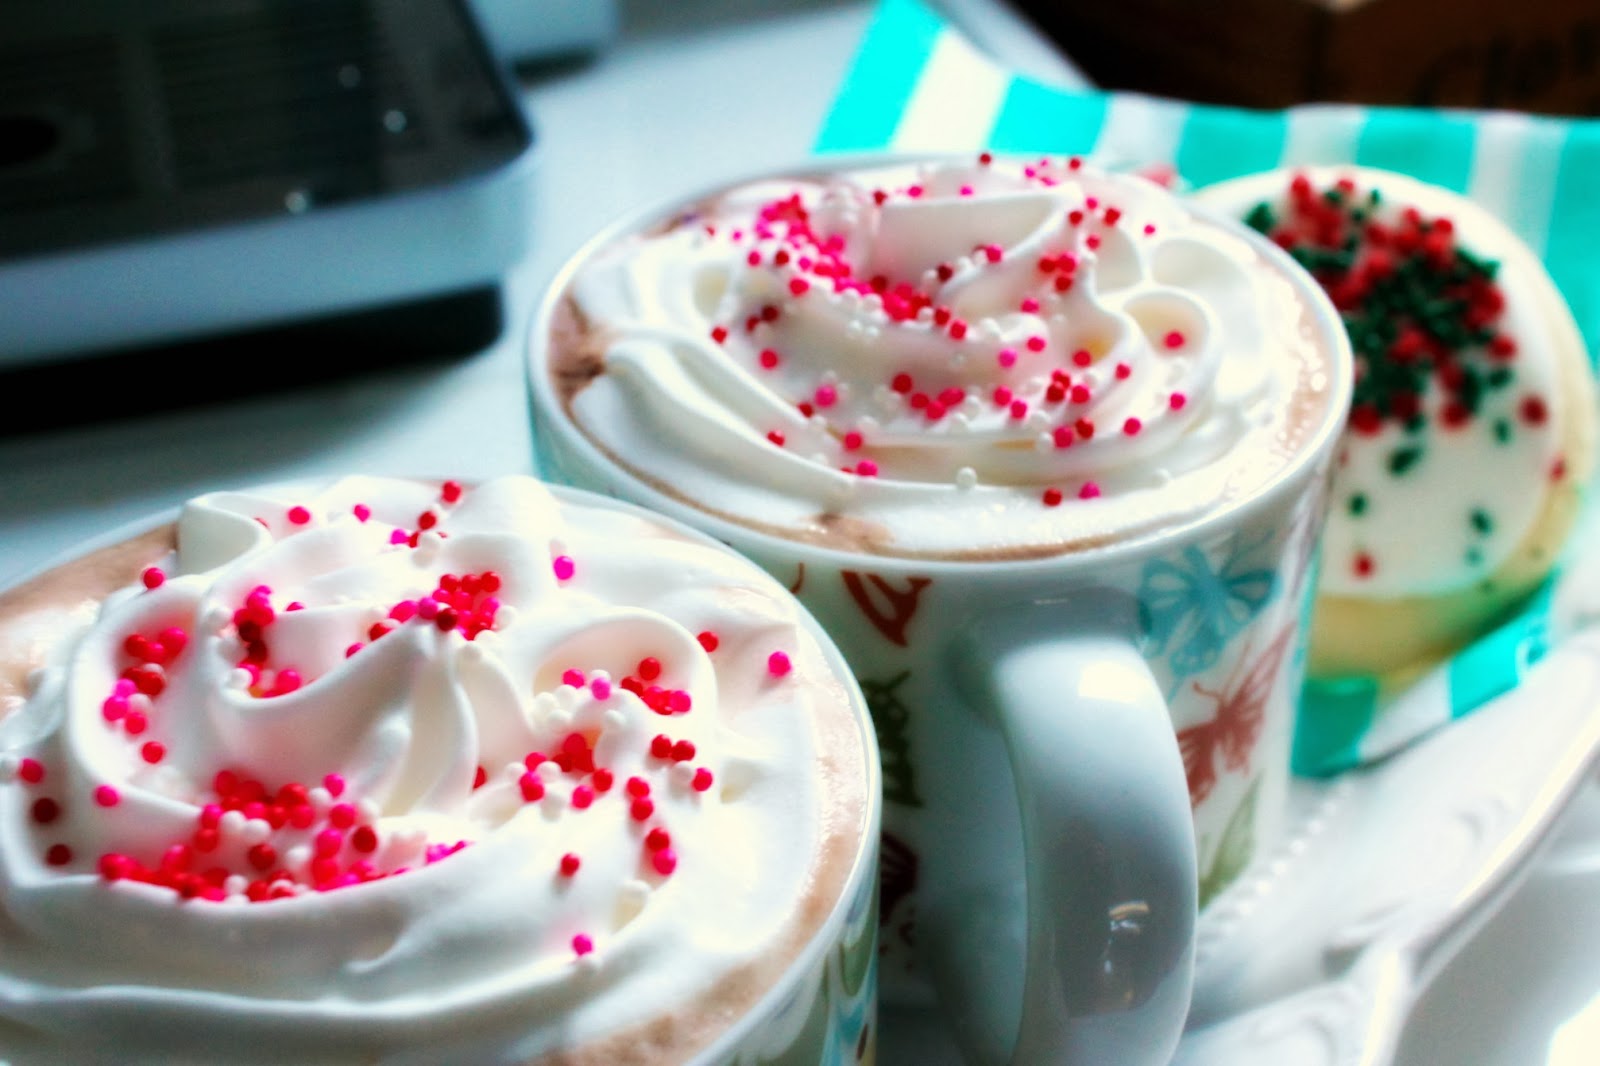
i haven’t really got much of my decorating done besides the tree & this hot chocolate bar
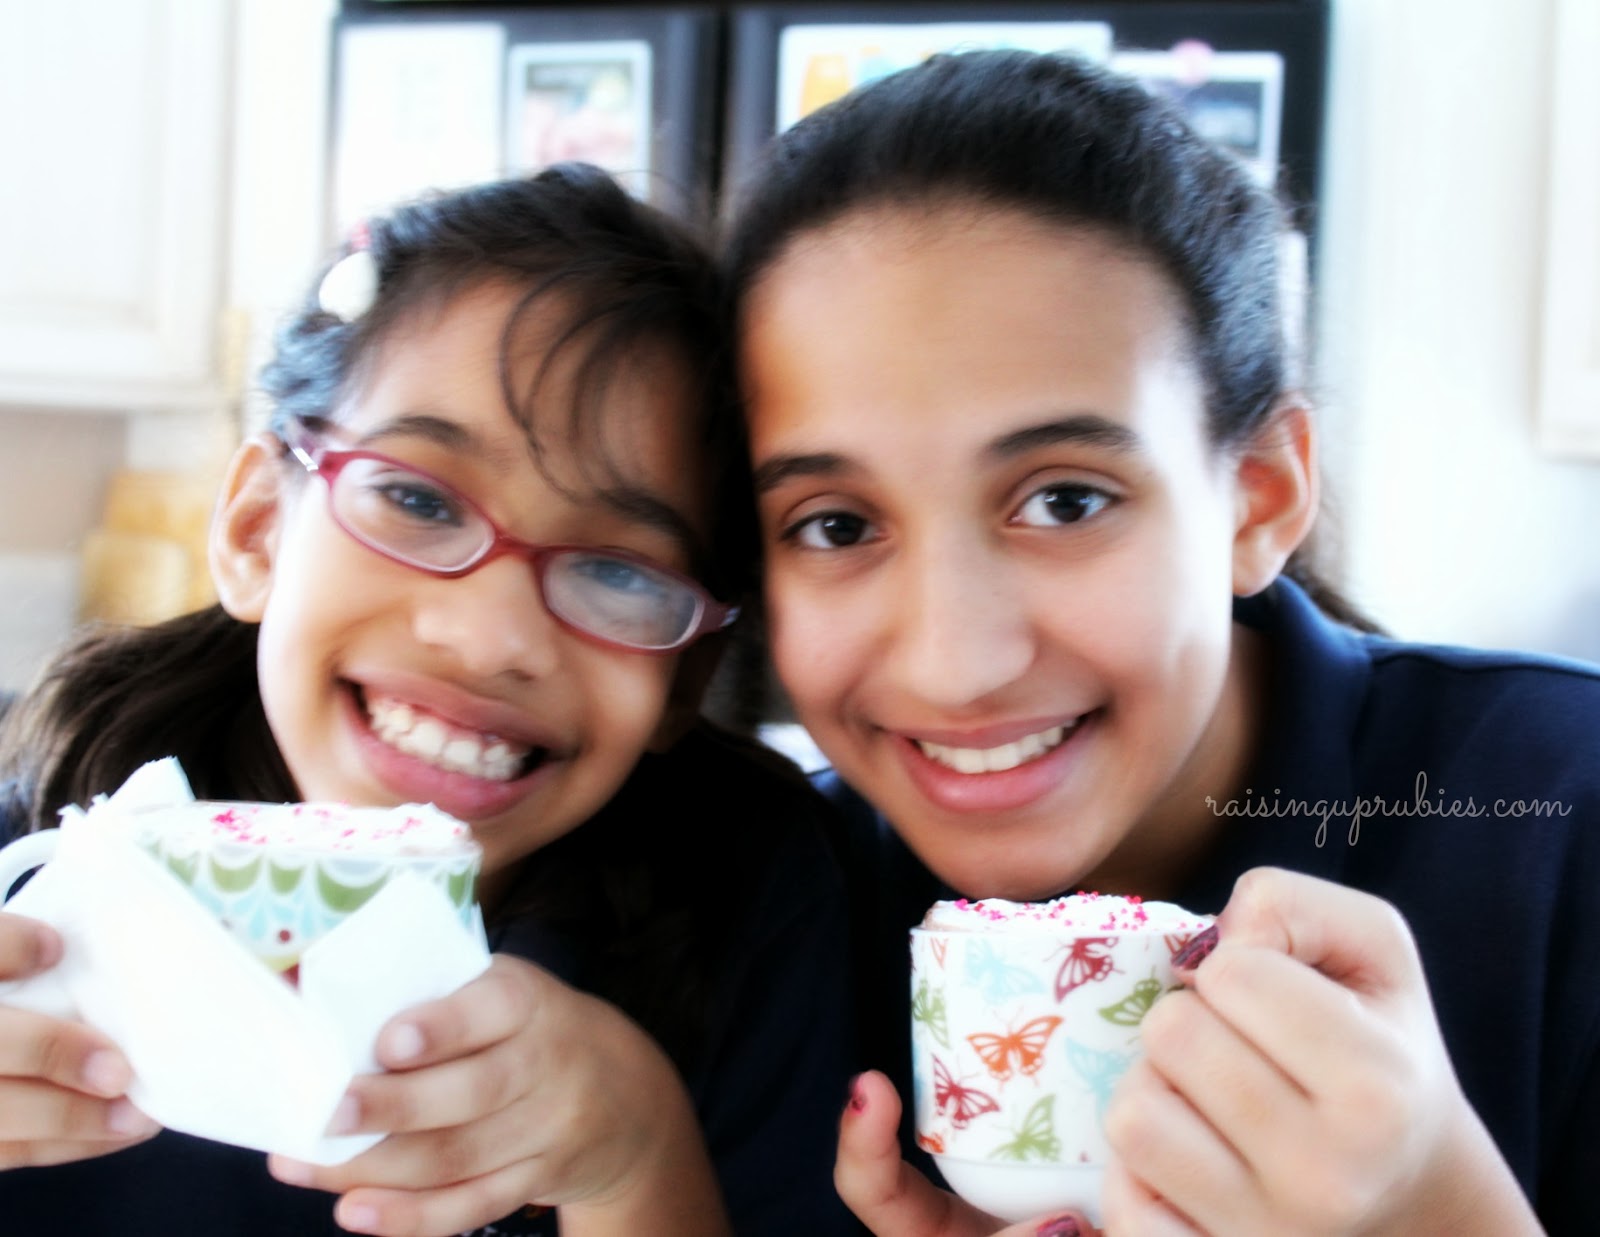
i had fun putting together last weekend for my daughter’s birthday


i have grand schemes for decorating, and even though it’s late 
i’m still gonna try to get some of it done


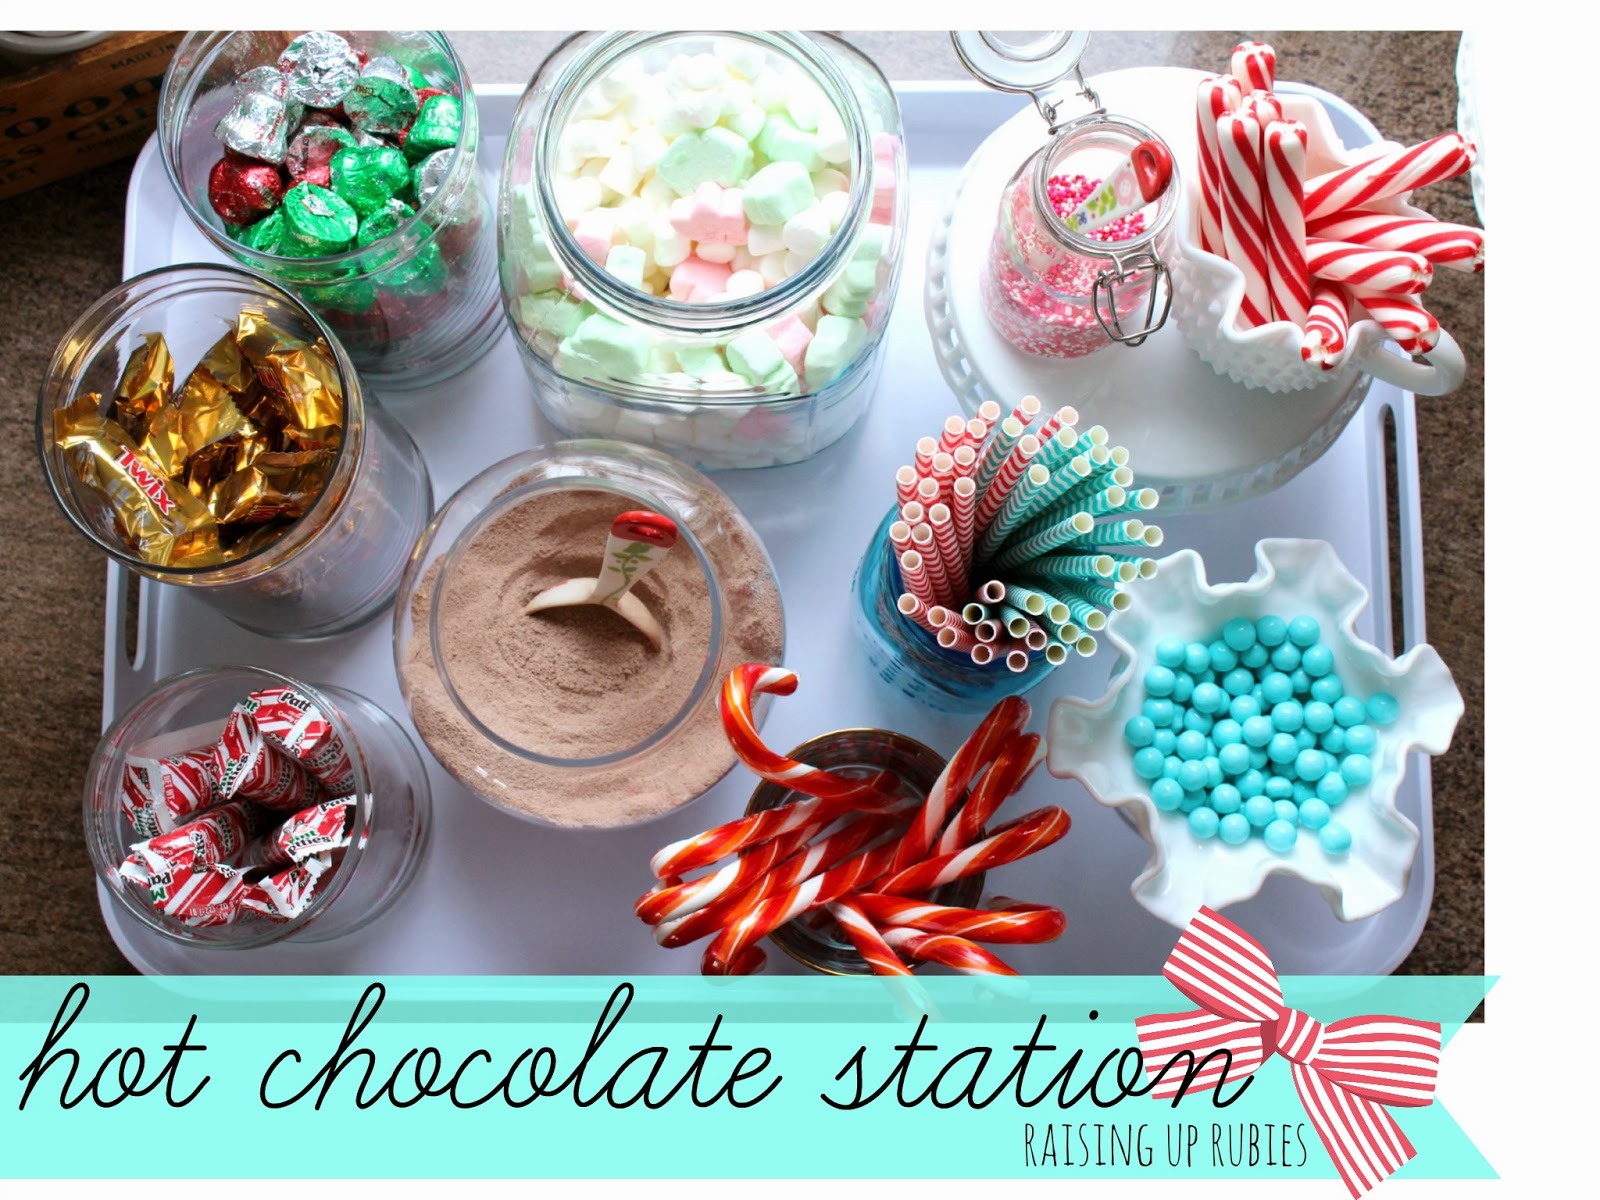
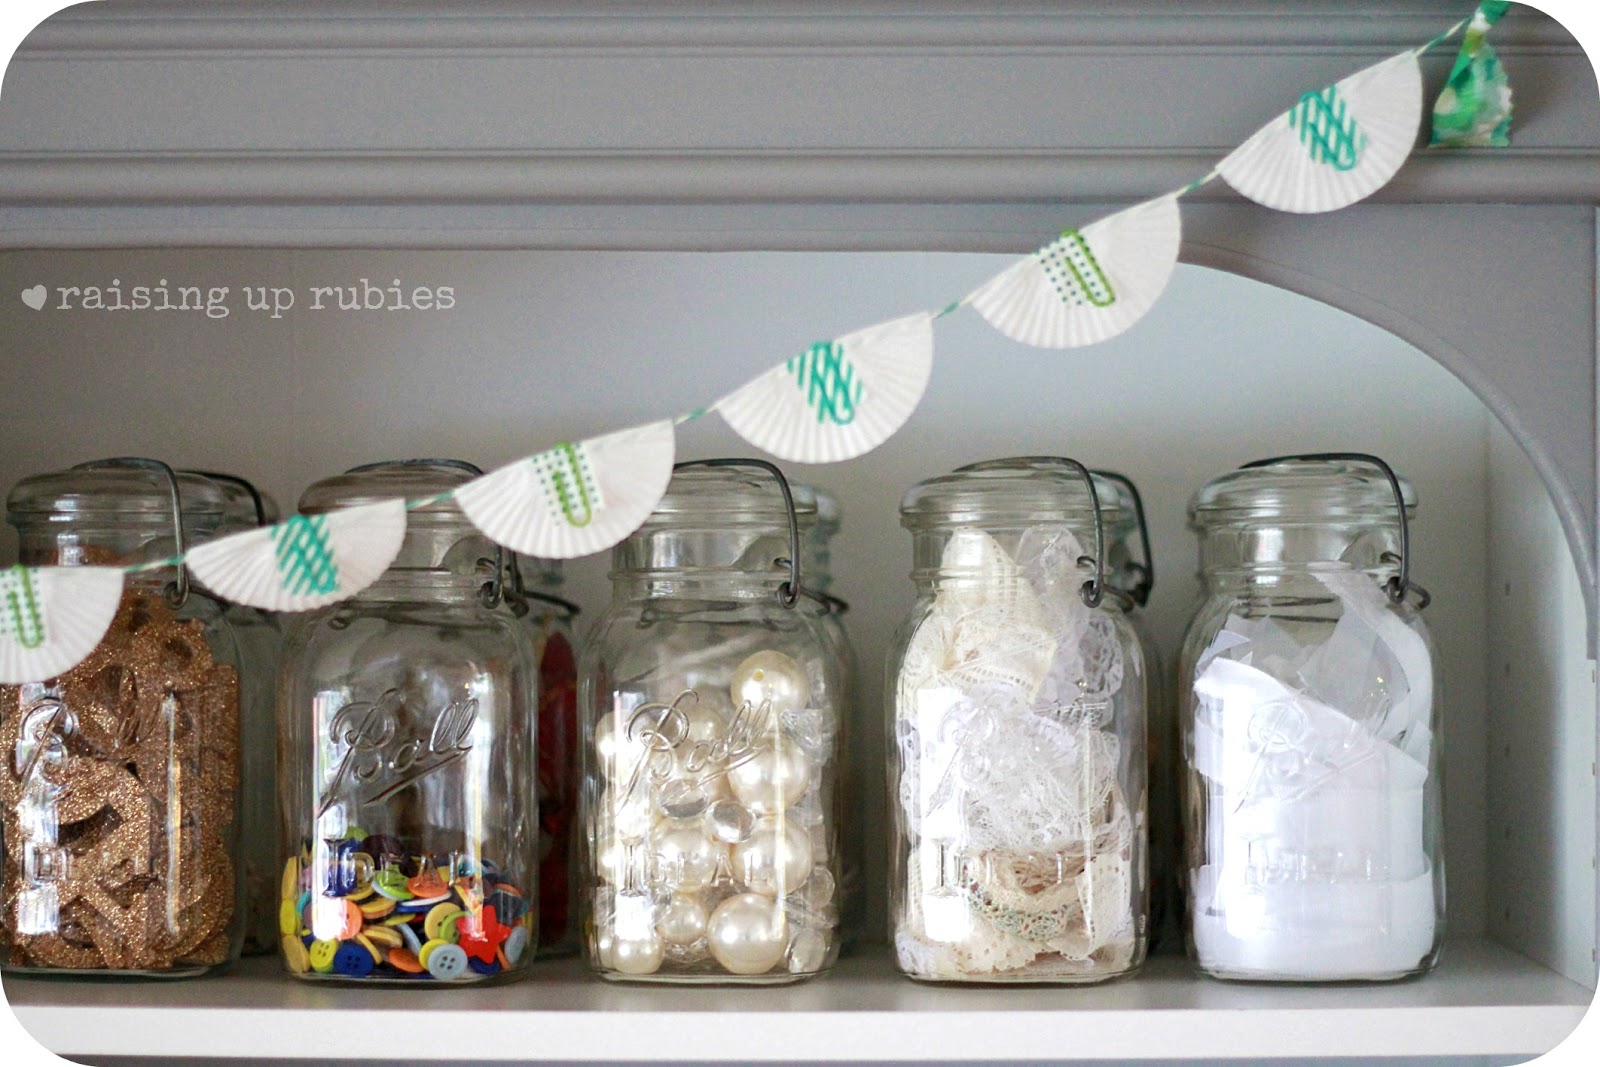
to set up your own hot cocoa station, gather some apothocary or mason jars
and fill them with whatever your heart desires ♥


the hot cocoa we use is just plain old swiss miss. we like it 🙂
and it came in a really cute throw-back vintage container that i wanted to use for something else.
swiss miss it is.


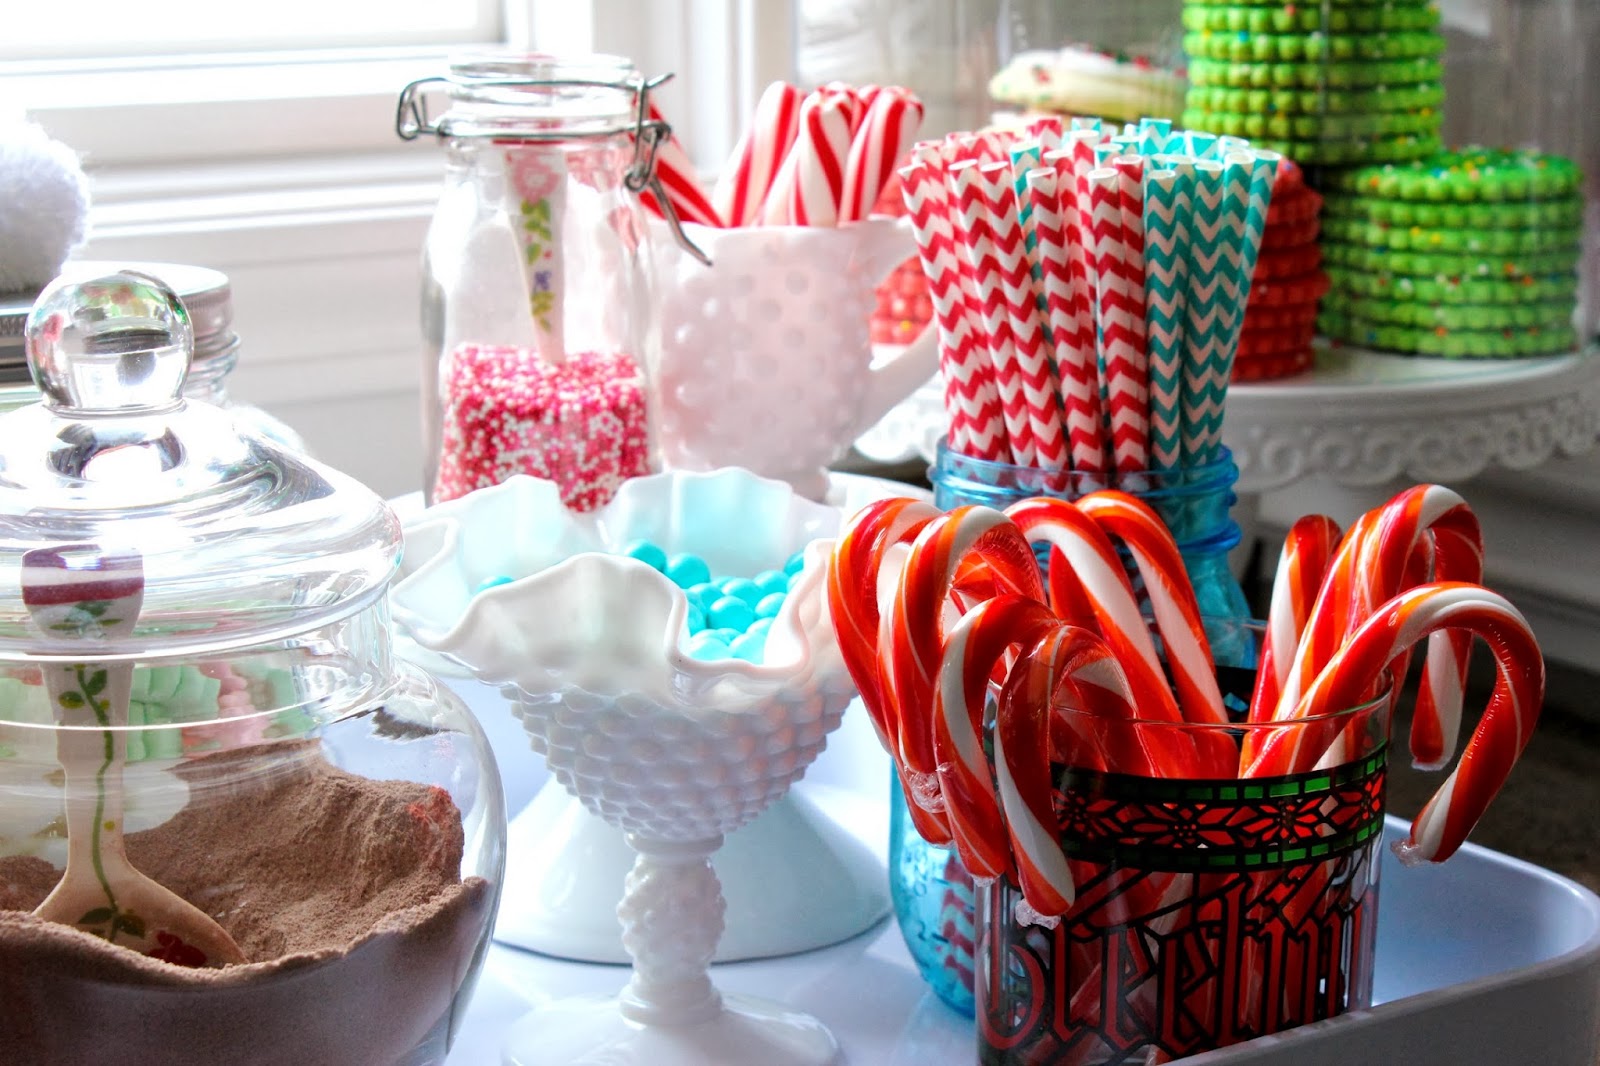
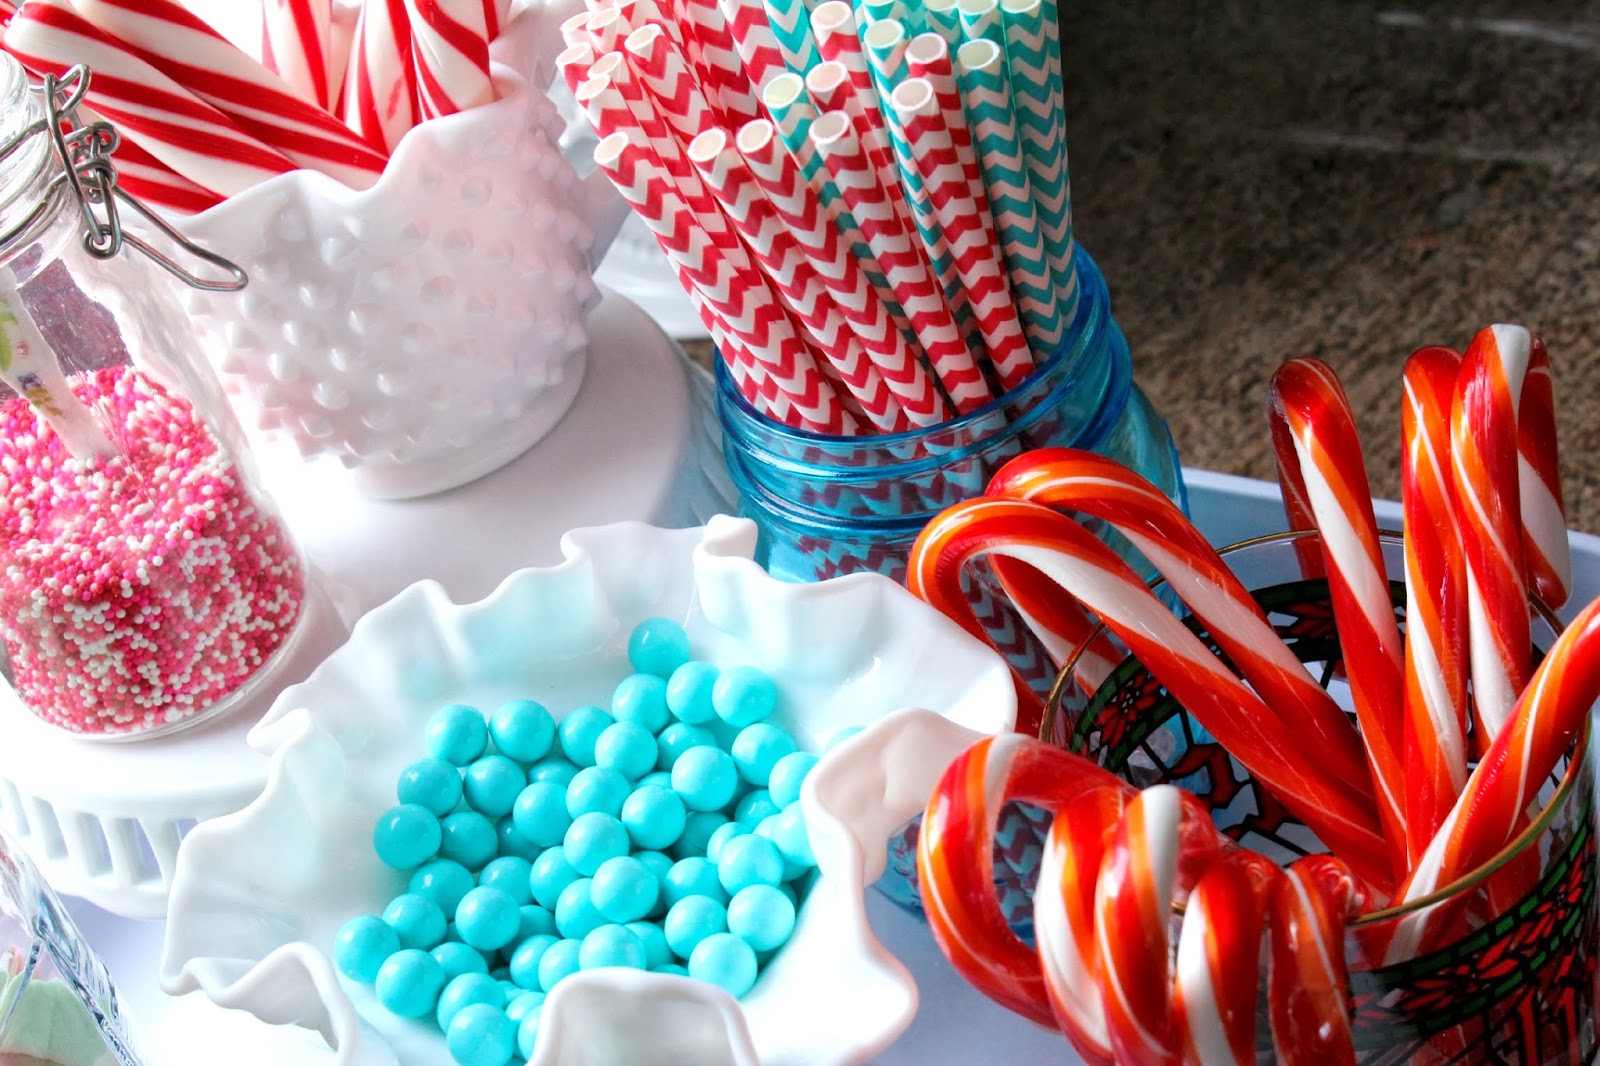
paper straws, candy canes, marshmallows, sprinkles and some candy
are what filled up our jars 


the little scoops in the cocoa & sprinkles are just teaspoons & tablespoons 
from a set my mom gave me from anthropologie a few years back


i remember when i got them for Christmas i thought, 
oh i already have a set of measuring spoons… i probably won’t use these… 
i have used them for just about everything under the sun!
sometimes moms know things.


my grandfather was an artist… like a for real one 🙂
he painted hand lettered signs for a living
he was very talented, and i’m glad i have a few of his pieces … this is one of my favorites


these voortman cookies were always in our house for Christmas when i was growing up
i remember getting excited about how colorful they were
with all those sprinkles
i love sprinkles


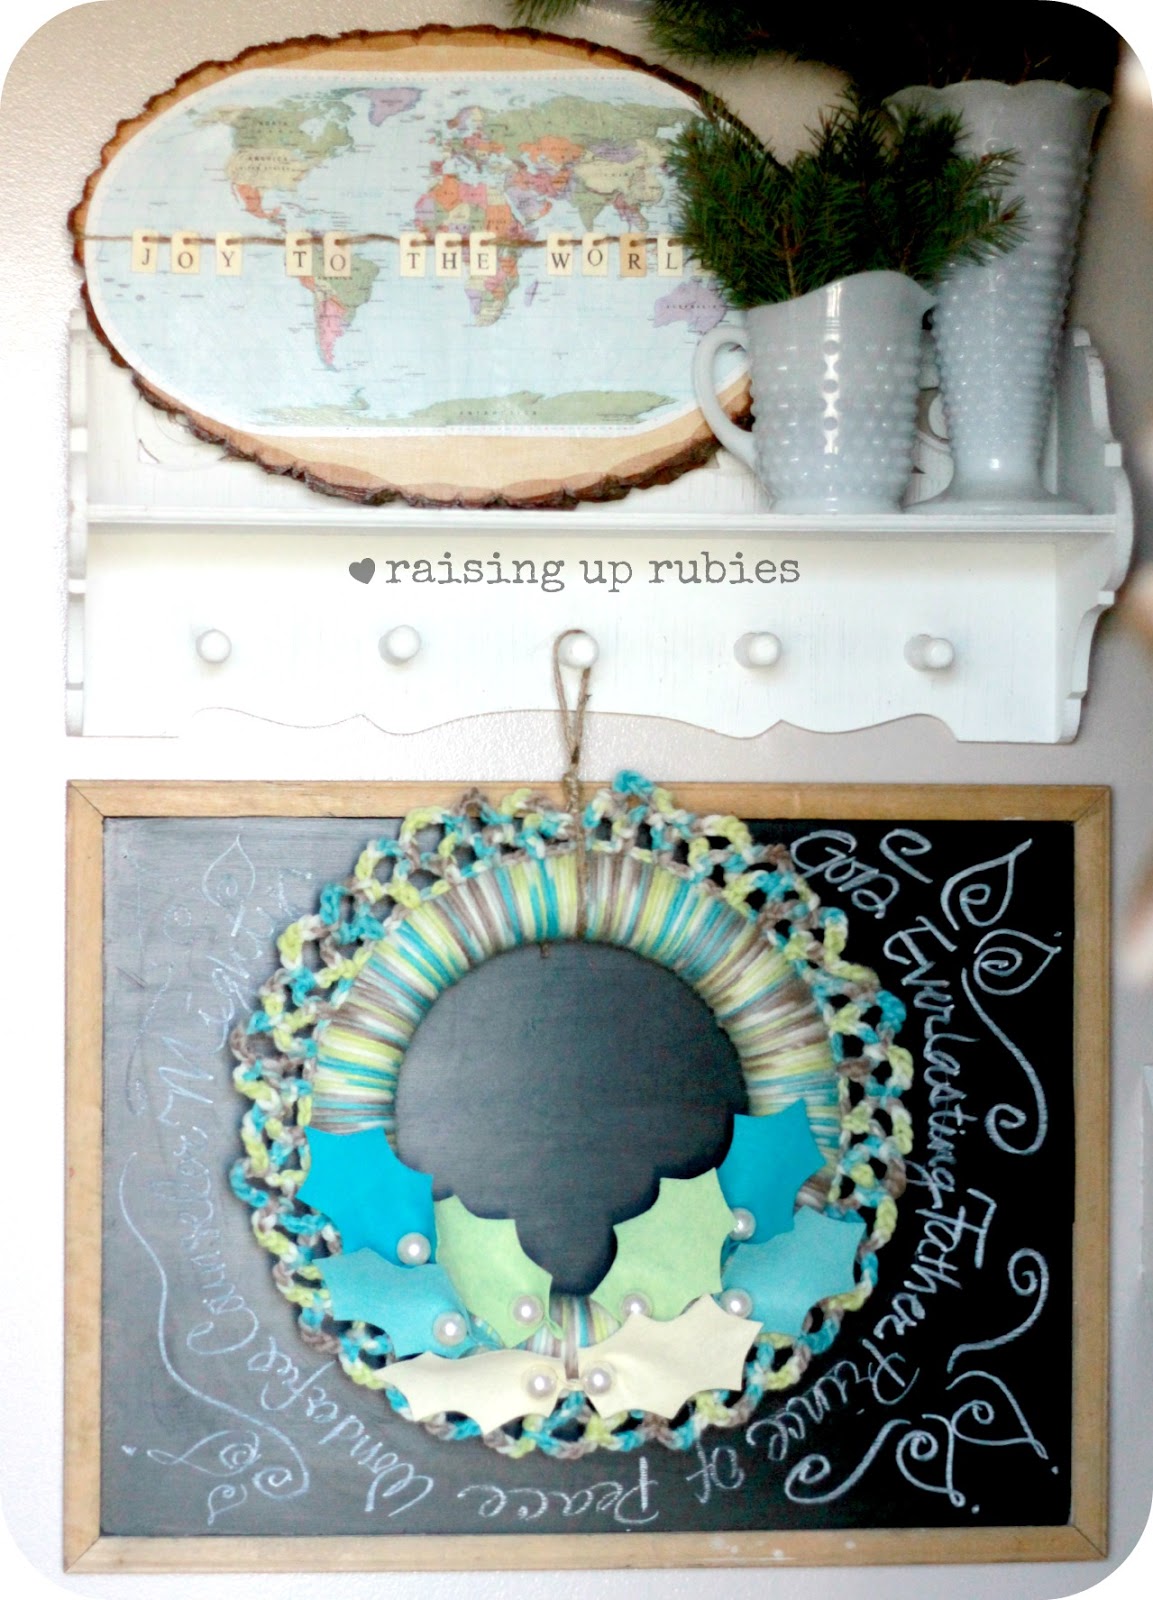
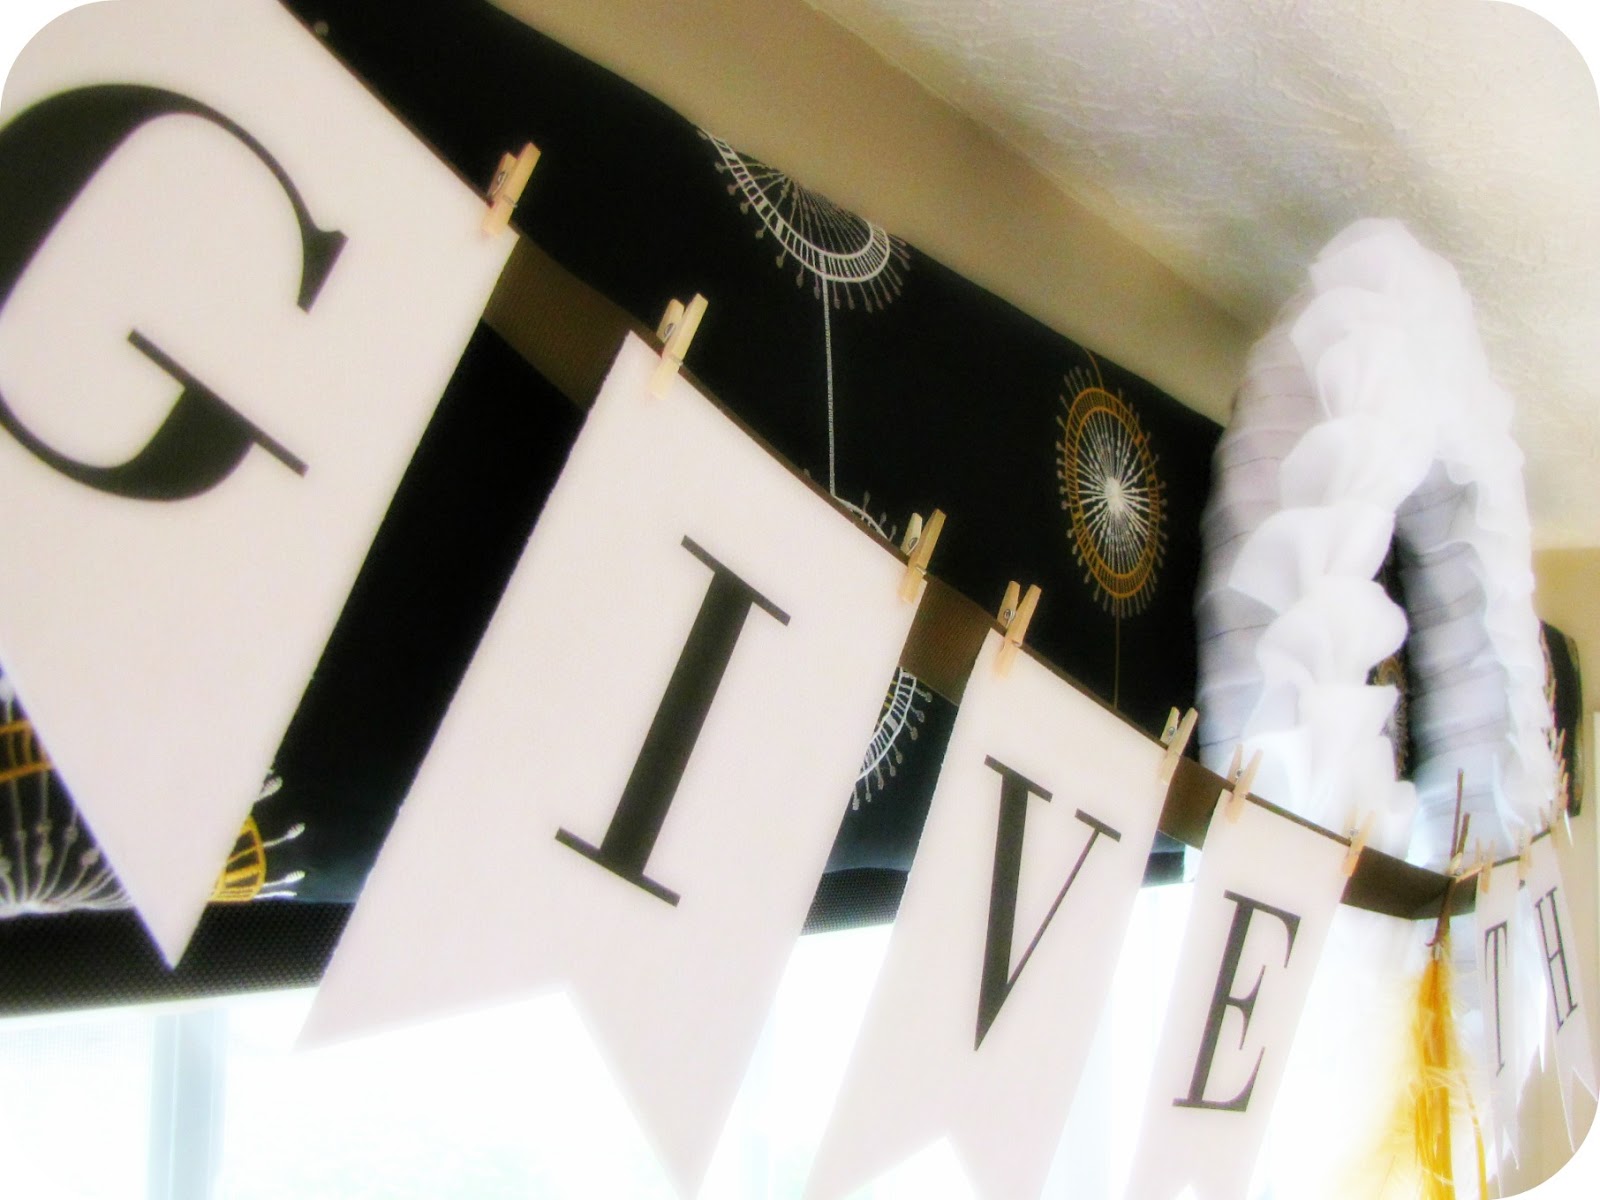
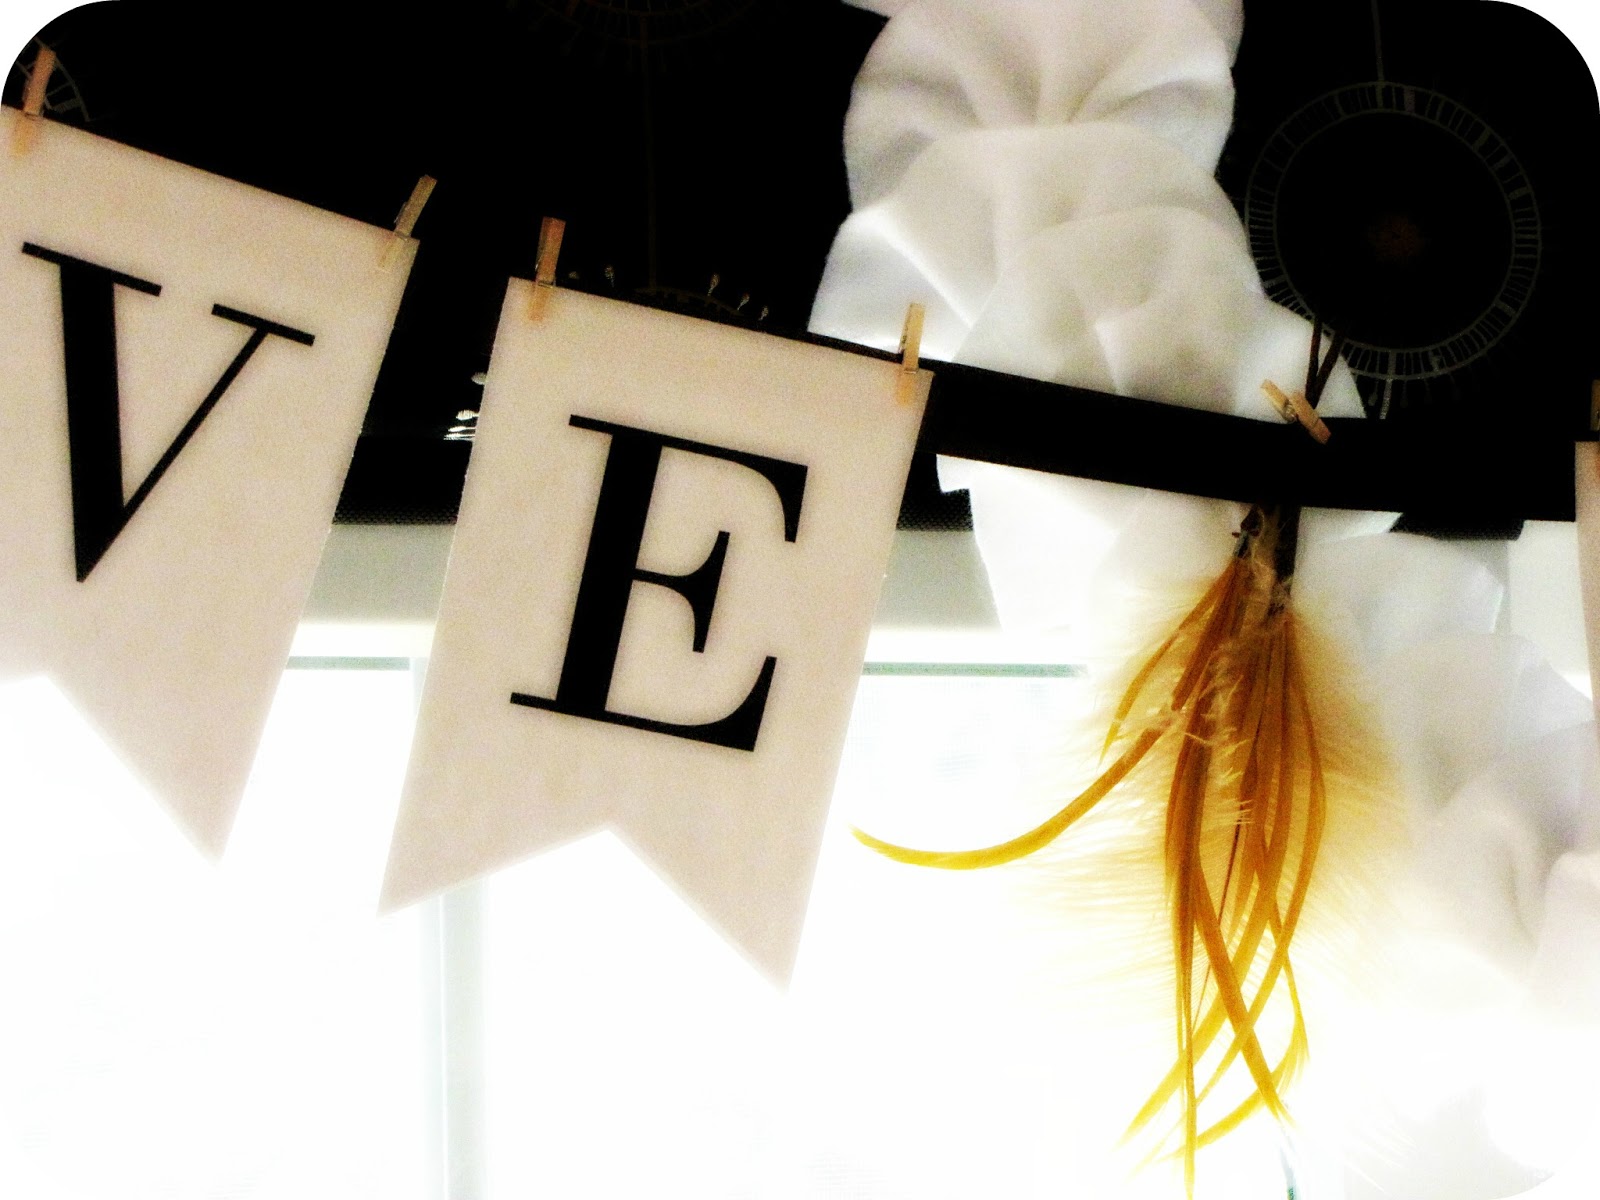
besided my tree i have all of two Christmas things up in our living room
this sign i heart from my bestie Becky


and this little aqua sign from target


that’s it. i know. i better get on it.


better get busy. have lots to do
two signs just wont do
🙂


hopefully i’ll be back to show you some more Christmas fun ♥


happy hot cocoa making!
linking up here:

Uncategorized

my craft room … Christmas style ♥


it’s been a while since i’ve had any pictures of my craft room up on the blog …
mainly cause most of the time it’s a mess with product for the store & packing supplies
oy


but i had to get it in order for last weekend when i hosted a cookie exchange that my close friends and i have every year … this year we had so much fun ♥


i wanted to spruce up the room with a little bit of Christmas cheer
but didn’t want to over-do it since there is already so much color & detail in the room and well…
i was just plain tired 🙂
so i went the simple route 🙂
ahhhh…. simple….


i feel like this little bloggy of mine has come a long way 
since i first posted about my craft room … it’s been neat to watch it grow … 
when Better Homes & Gardens came last month, it was the final push i needed to get in gear and tie up all the loose end projects that i never finished 

if you follow me on Instagram, you’ve already seen a few of these updates … but this bunting was made from my vintage sheet stash, just cut in strips and tied to some twine


with some nails & hot glue, i now have pretty things to hold up my garlands and pictures
i hammered the nails where i wanted the spools to go, 
then with a little hot glue on one end, slid the spool onto the nail


with some help from my two aunts 🙂 finally got around to organizing my fabric stash
this shelf holds only vintage linens … the other side has my non-vintage yardage
i love how pretty they all look together ♥


i filled some apothecary jars with a hodge podge of things 
that i thought we bright and Christmas-ish 🙂


the trees were made with styrofoam trees, again with strips of different fabrics
wound around from top to bottom … made pompom’s for the tops


i think Christmas can be found in the everyday of things
it doesn’t always have to be in red & green
i love to be outside of the box 🙂 don’t you?


my cushions were upgraded too when BHG came, these were from Target
i love how they add simplicity to such a busy room


my sewing area hasn’t changed much …


the twine and large spools of thread that i mostly use for packaging, 
were put up out of the way on wooden dowels 


the sewing machine cover was made from a vintage pillowcase 
… thinking about selling a few in the store


it has definitely earned it’s keep 🙂
it holds all my littles


my entry way get’s no light at all, it’s hard to snap a good picture here
but this is where my Joy to the World sign is with another wreath like the one on my craft shelves … i got the wreath and wording around the chalkboard idea from Miss Mustard Seed
(even though her’s is way more grand & gorgeous!)


so these are my besties 🙂
they are the friends that encourage me & laugh with me through everyday things
i love them so dearly … they are the sisters i never had 🙂


we have craft night once a month … we leave kiddos with daddies and we come together to eat and make stuff …and eat stuff 🙂
and there’s never a dull moment, at all….


every December we exchange cookies and handmade gifts
we even get a little carried away making stuff for each other’s kids 🙂


it’s hard to find good friends in life … hard to find one, let alone five
and i can honestly say they are all a blessing to me … love ya girls ♥


Merry Christmas bloggy friends ♥
you have put gladness in my heart … psalm. four. seven

sweet parties here:

live laugh Rowe ♥ live laugh linky
i {heart} naptime ♥ Sundae Scoop
Tatertots & Jello ♥ Weekend Wrap up Party 
Funky Junk Interiors ♥ Saturday Nite Special
the 36th Avenue ♥ Party Time!
Uncategorized

joy to the world ~ wood slice project ♥

Christmas is next week!
these past few weeks flew by …
i just wanted to say thank you thank you thank you … for the love & support given to my blog and my shop ♥ it puts so much gladness in my heart to hear that God is encouraging you through this little place here in bloggy land, and i really appreciate all of you so much!

i spent some time last week putting up a few new Christmas decorations
and this wood slice art is one of  the things i wanted to try … so here it is!


the wood slice is from AC Moore
the wooden letters are from Michael’s
i found a huge box of maps at a rummage sale,  and i bought the whole thing for $7!
( i ♥ rummage sales with big boxes of maps)
i mod podged the map onto the wood, 
when it was dry, went over the top with two more coats for a shiny finish


once you cut the twine to fit, string the letters and wrap the ends around to the back of the wood … just a little dab of hot glue and some felt will hold it like Fort Knox


super easy project with just a few supplies … i love the simplicity of it
hope to be back this week with a few pictures of my craft room … Christmas style 🙂
much love & happy crafting ♥

sweet parties here ♥

Free Pretty Things for You ♥ Whatever you want Wednesday! 
Live Laugh Rowe ♥ Live Laugh Linky 
Yesterday on Tuesday ♥ a Crafty Soiree
the 36th Avenue ♥ Party Time!
Tip Junkie ♥ Tip me Tuesday
Tatertots & Jello ♥ Weekend Wrap up Party
Funky Junk Interiors ♥ Saturday Nite Special
i {heart} naptime ♥ Sundae Scoop
Uncategorized

simple packaging ideas ~ gift wrap garland … ♥


if you’re looking for a really quick & easy way to spruce up a gift
with just a few basic supplies you probably already have hanging around …
(hello run on sentence)
(let’s be friends)
you’ve hit the jack pot!
this is a really fun garland that is made with just basics
and it only takes a few minutes 🙂

click here for the full post over at Everything Etsy
and by the way … did you know Kim carries the prettiest, softest wool felt in her store?


she sent some happy mail to my little mailbox last week


i fell in love … the colors fit perfectly into a project i was working on too, thanks Kim!
much love ♥
Uncategorized

elegant holiday hoop wreath … ♥


i mentioned before that i’m really not a traditionalist when it comes to decorating for the holidays 🙂  i really like to think outside the box, while trying to make seasonal items blend in with my everyday … i think it takes the stress out of decorating as well
 since you can use bits and pieces of what you already have on hand


to make this hoop wreath i bought a large oval embroidery hoop at Joanns in the quilting section for seven dollars or so … some floral stems that i just fell in love with were also from there at 60% off right now 🙂 birds that were packaged together
some pretty ribbon, lace & muslin

… some additional supplies i used were white felt, chipboard (cardboard or heavy card-stock will work) scrapbook paper and some adhesive glitter letters i found at Michaels


fit the muslin and lace into the hoop making sure it’s taught, then tighten the hoop


cut the excess off and fold the material towards the back
using hot glue on the inside of the rim


arrange the floral stems and hot glue them down as well


i cut a tag shape out of chipboard then cut scrapbook paper to fit and glued them together
punch a hole in the middle for the ribbon


the glitter letters have a sticky back, arrange to your heart’s content 🙂


i made felt flowers just like the ones on my craft room drum shades the tutorial is here
for the final touches … hot glue the tags, birds and felt flowers onto the hoop and you’re done!


stand back and admire it’s prettiness ♥
i love non-traditional stuff … don’t you?
workin’ on some Christmas gifts this weekend … be back soon
linking up here ♥

Tatertots & Jello ♥ Weekend Wrap up Party
Funky Junk Interiors ♥ SNS Party 
i {heart} naptime ♥ Sundae Scoop Linky Party
the 36th Avenue ~ Party Time!
Tip Junkie ~ Tip me Tuesday
Live Laugh Rowe ♥ Live Laugh Linky 
Yesterday on Tuesday ♥ a Crafty Soiree
Uncategorized

Celebrating Christmas with a Jesse Tree … ♥


my littles were sick last week
and everything slowed down here
but i managed to finish this advent calendar that I wanted to share with you
so tuck this idea away somewhere on a Pinterest board and save it for next year 🙂

focusing on what Christmas really means can get lost in the shuffle of holiday prep
i like the idea behind the Jesse Tree, which is to travel through Old Testament history eventually leading up to the birth of Christ on the last day, the 25th … each ornament has a picture that symbolizes each of the stories


the printables to make these ornaments are from the here 
… or you can make your own with some clip art
that’s how i did the numbers for the outside of the kraft envelopes that i found at Michael’s
then used a circle punch to punch them out
simple number stickers would work just as well


I bought a bunch of penny candy and slipped two pieces into little glassine bags


tucked behind each envelope for that day is the little bag of treats sealed with washi tape
some of the Jesse Trees on Pinterest were made from wood or felt … 
we just decided to put them up on our big tree 🙂


Do you celebrate with a Jesse Tree?
Be back soon … much love ♥
linkin’ up ♥

live laugh linky ♥ live laugh rowe
Party Time! ♥ the 36th Avenue
Uncategorized

make the most of the mist … ♥


i’ve spent the last few days getting Christmas stock made for the shop
and i still can’t believe how fast the holidays came upon us…
why is it when you’re young everything takes forever to get here
when you’re older everything comes too quickly?
i wanna know where that line is …
where things start to fade … from slow to fast
is 30 the magic number? when you start to realize life is short?
is it when you have kids? maybe it’s when you lose a loved one…
maybe it’s just in the everyday …
You don’t know what will happen tomorrow. 
What is life? 
You are a mist that is seen for a moment and then disappears … 
James four. fourteen.
i feel the urgency to live out this instruction … don’t’ you?
it makes me want to hurry up and slow down


the other day my daughter said to me …
” i just can’t wait ’till Christmas, i wish it was tomorrow”
🙂


i can wait … cause tomorow will be here in blink of an eye

James 4:14


Happy Thanksgiving & much love to you and your families … 

i’ll peek in tomorrow for Wrappin’ up Wednesday 
with some finally new Christmas things for the shop … 
and be sure to check in this weekend ~ for a giveaway & black Friday discounts 🙂
gladness in my ♥ for you

Uncategorized

wrappin' up Wednesday and a little gratefulness … ♥

happy Wednesday ♥
Christmas is 40 days away …
40 DAYS!!
i have tons to do … do you?
here’s a quick project i’m posting about over at Everything Etsy


using just manila tags, twine, felt and some mini clothespins 
{ i ♥ mini clothespins … can you tell?}
{heehee}
hop on over a take a peek!

the coupon code is up in the store today 🙂
gladness in my ♥ and much love to you …
Uncategorized

neutral fall wreath … ♥

One of the things i love about NY is our Autumn season
it’s my favorite time of the year weather wise
(as long as we don’t get any early snow storms)

and i’ve been slowly (very slowly) working on a little bit of fall decorating 
i am anything but traditional when it comes to holiday decorating …
i love using neutral colors, so that it’s easy to add pops of colors here or there 
without everything looking too “theme-ish” …know what i mean??

so i’m lovin’ the burlap/white combo on this wreath i made for my front door 🙂
(i’m calling this a wreath, even though i said i wouldn’t)
(but now i am, ’cause well, i guess if it’s hanging on the front door
you can call it a wreath, even though technically, it’s not)

moving on…

here’s how you make one of your own ♥

i started out by tracing a pretty scalloped frame shape onto brown paper
cut it out then traced that shape with a sharpie onto a large sheet of styrofoam, 
that can be found in the floral department at any craft store
(with the wreath forms and such)


now this stuff is pretty thick & crunchy, so power tools are needed
the hubs used a jigsaw to cut this out for me 🙂

use a small dowel rod or a few wooden skewers to connect the to sides together
finish off with hot glue 


once you’ve got the form together, now it’s time to cover it 
cut long strips of felt at approx. 2 inches wide
(i probably had 6-8 strips measuring 2 yards each)
i then ran them through the sewing machine sewing a line down the middle
with a dark brown thread, just to add some color and break up the white

wrap the felt around the form starting from the back
straight pins work great with the foam, no hot glue is needed 


here’s a peek at the back …

keep going until it’s completely covered 🙂
(it took me an hour or so, to get it just right)

embellish as you please!
i cut some leaf shapes out of burlap and some more felt
then used my zigzag stitch to sew them together
give them a little bit of a layered look
pinned them on and stuck some pretty feathers here and there 🙂
i love finding these little loopey frames (that’s what i call them)
at thrift stores or yard sales … i snatch them up since i seem to use them all the time
for different things … a little spray paint is all they need 🙂
all done 🙂
it’s a lengthy project, but in love how it looks on my front door
it blends well with my other fall decorations
hope to show you more of them soon!

gladness in my ♥ for you
sweet parties here ♥ :

live laugh rowe ♥ live laugh linky Thursday
the 36th Avenue ♥ Party Time!
30 Handmade Days ♥ linky party pity party
Liz Marie Blog ♥ Link up with Me, Liz Marie
Freckled Laundry ♥ air your Laundry Friday
Tatertots & Jello ♥ Weekend Wrap up Party
Funky Junk Interiors ♥ Saturday Nite Special
i {heart} naptime ♥ Sundae Scoop Linky Party
Hubby Made Me ♥ Throwback Thursday
Tip Junkie ♥ Tip me Tuesday
Free Pretty Things for You ♥ whatever you want Wednesday