Uncategorized

vintage inspired message board … ♥

Happy Monday!
if you’re stopping over from FPTFY …
♥ WELCOME ♥
so glad you’re here!
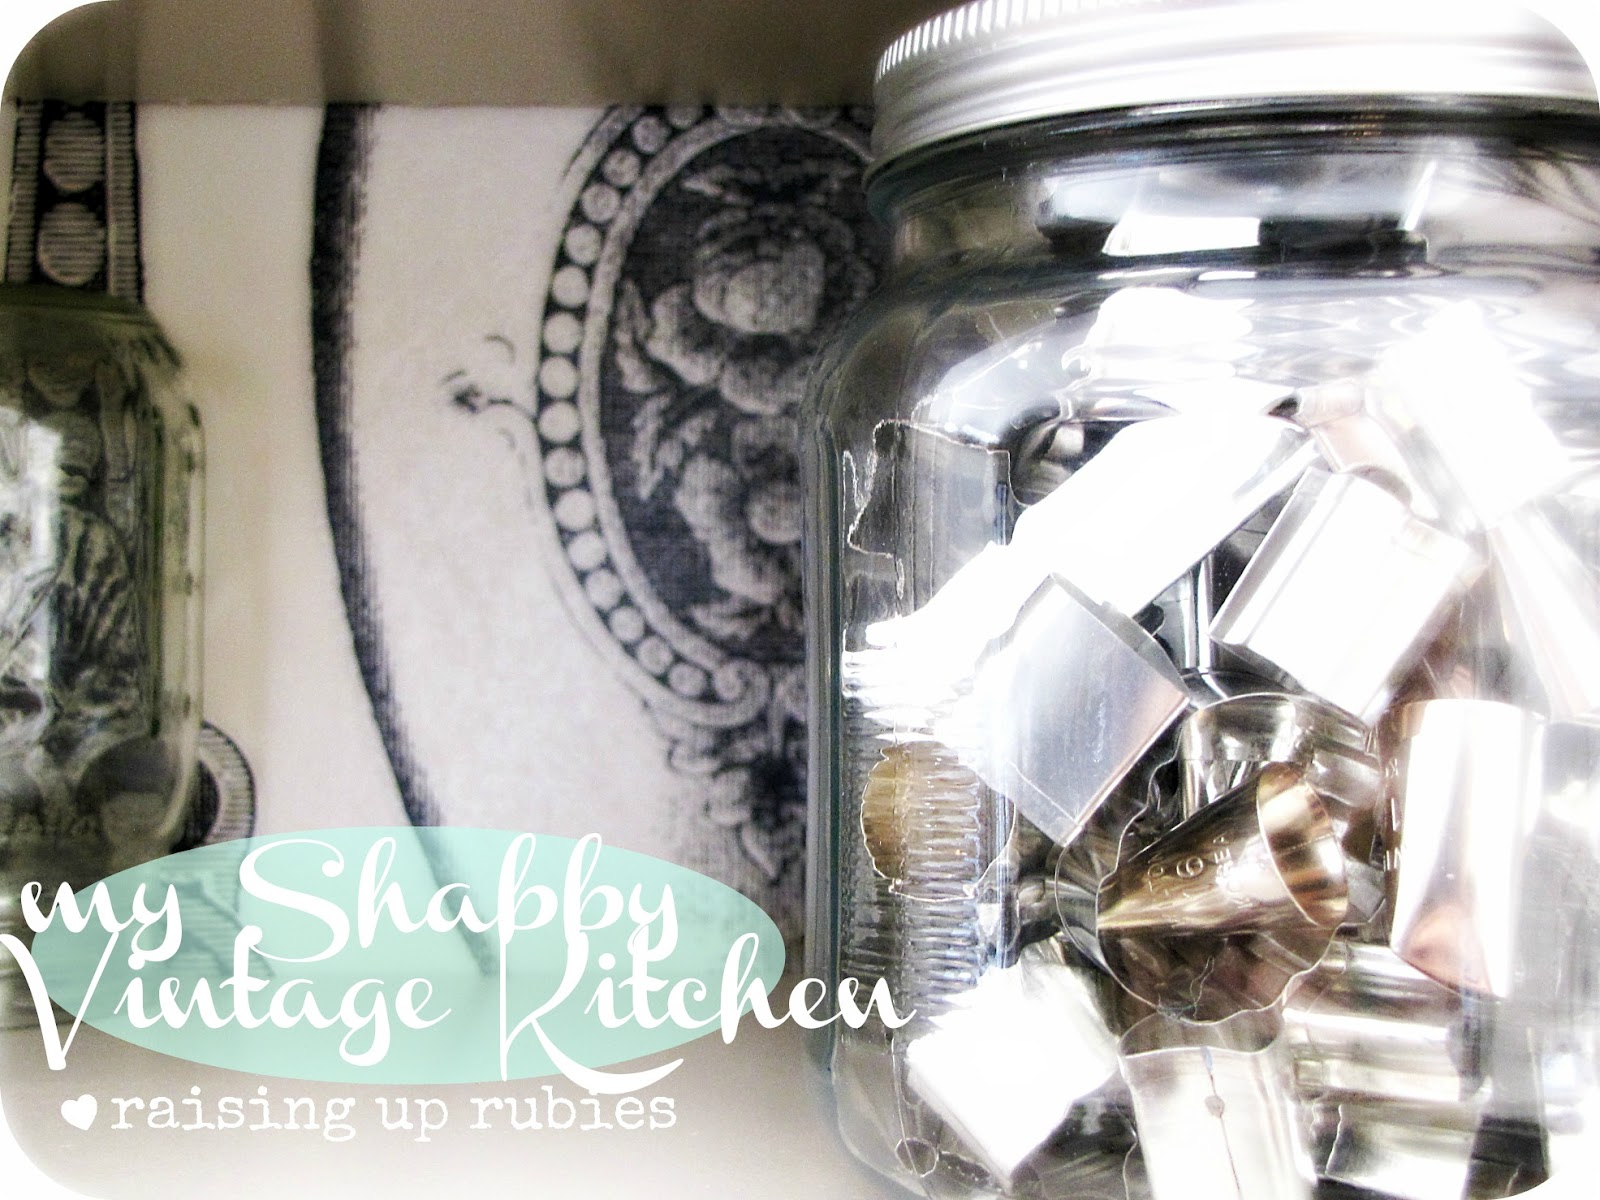
and thank you to the lovely Keren
for making this vintage mason jar image so stinkin’ cute!
   … her beautiful graphics can be the starting point for so many project ideas
i want to share this one with you today!

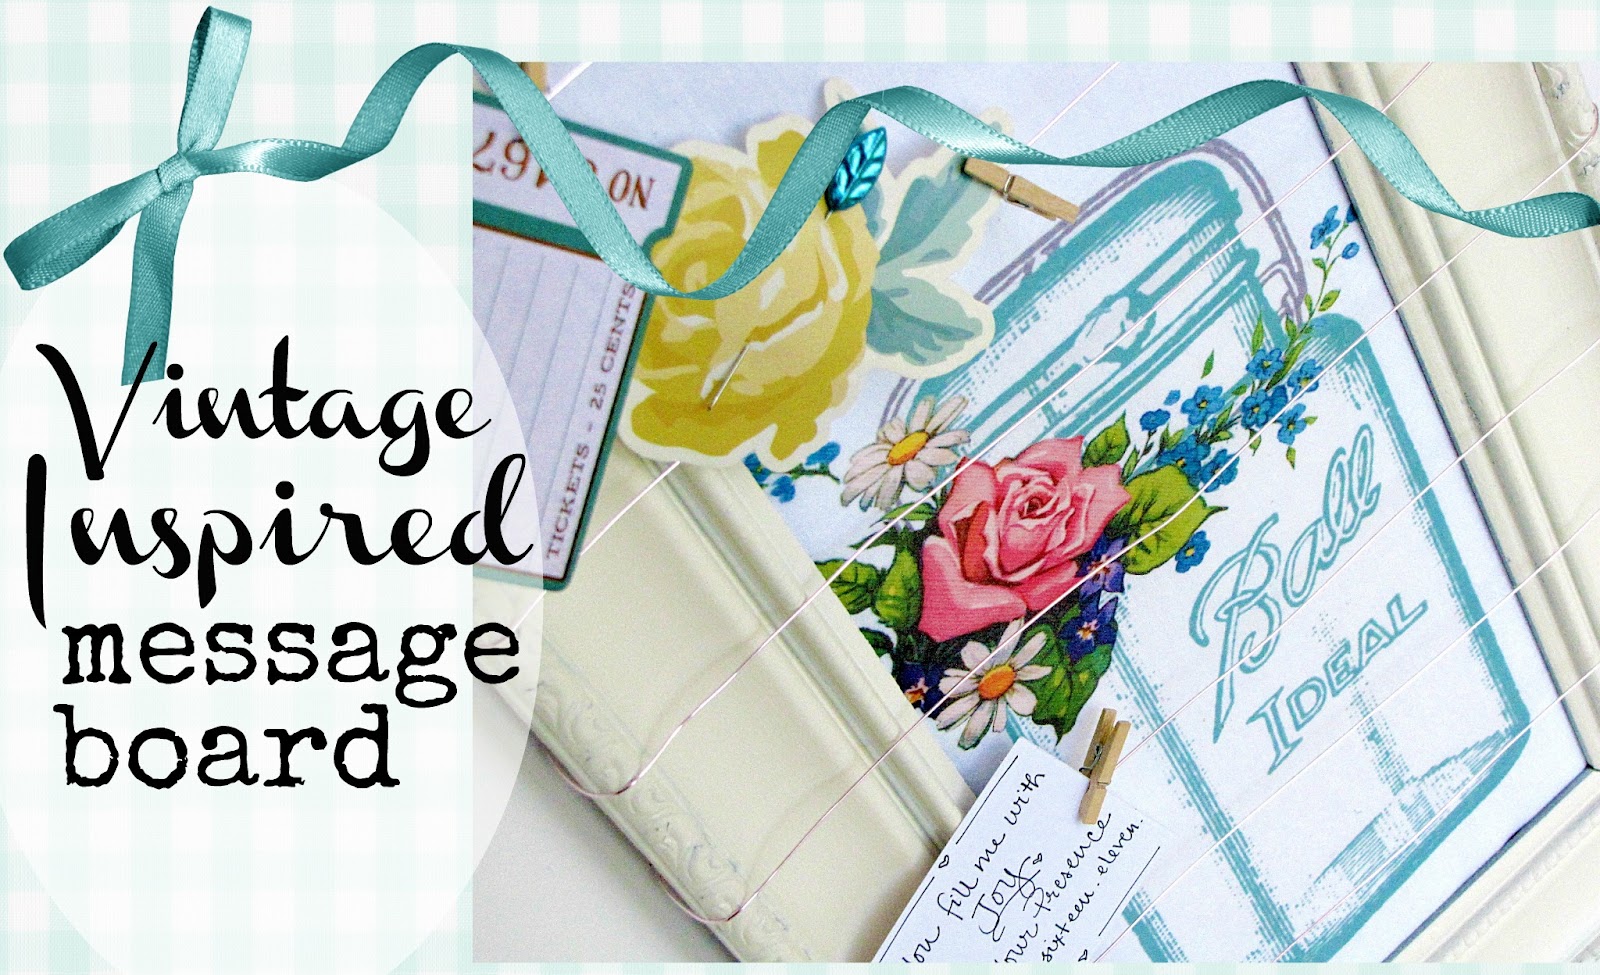
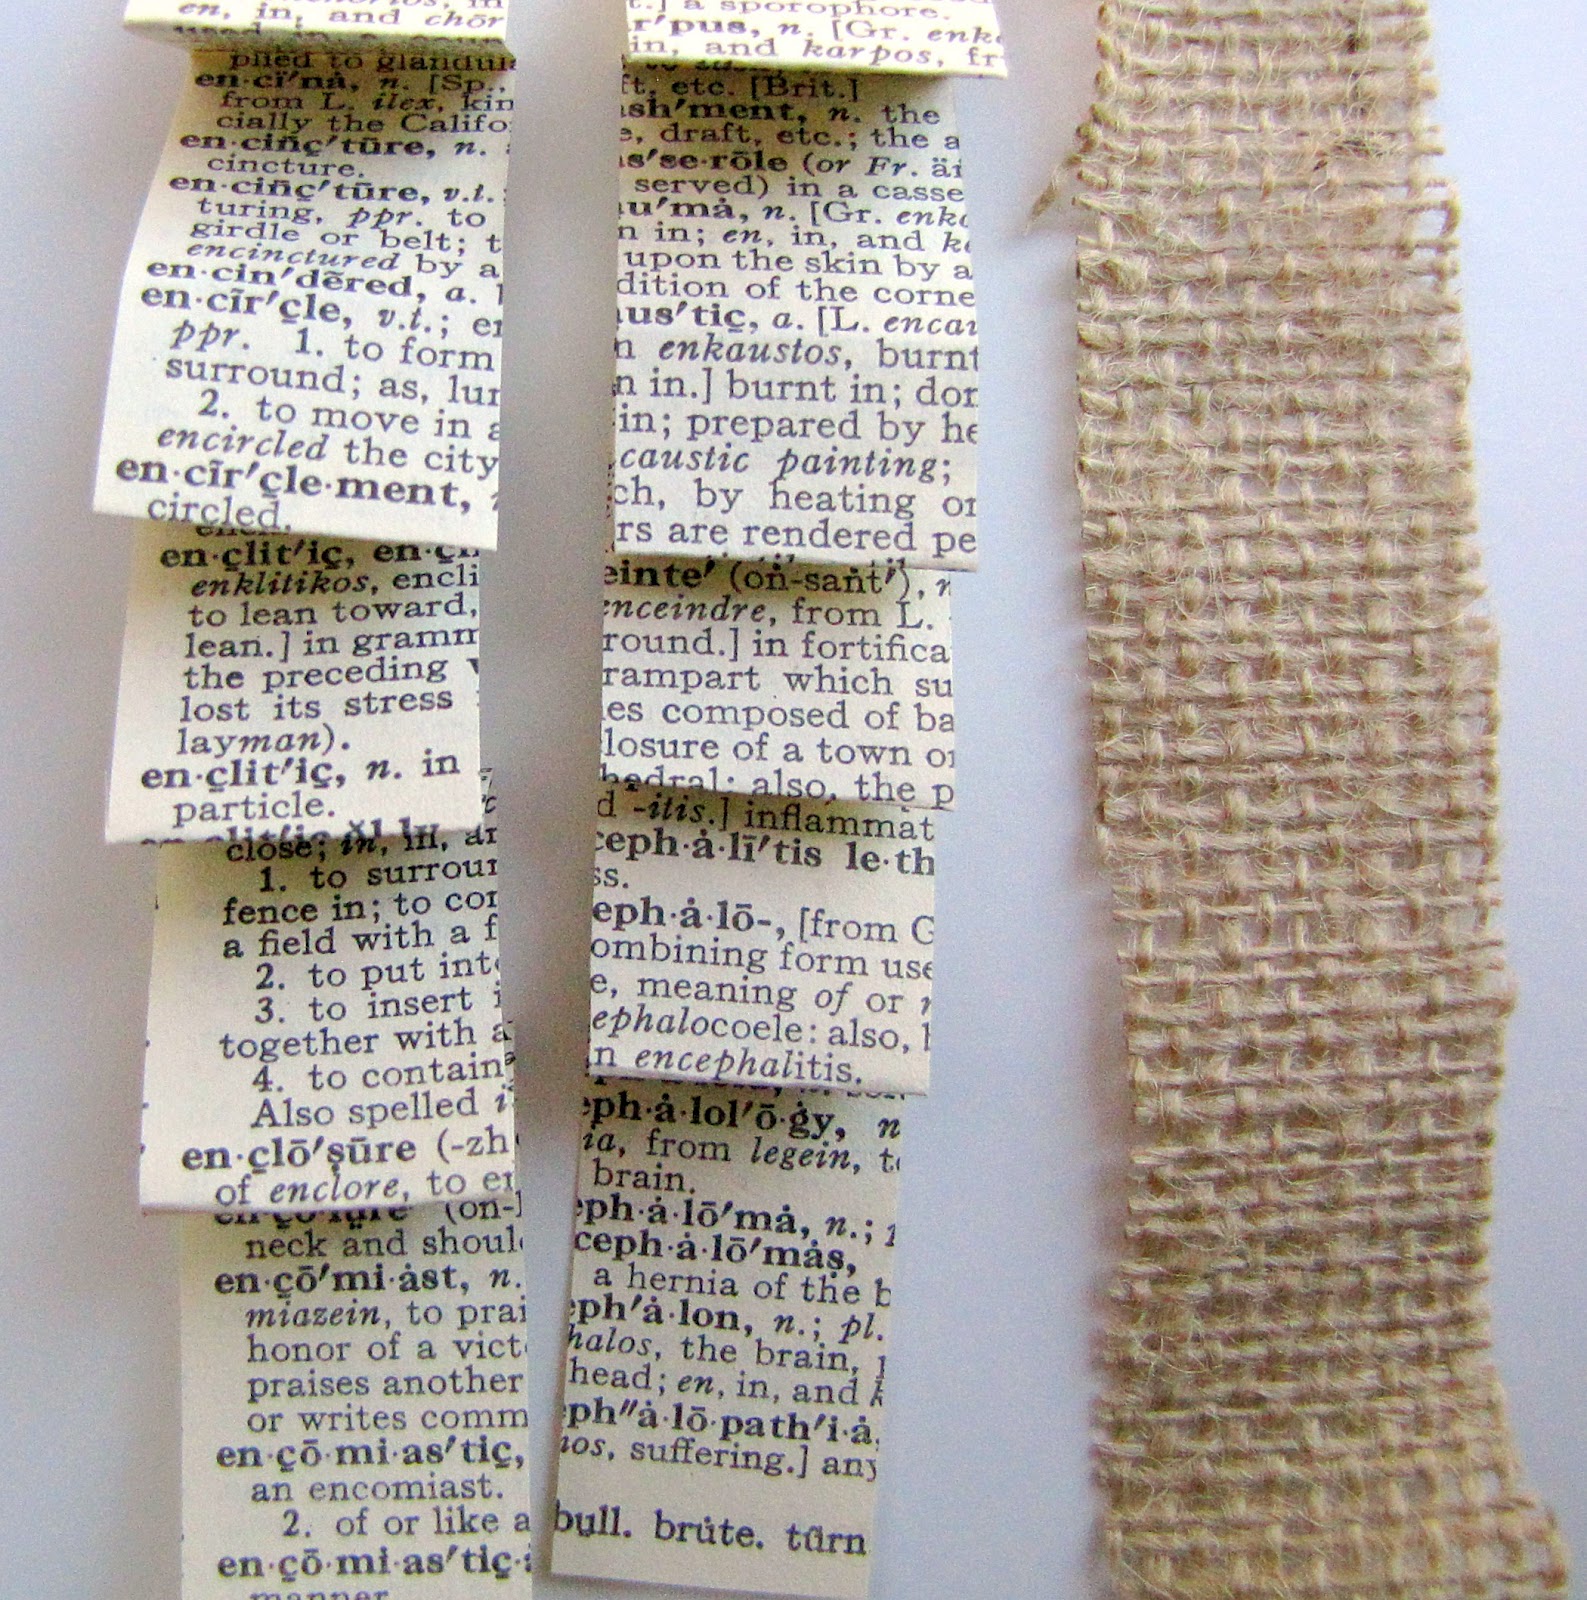
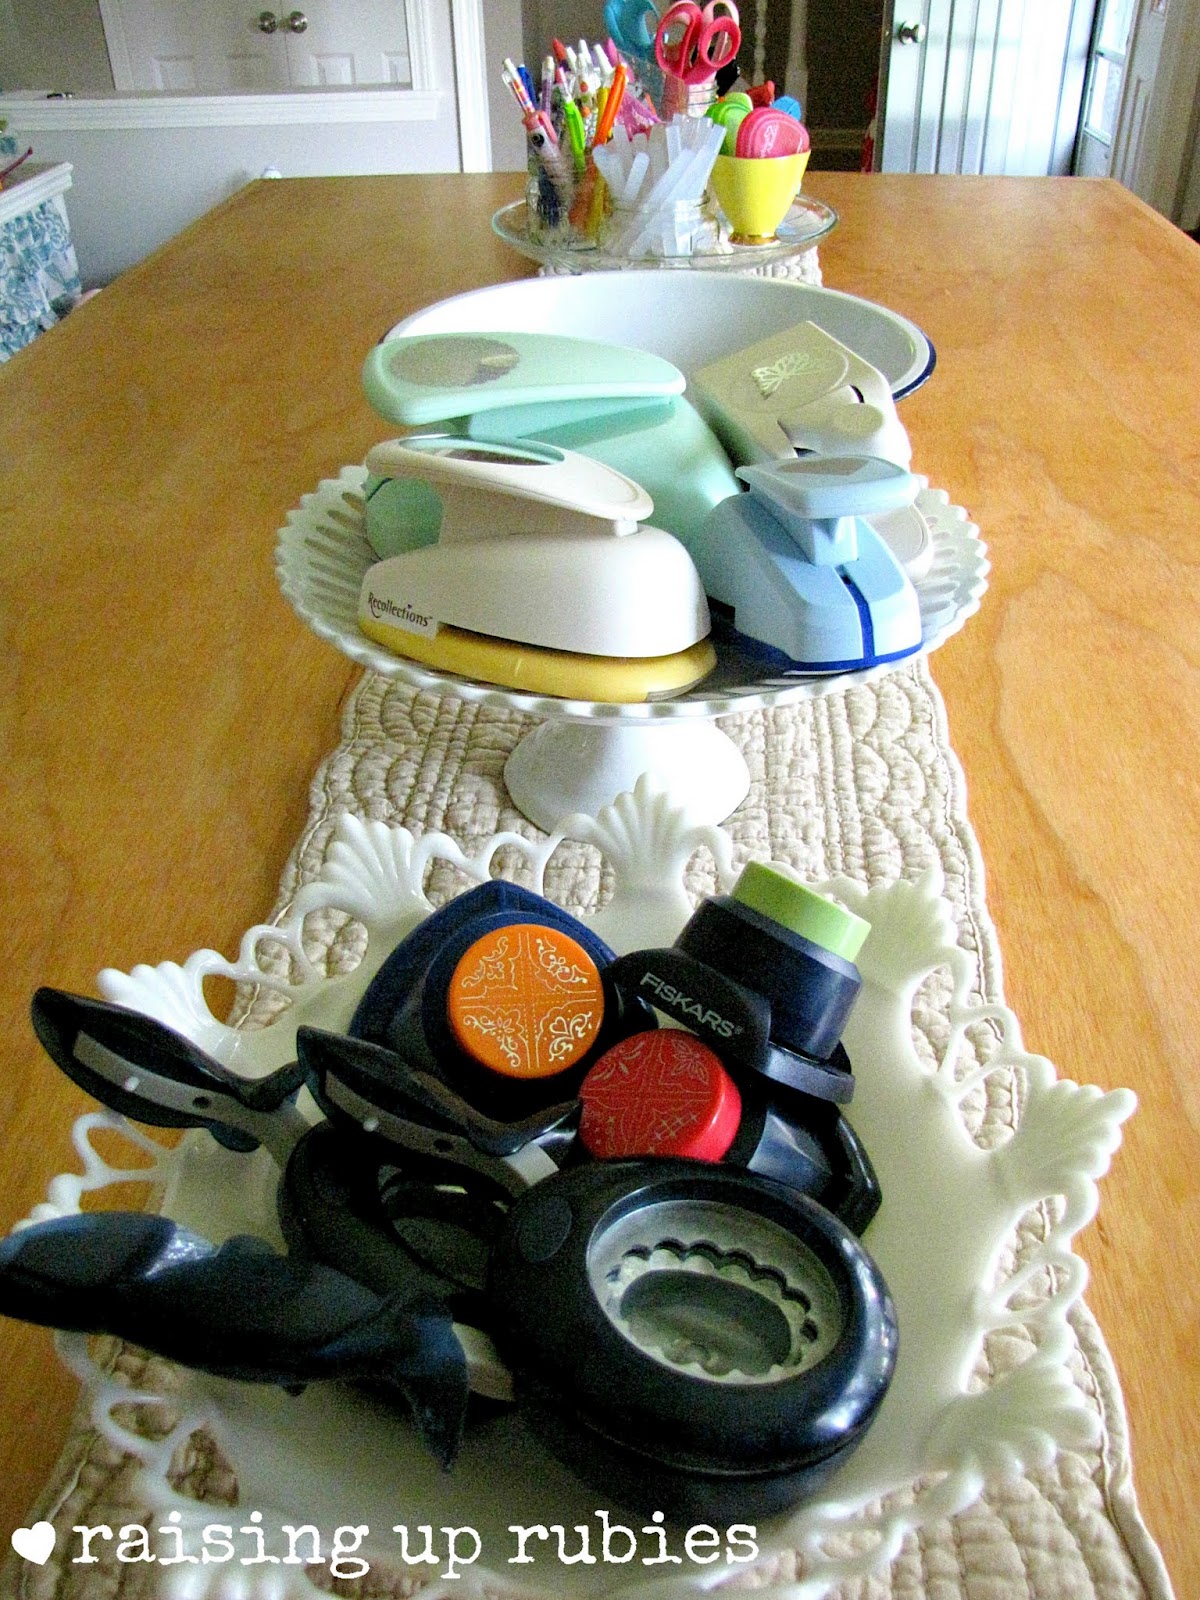
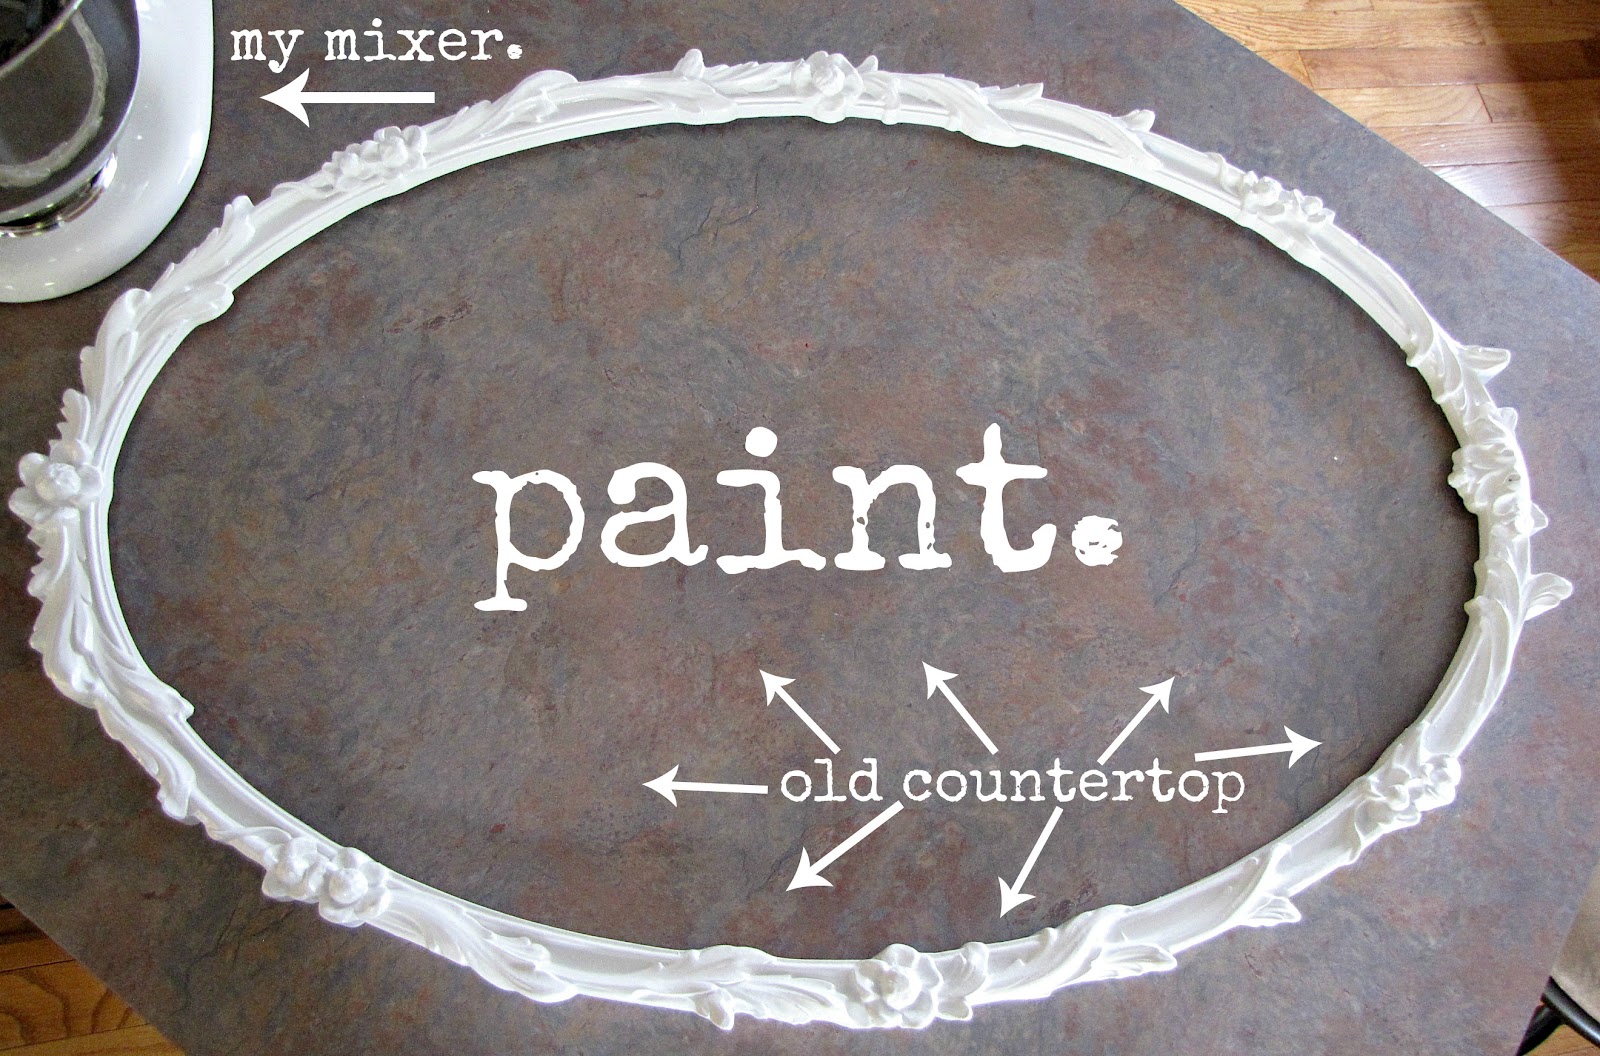
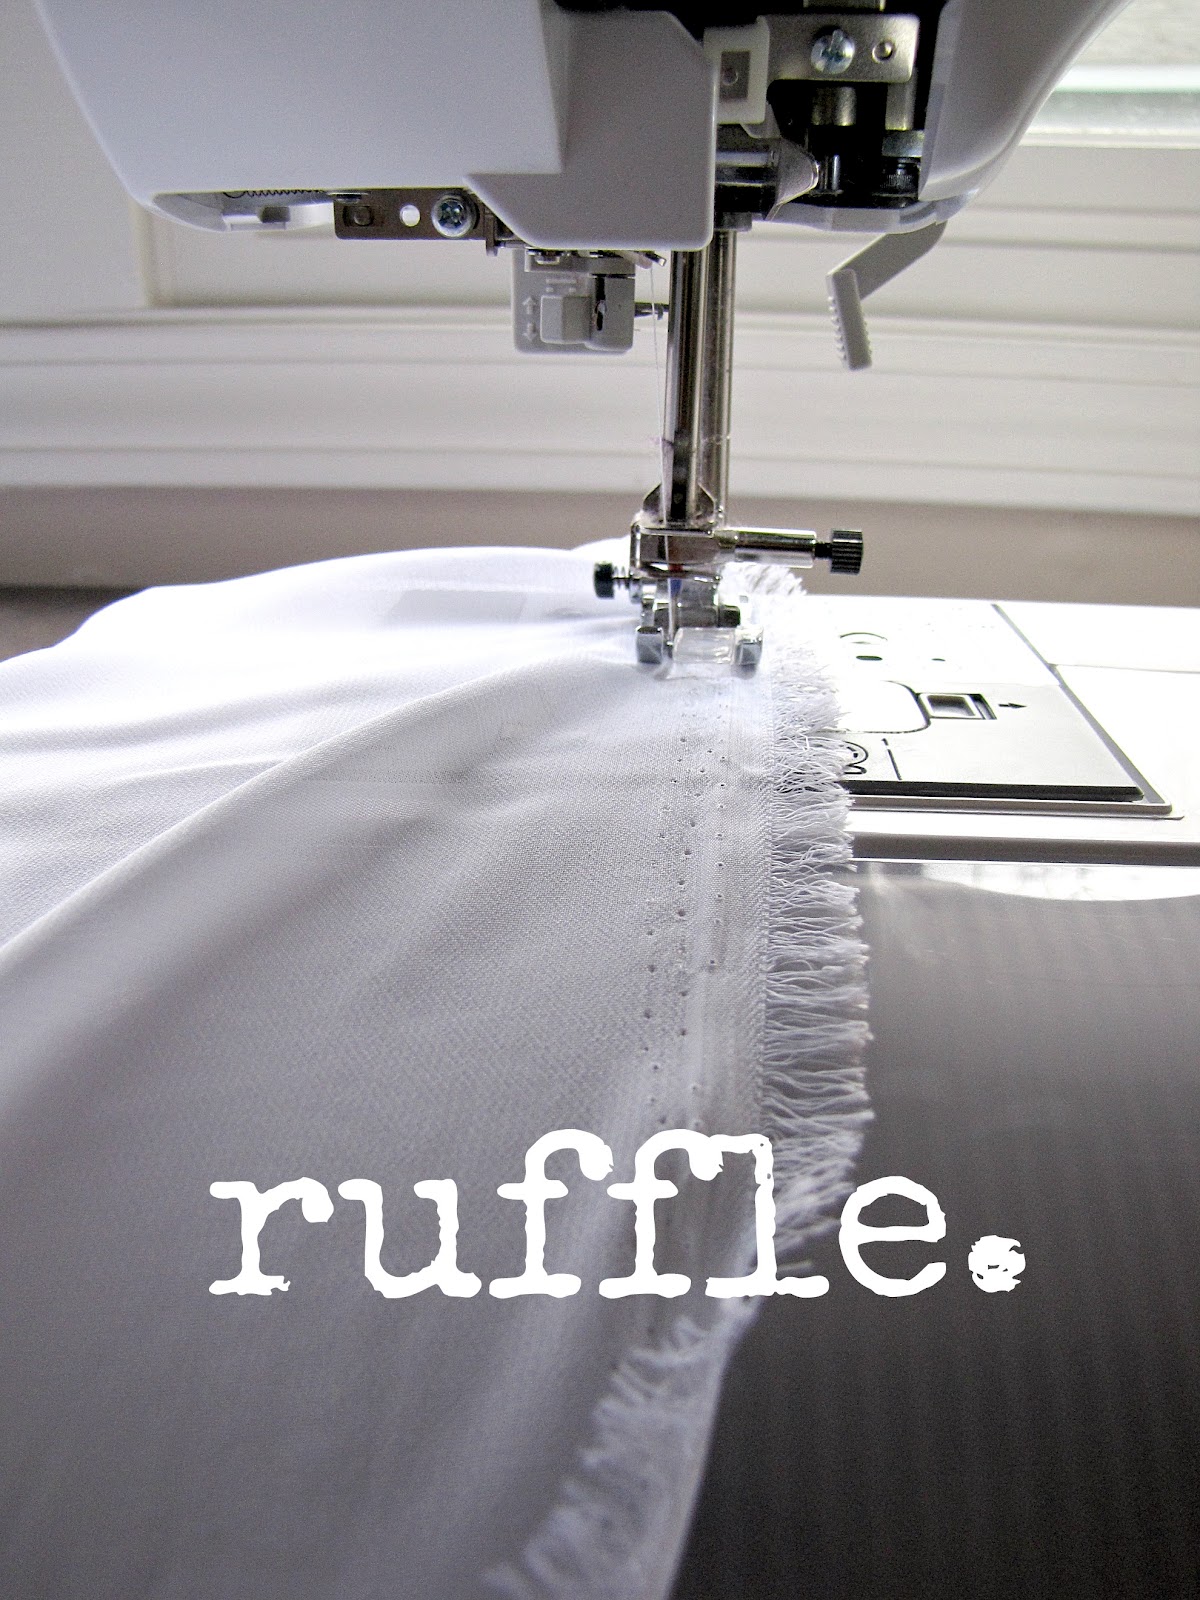
This is a super simple project that requires just a little prep work,
and can be done with any image and with any size frame.

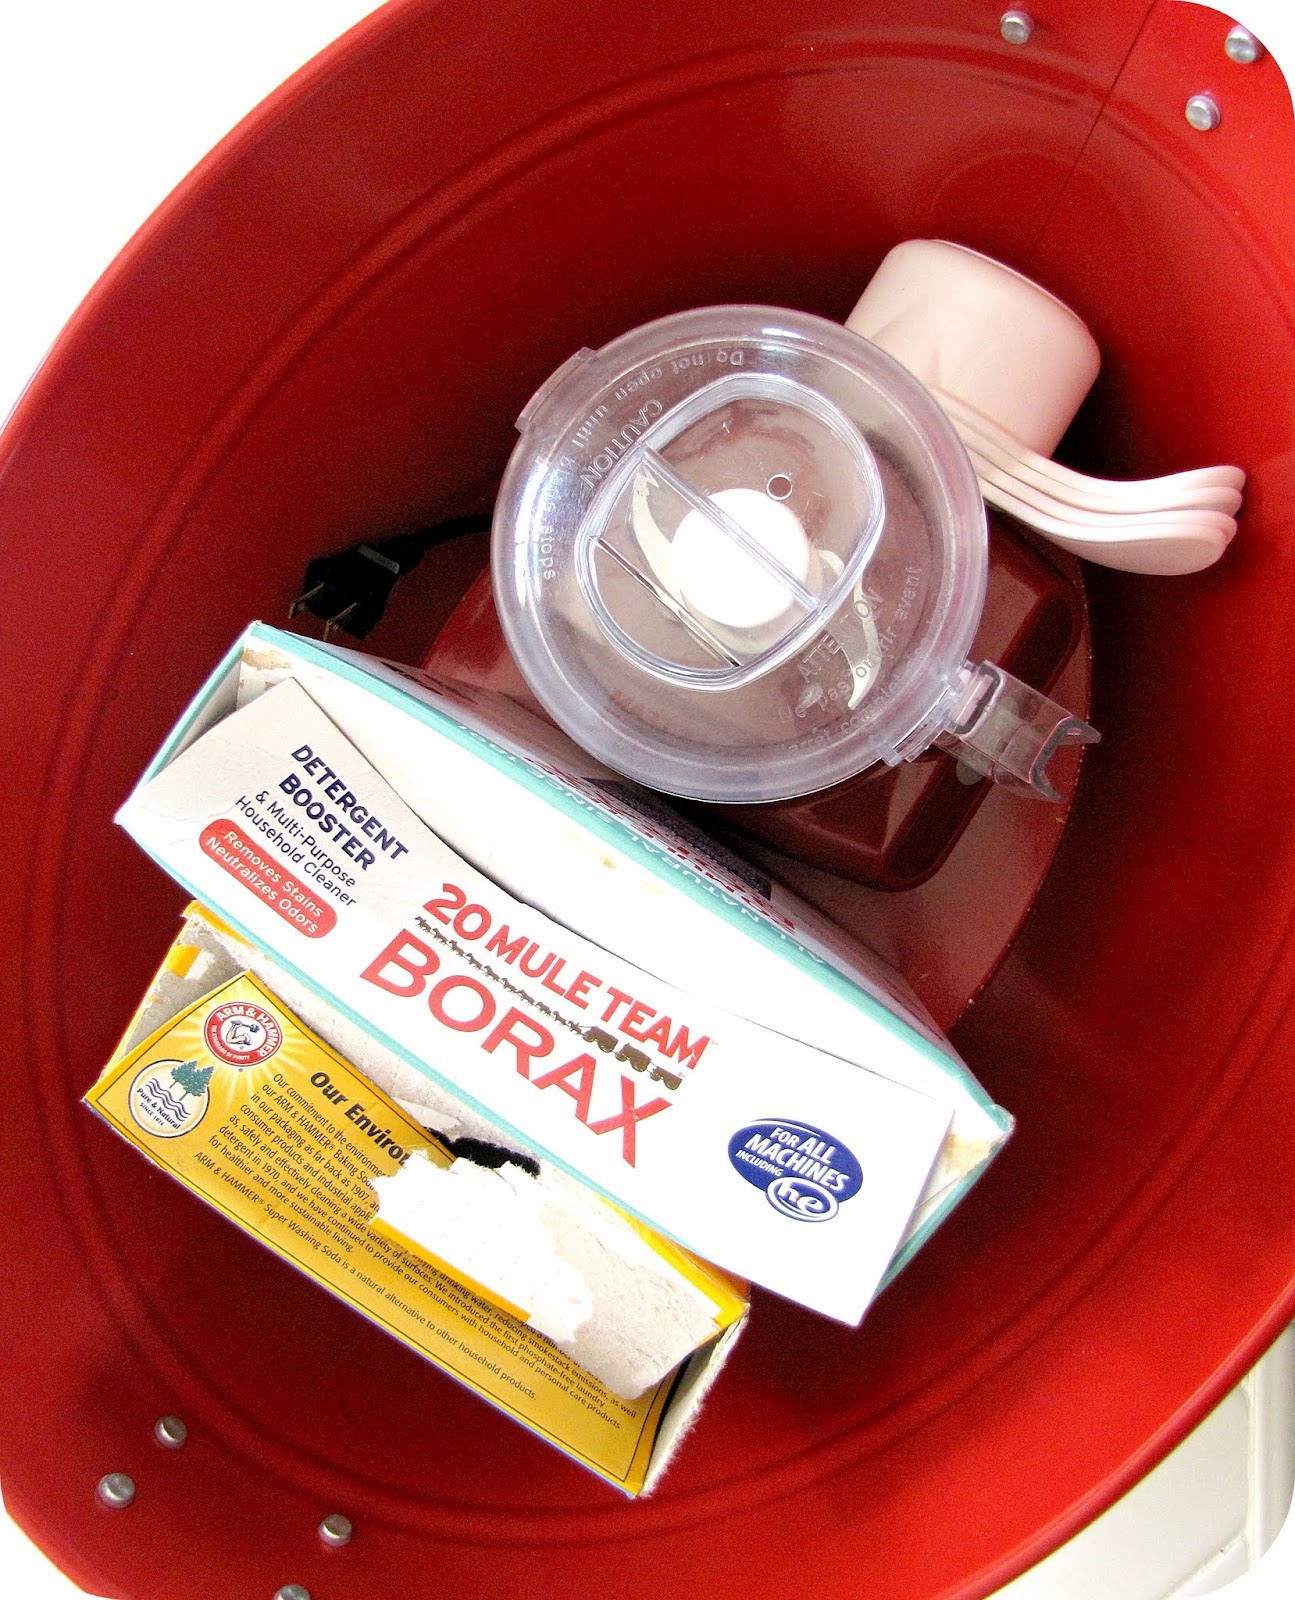
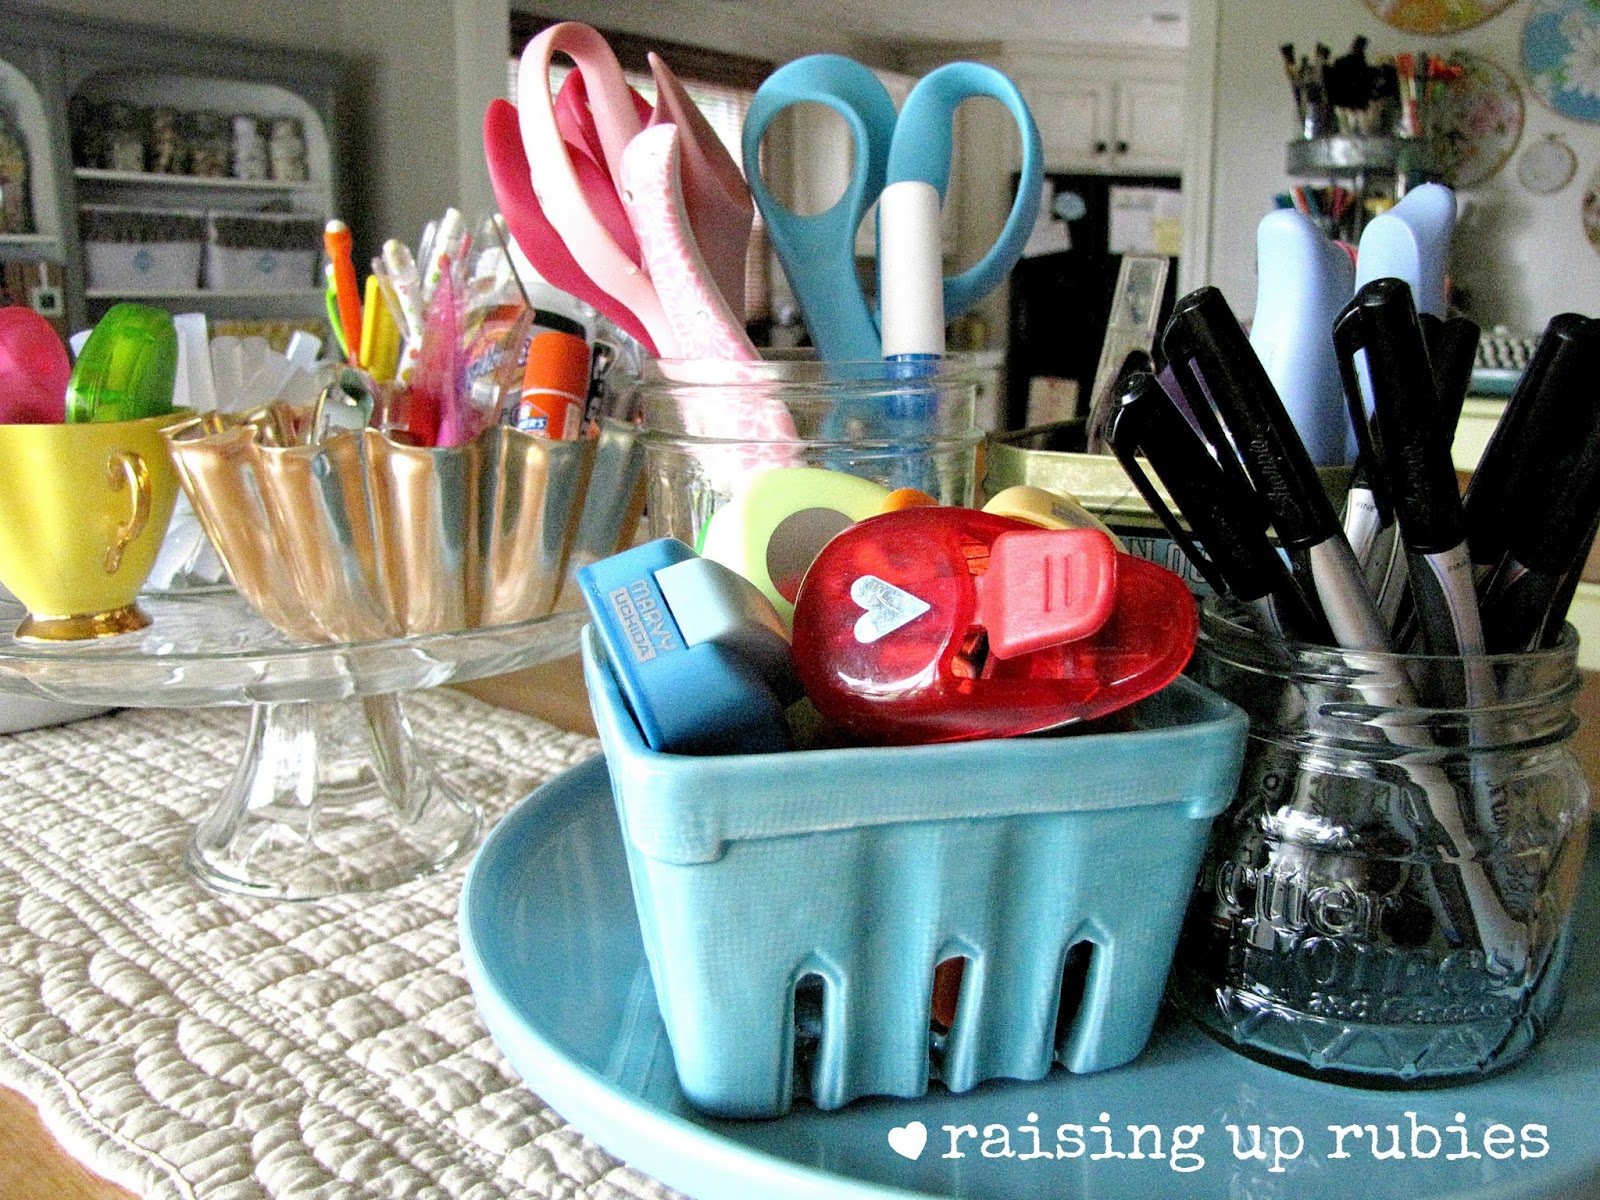
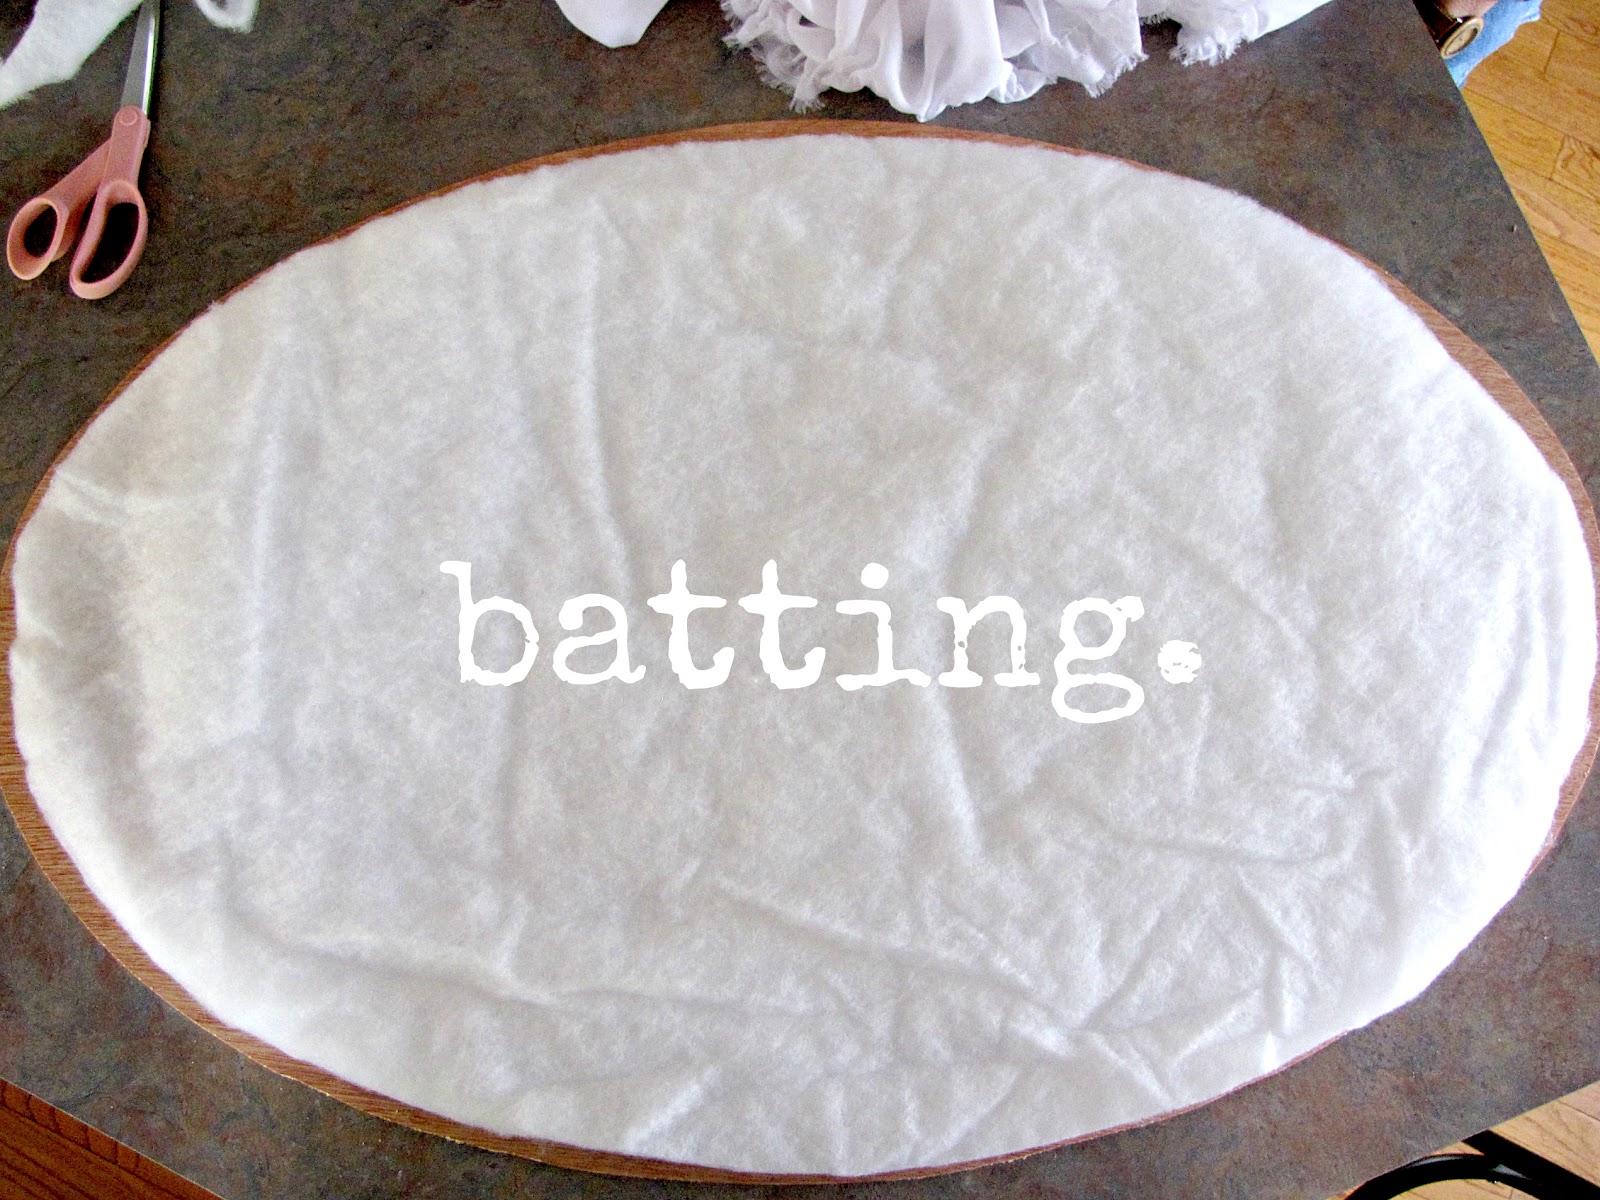
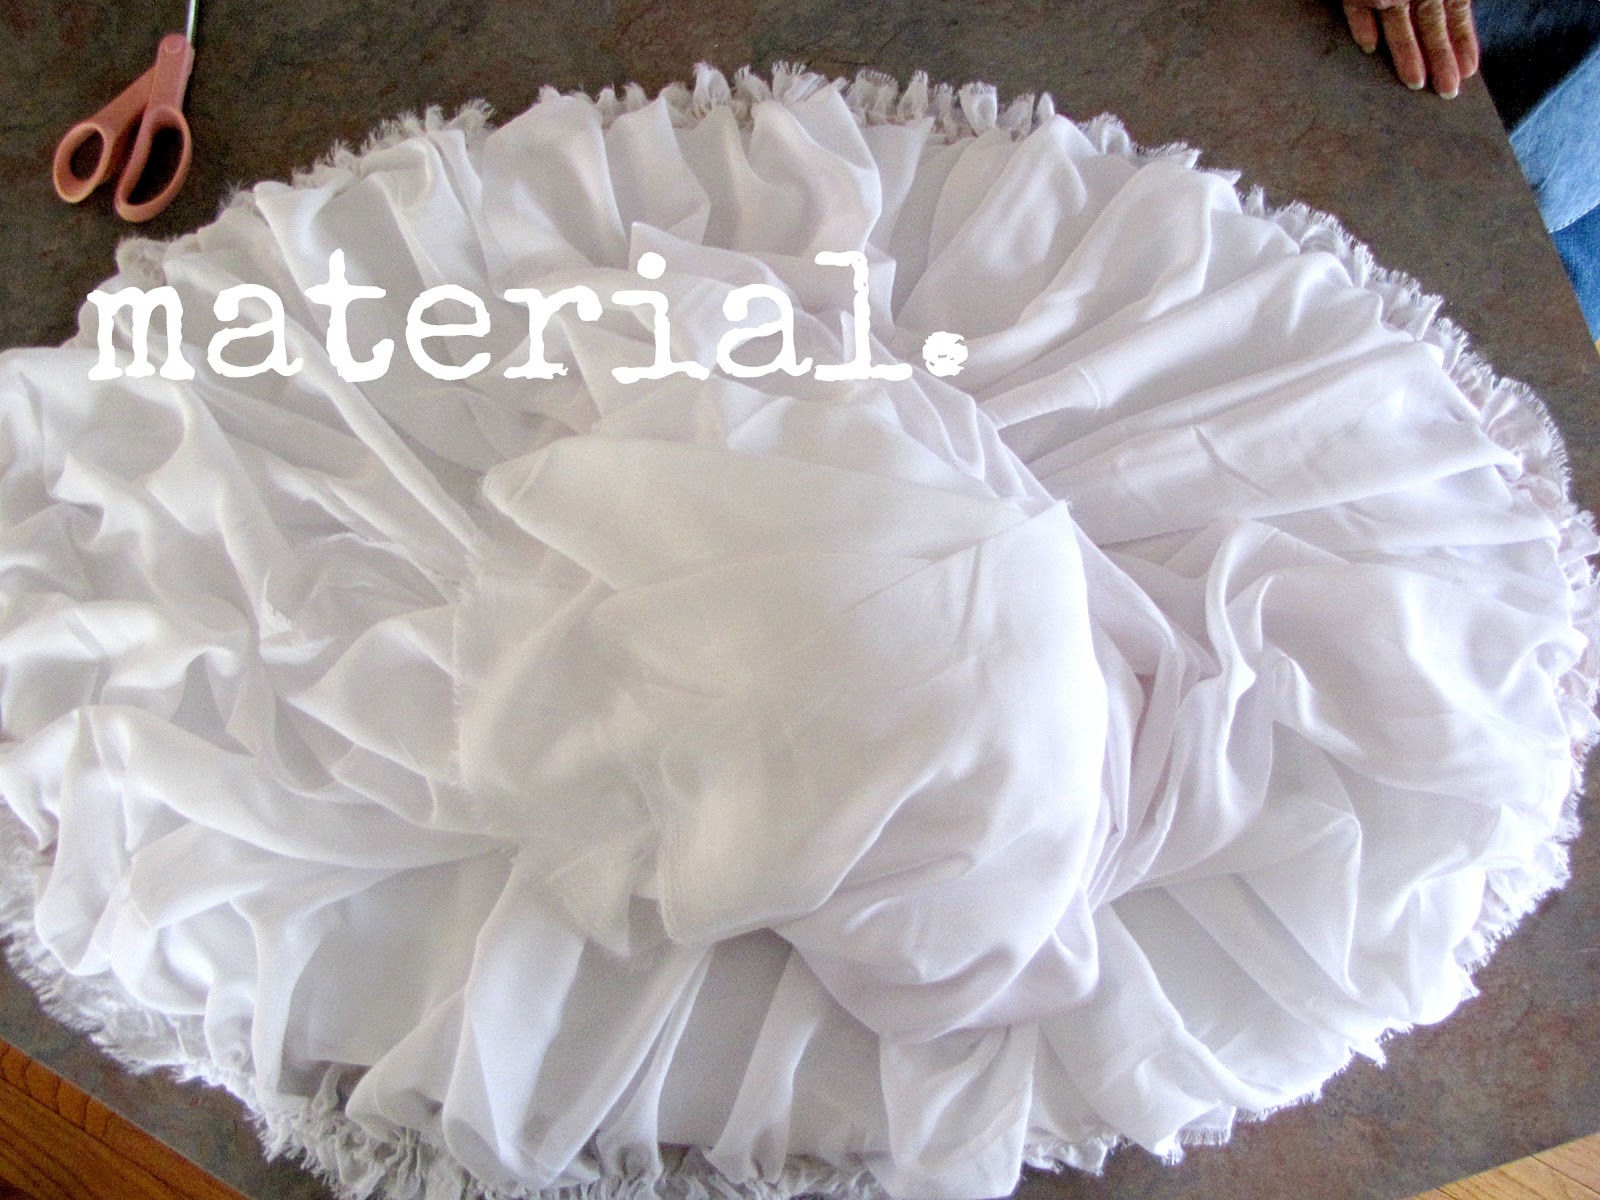
I used some white muslin {any fabric will do} 
white fleece
22 gauge wire {with the jewelry making supplies at any craft store}
iron on transfer sheets ~ I used these
staple gun or flat thumbtacks {not pictured}
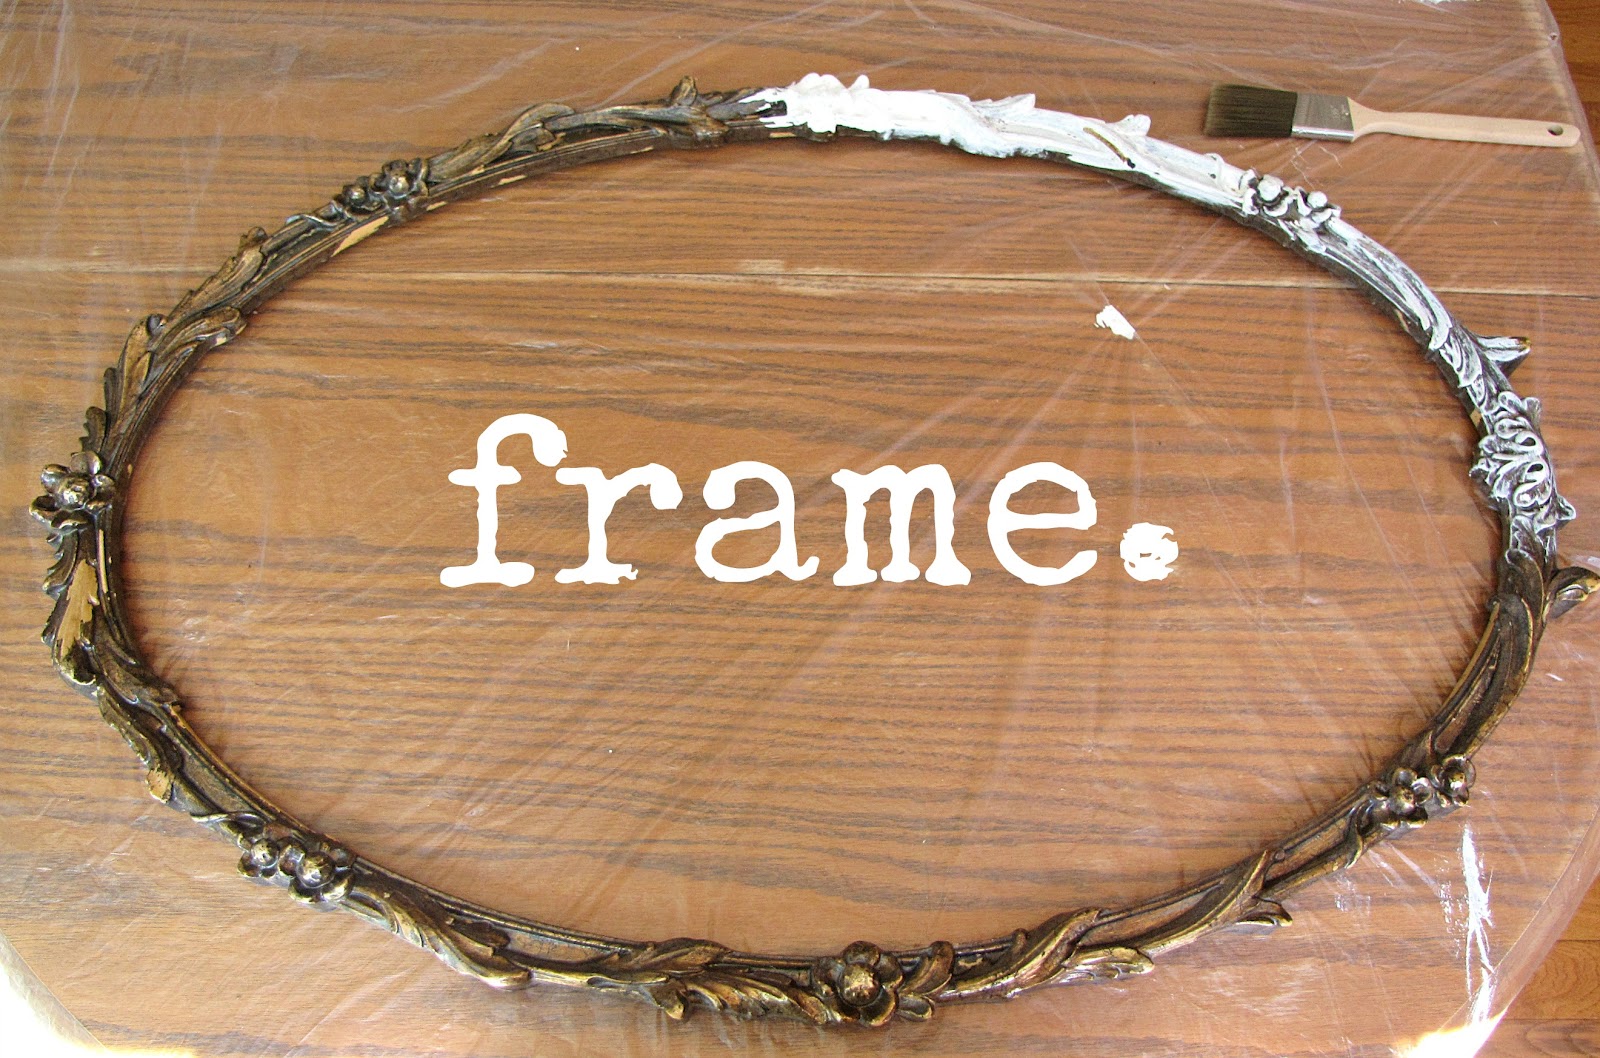
and of course a frame  { i found mine at Goodwill
and spray painted it white ahead of time }

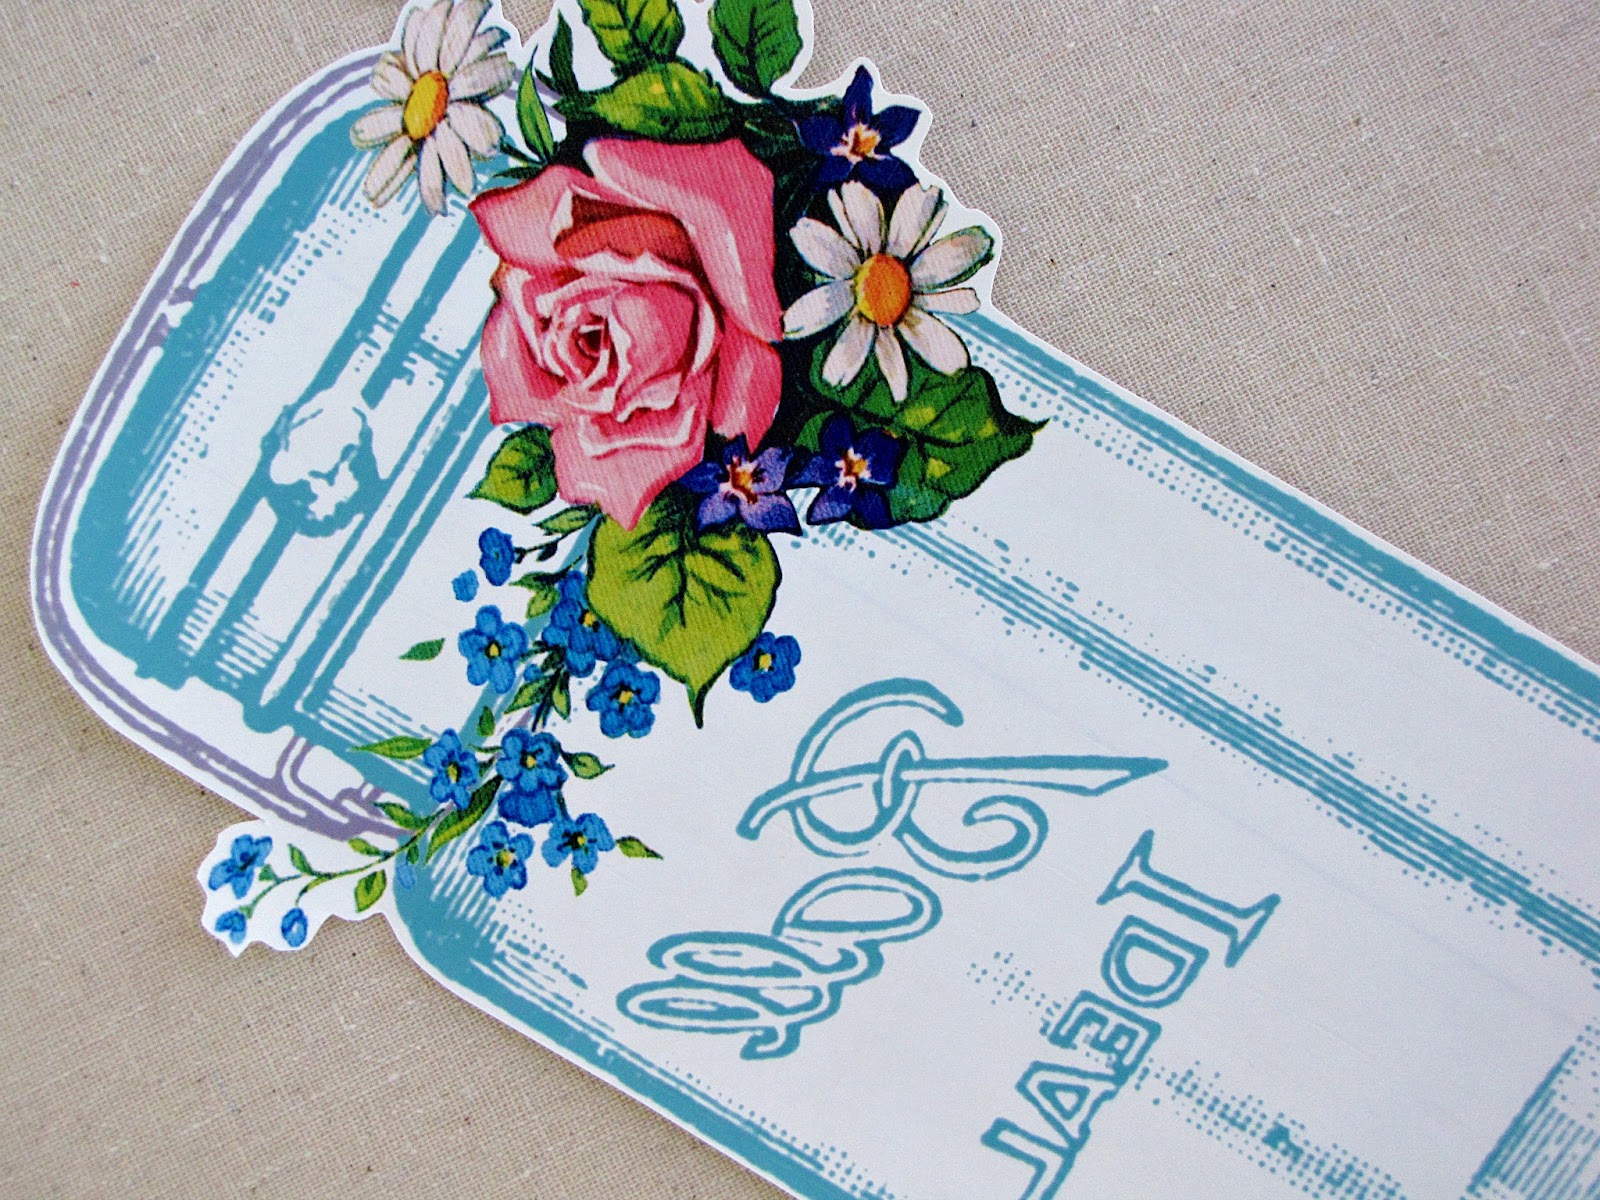
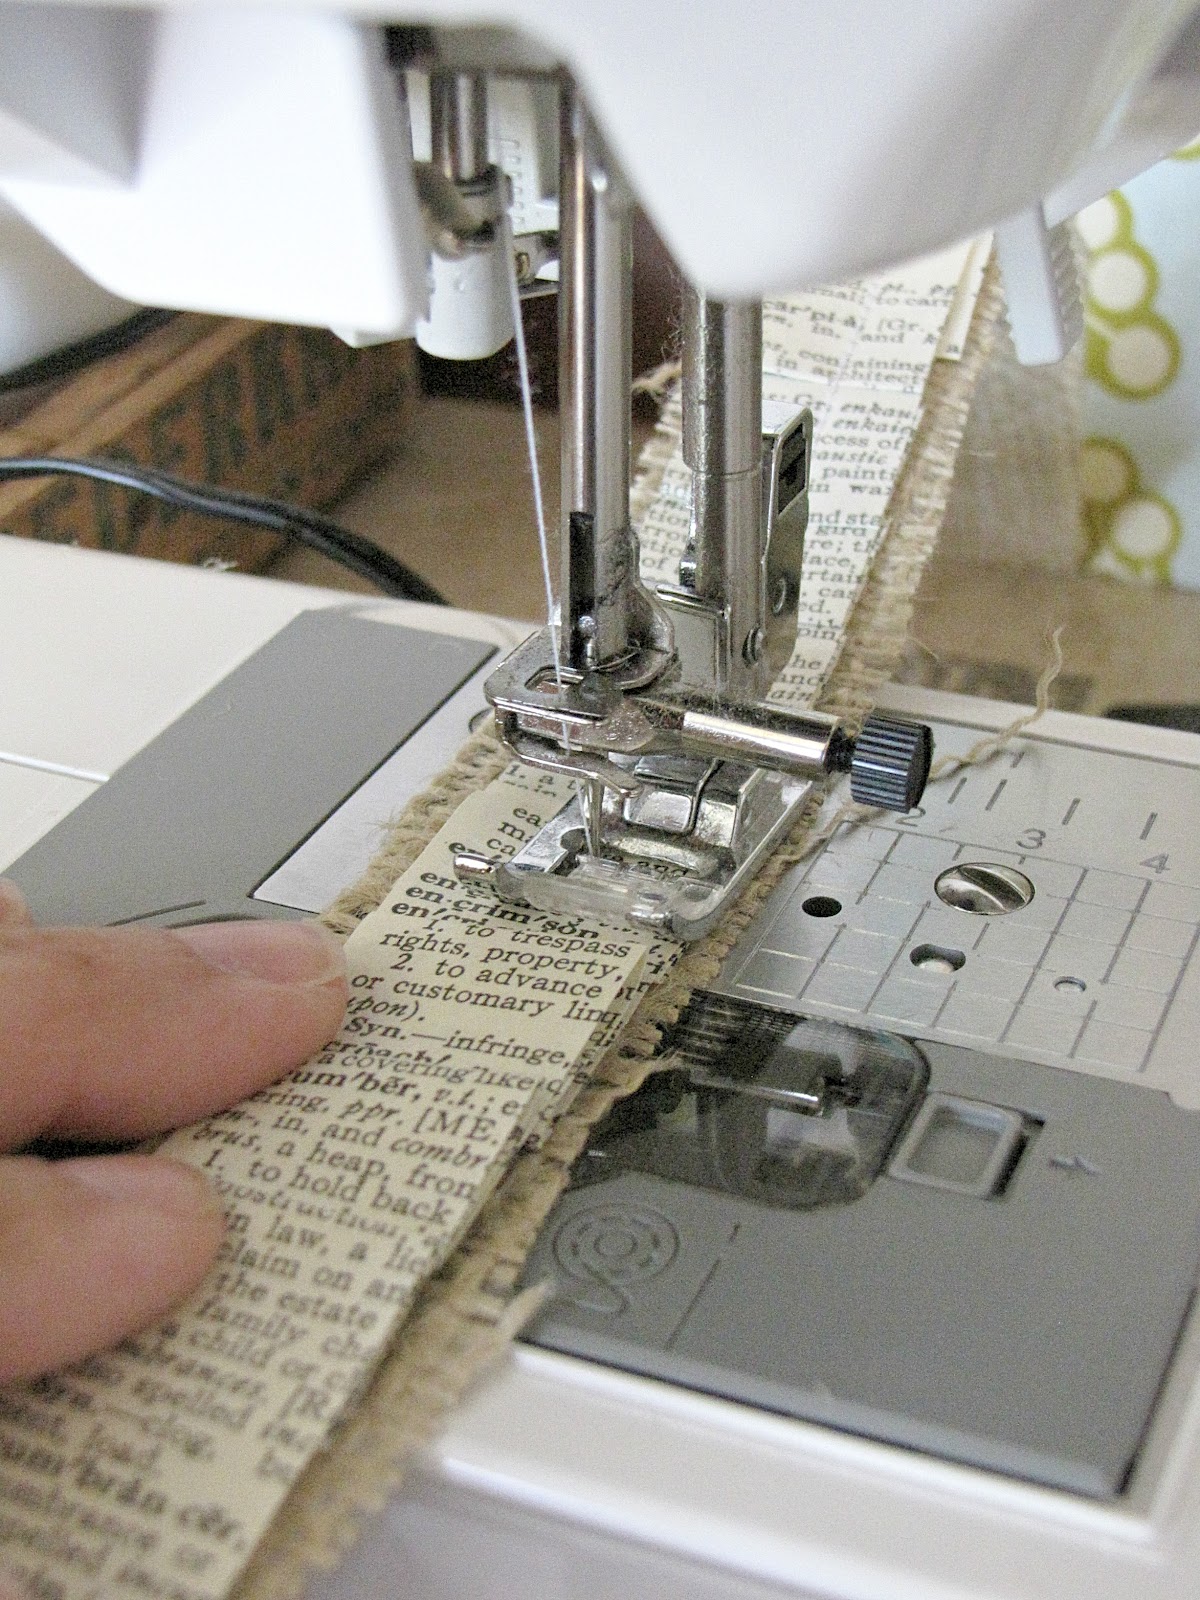
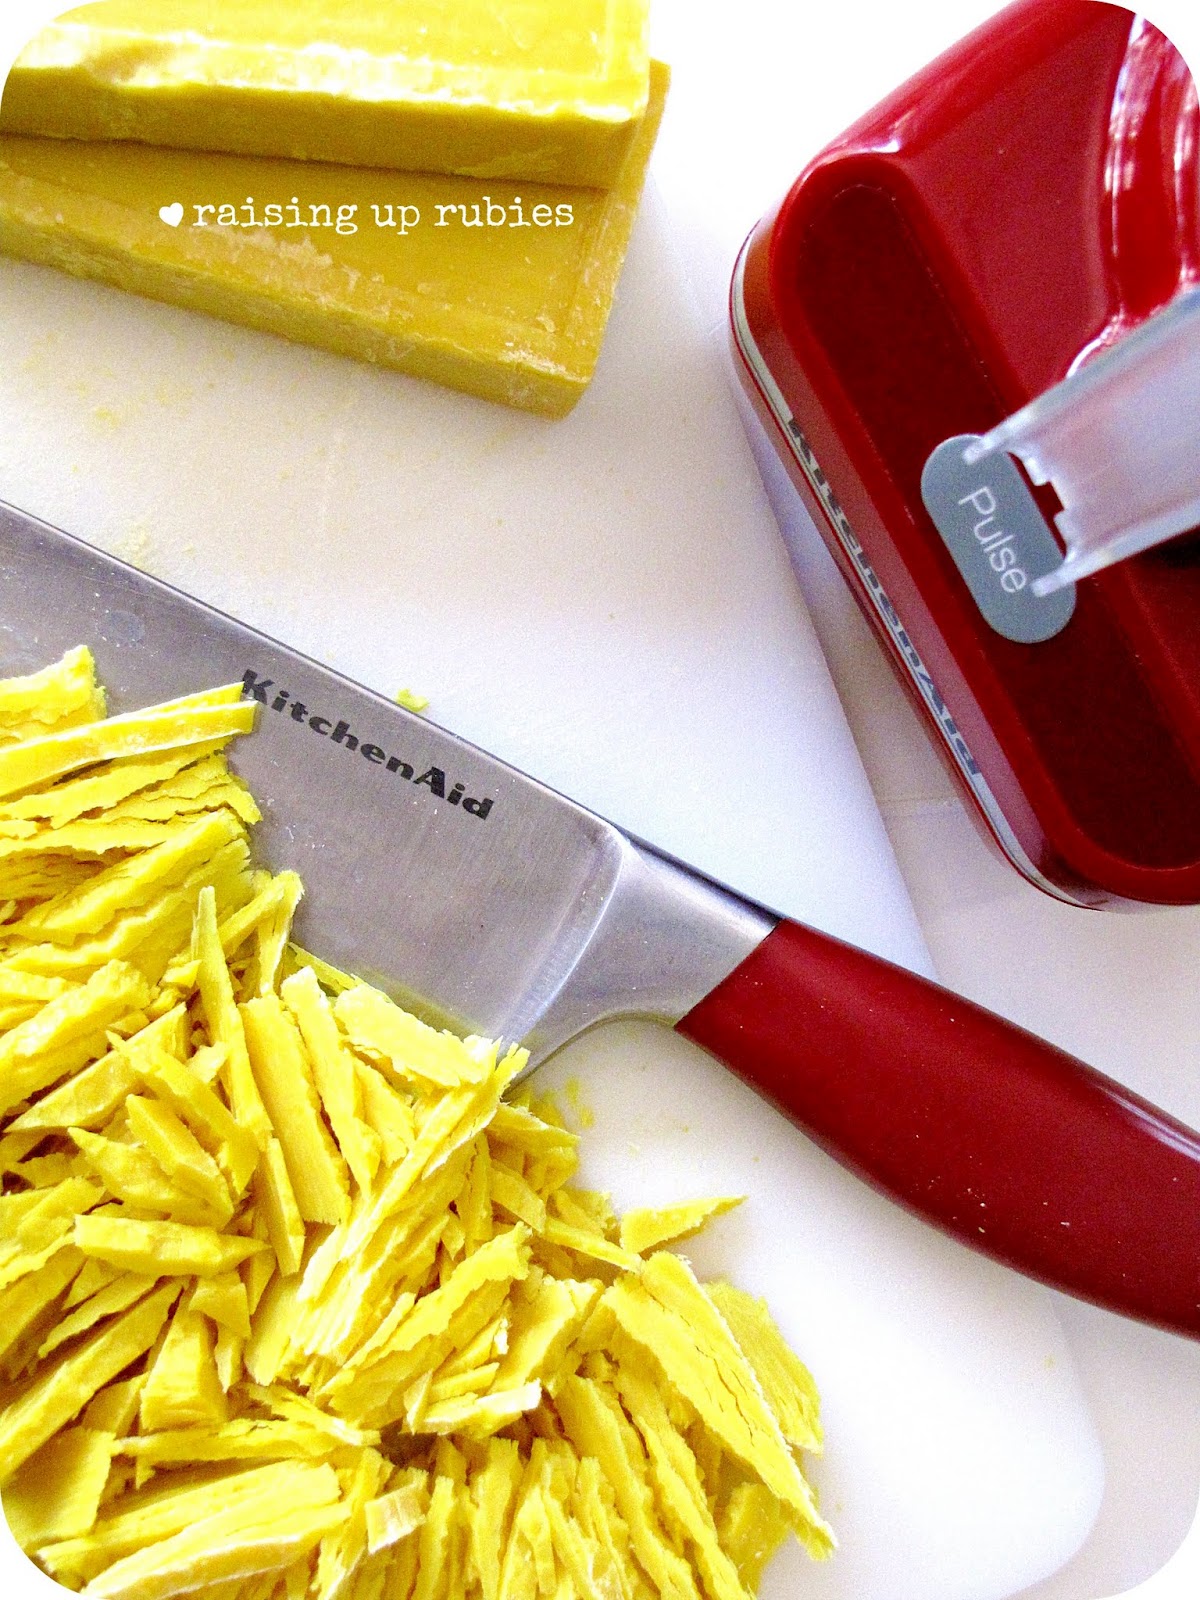
After following the directions on the back of the transfer sheet package,
(make sure you print your image in reverse!)
I cut the image out, very close to the edge before ironing it on to my fabric.

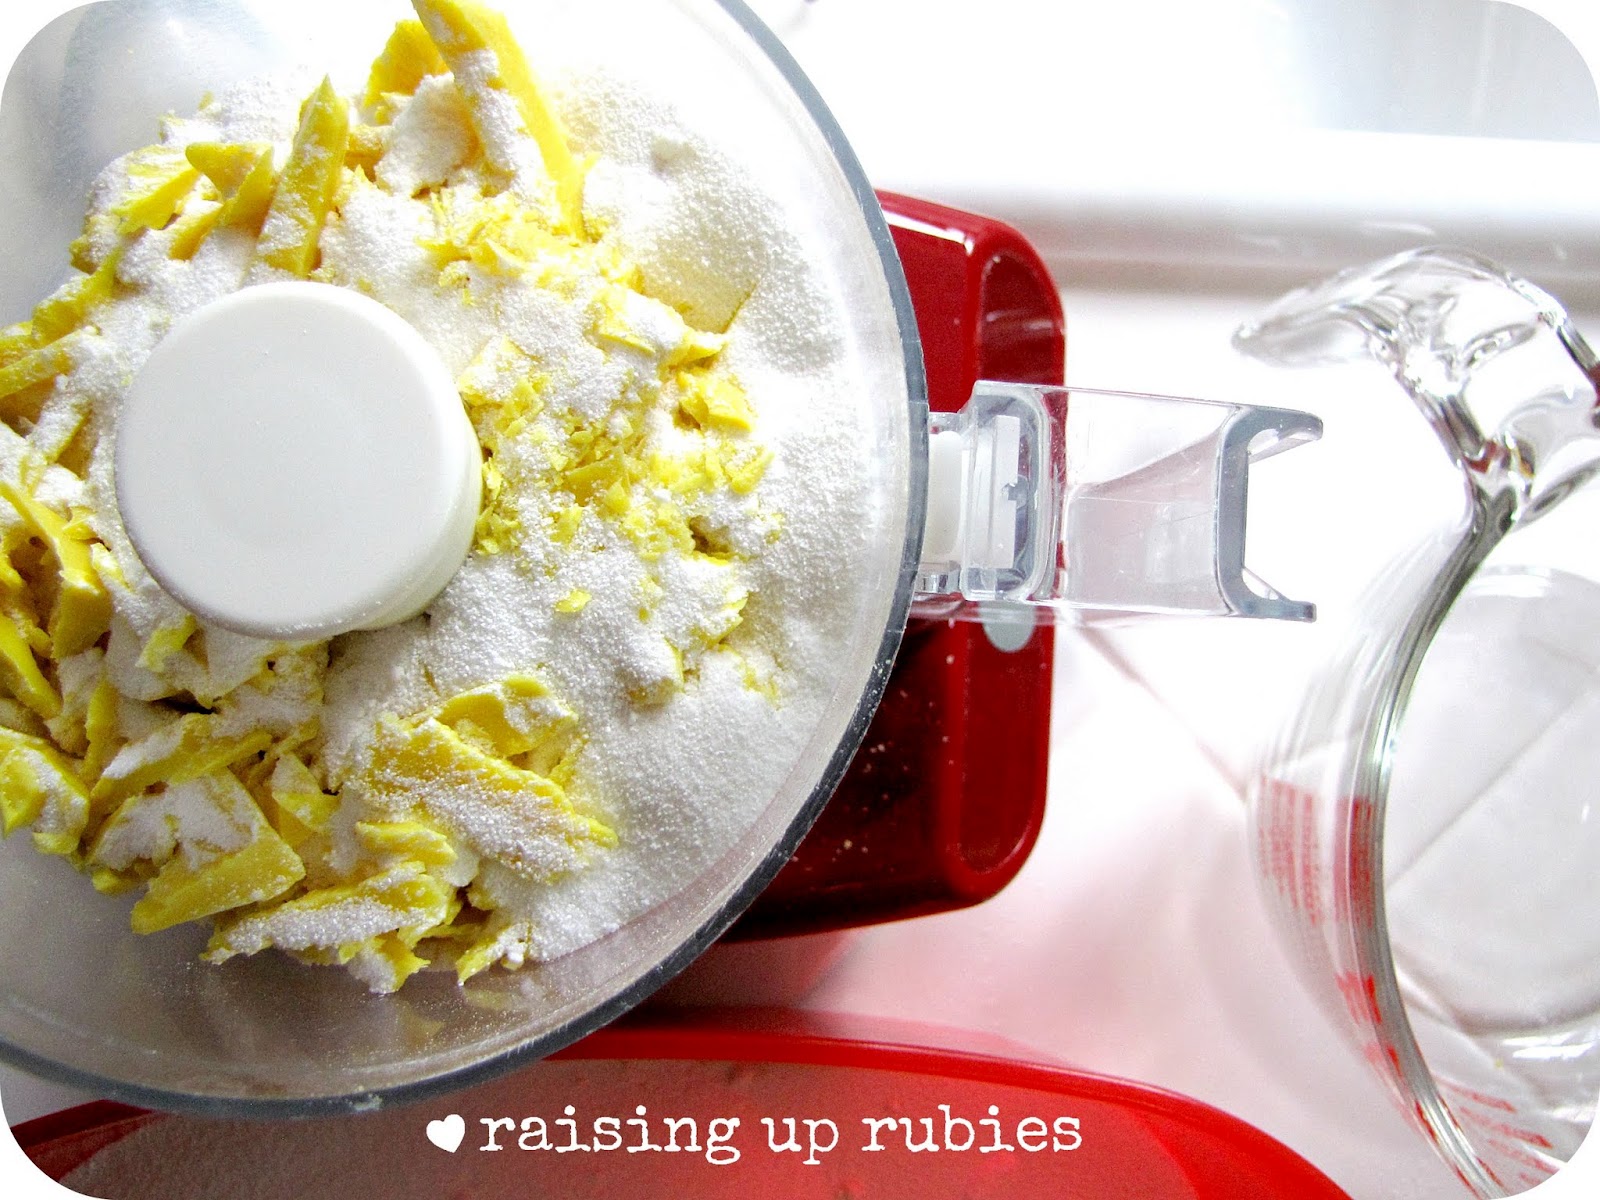
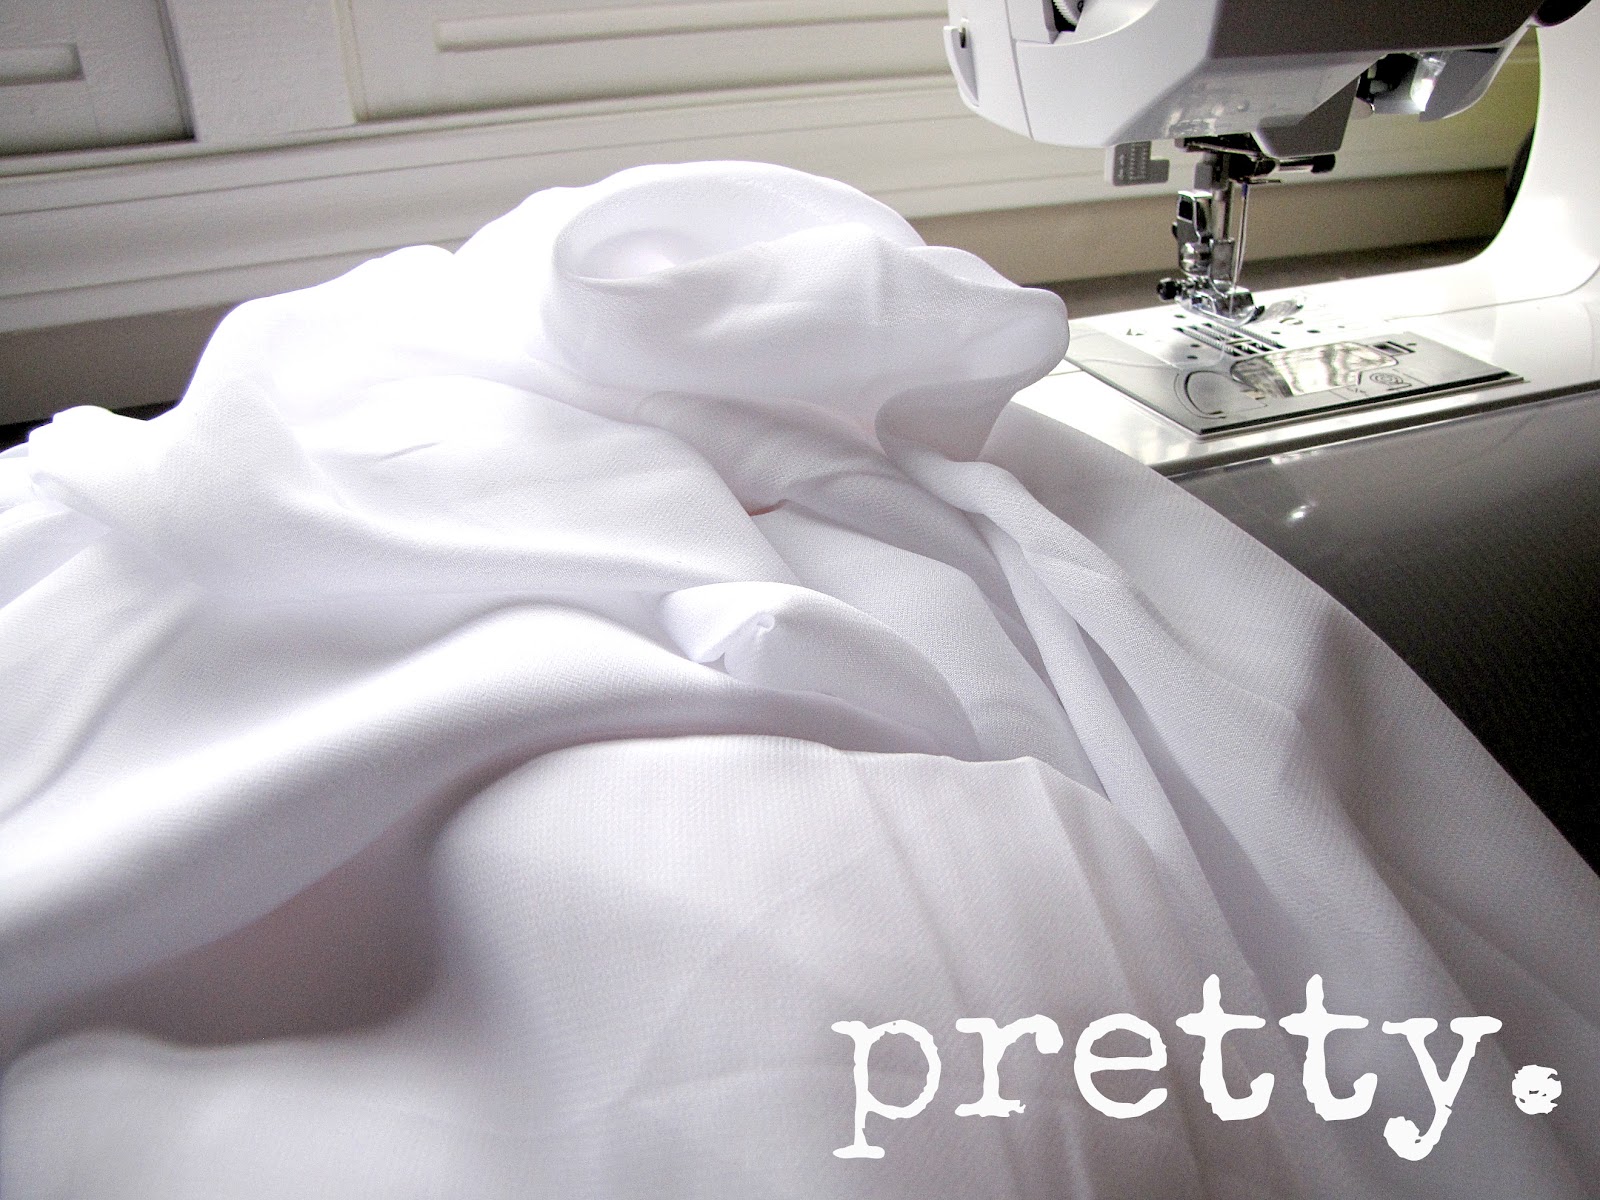
After it cools, peel the paper off of the image … so pretty!
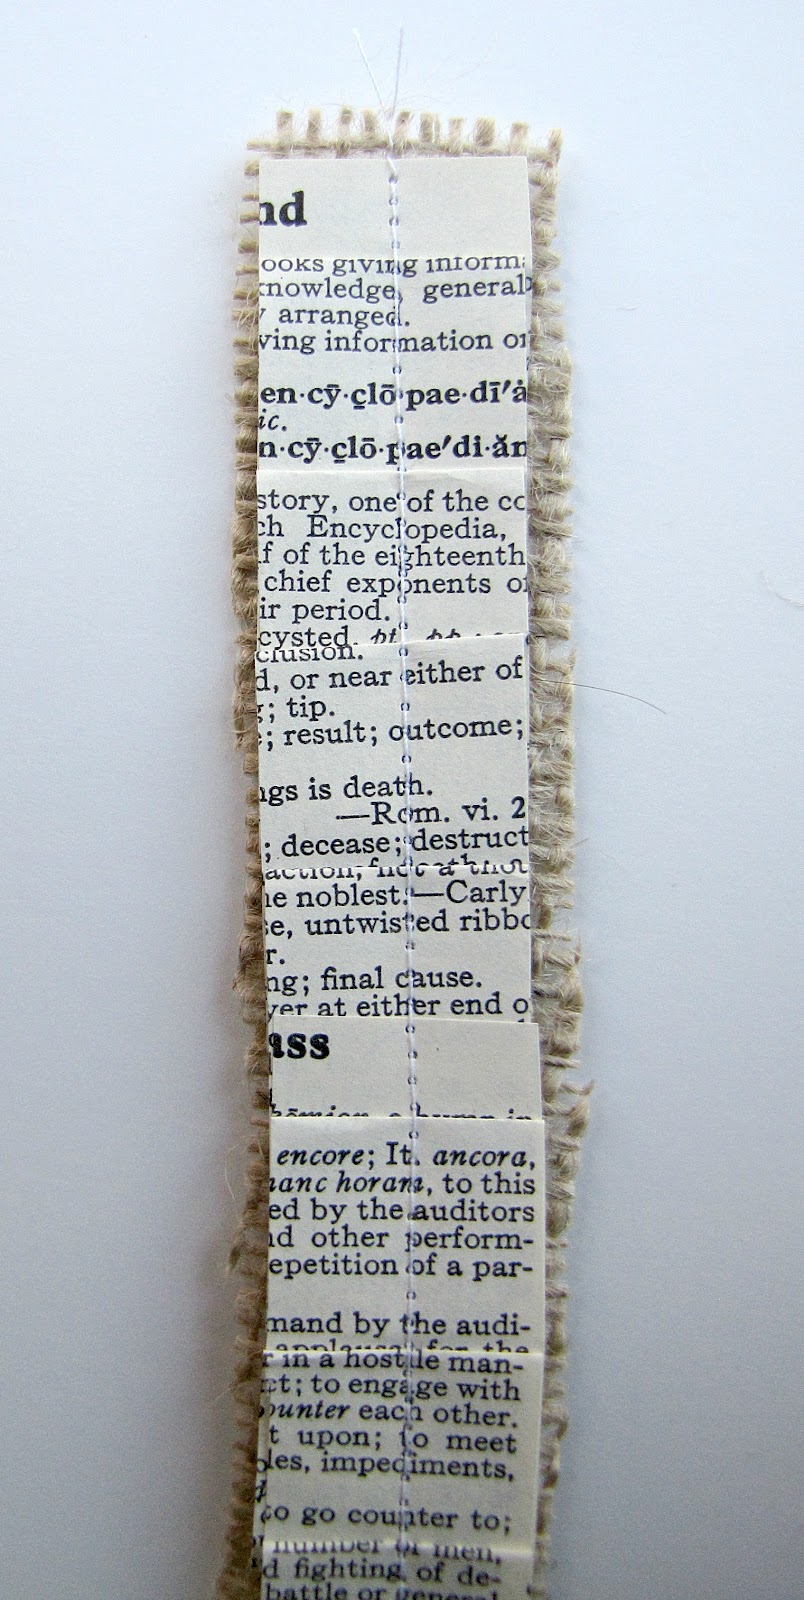
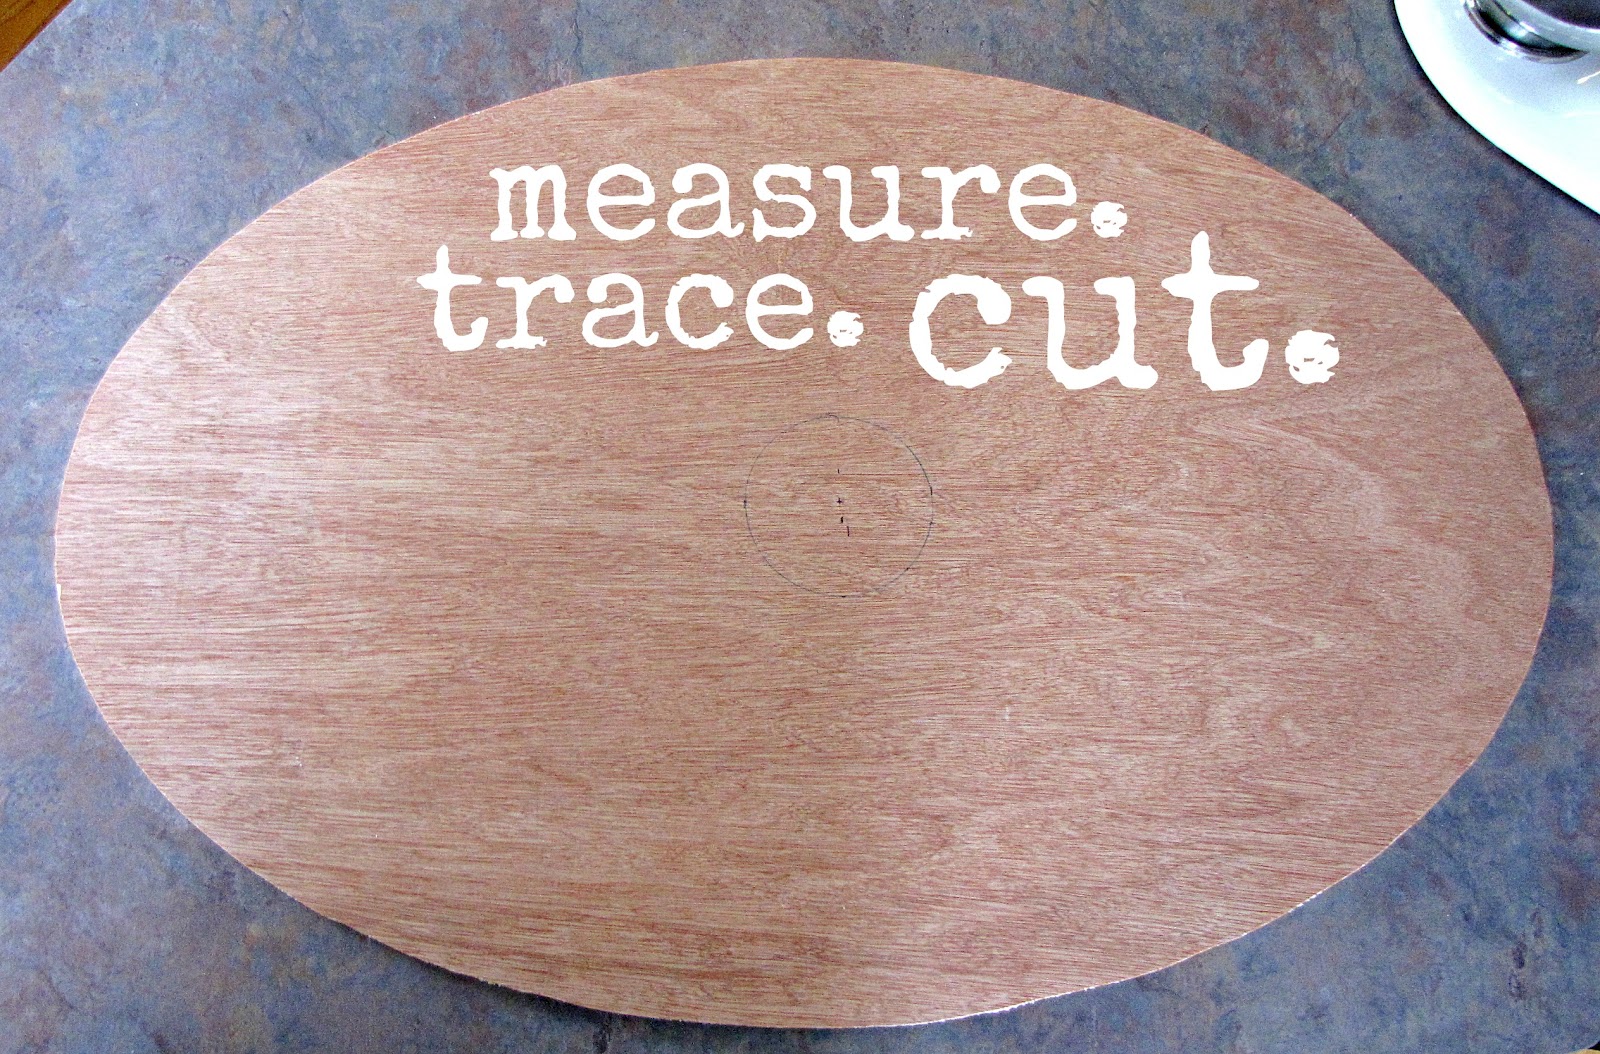
I cut 2 pieces of fleece the same size as the backing that came with my frame and used it as a insert between the cardboard and the image (just to give it a bit of puffiness)…

… fit the image around the backing & the fleece and put it back into your frame.
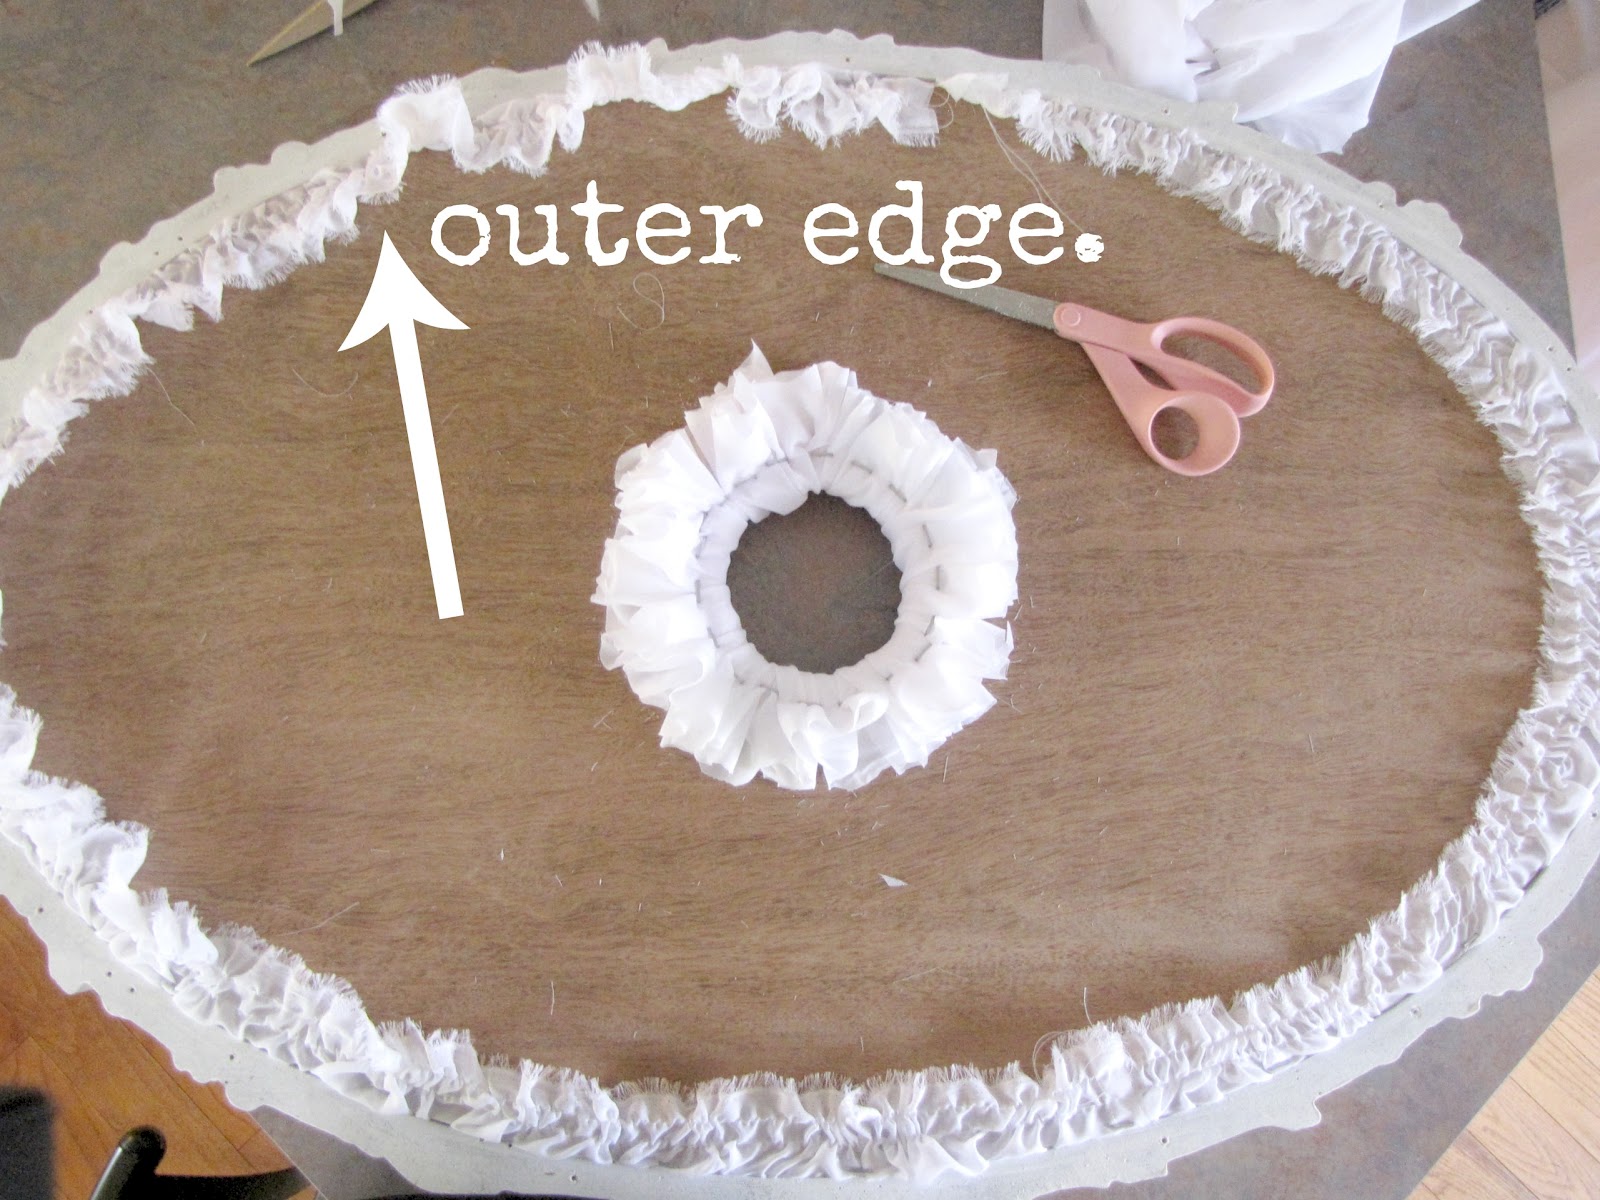
Wind strips of wire around the front of the frame, and attach to the back 
using a staple gun or flat thumbtacks.

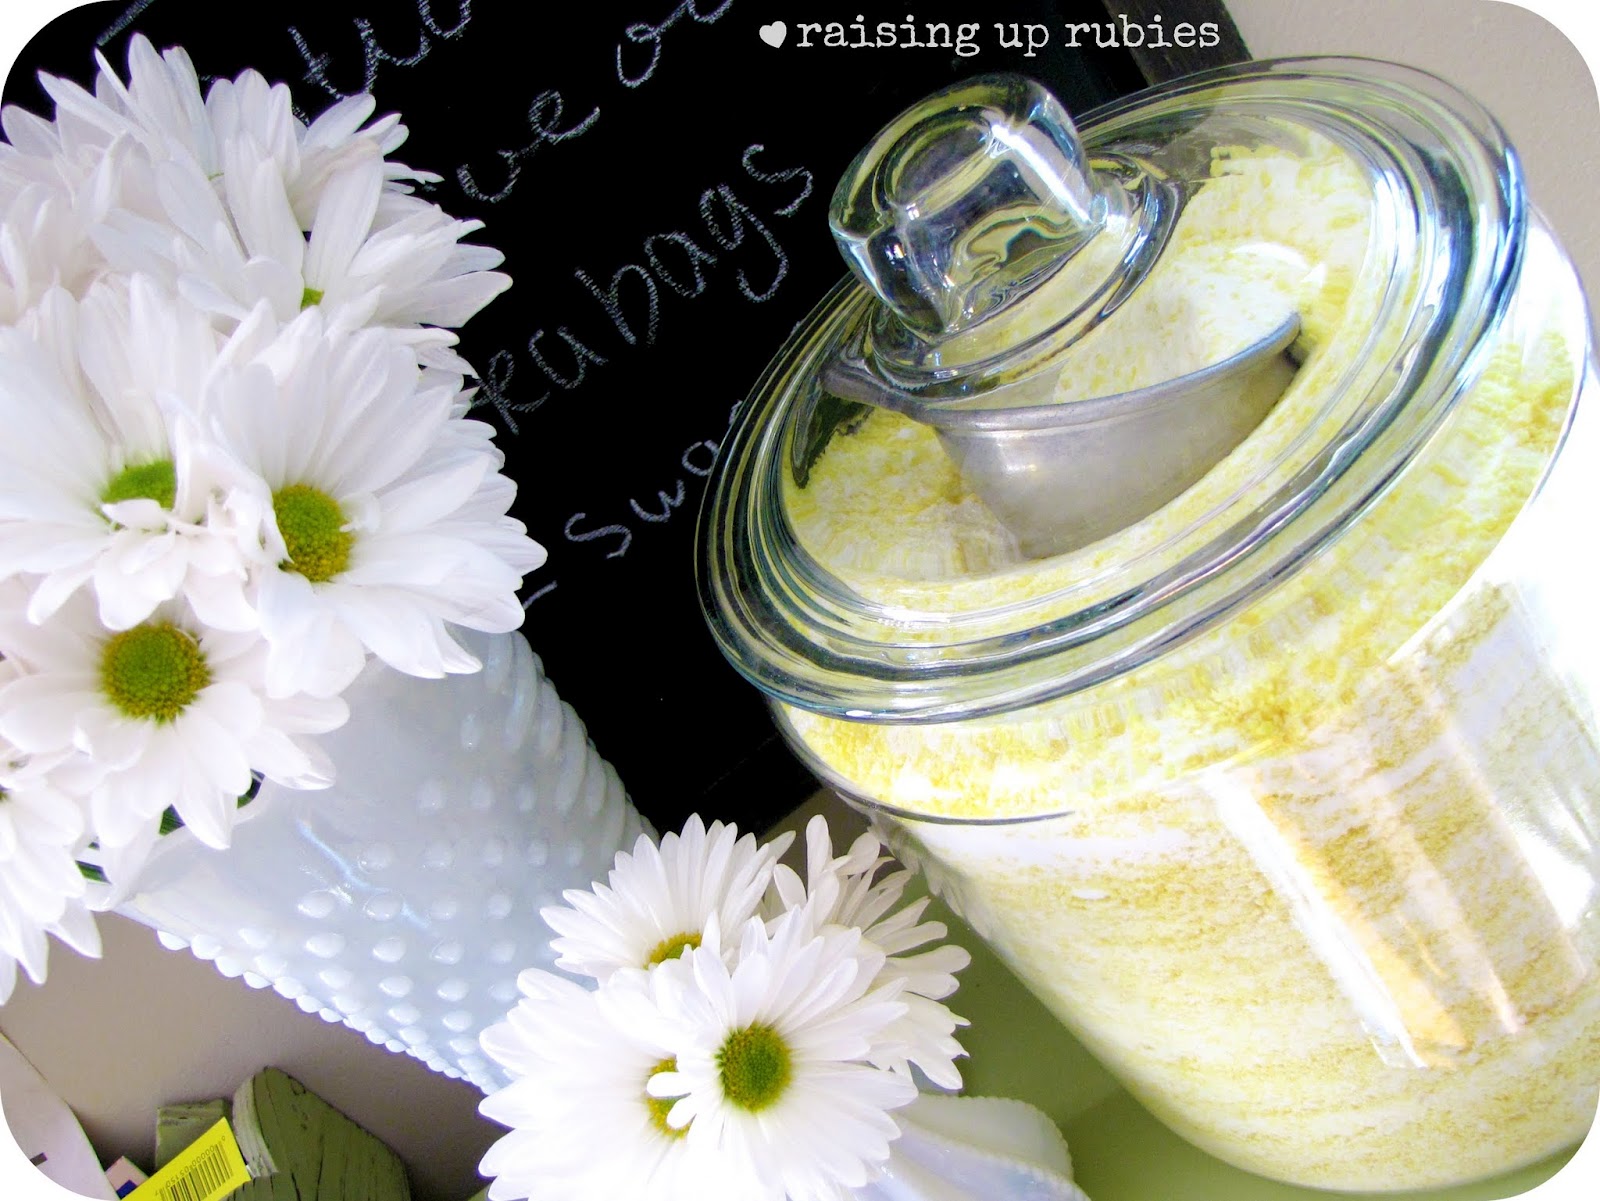
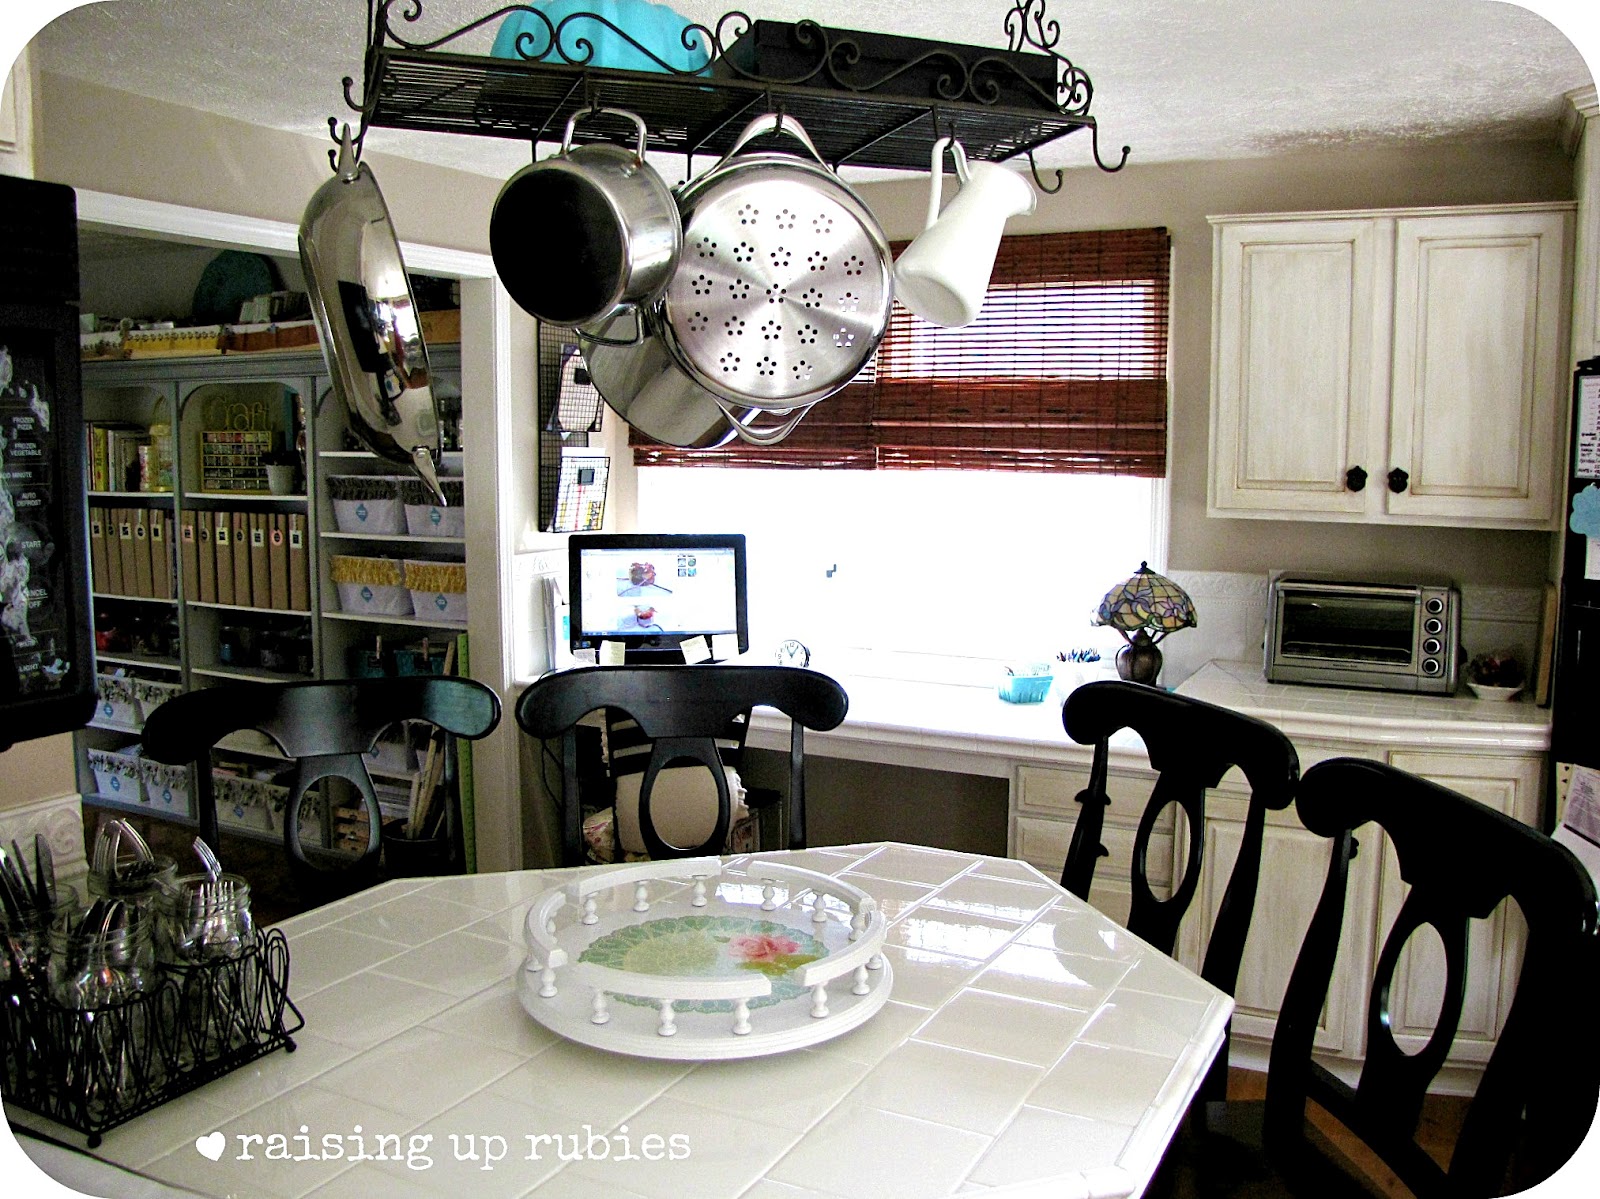
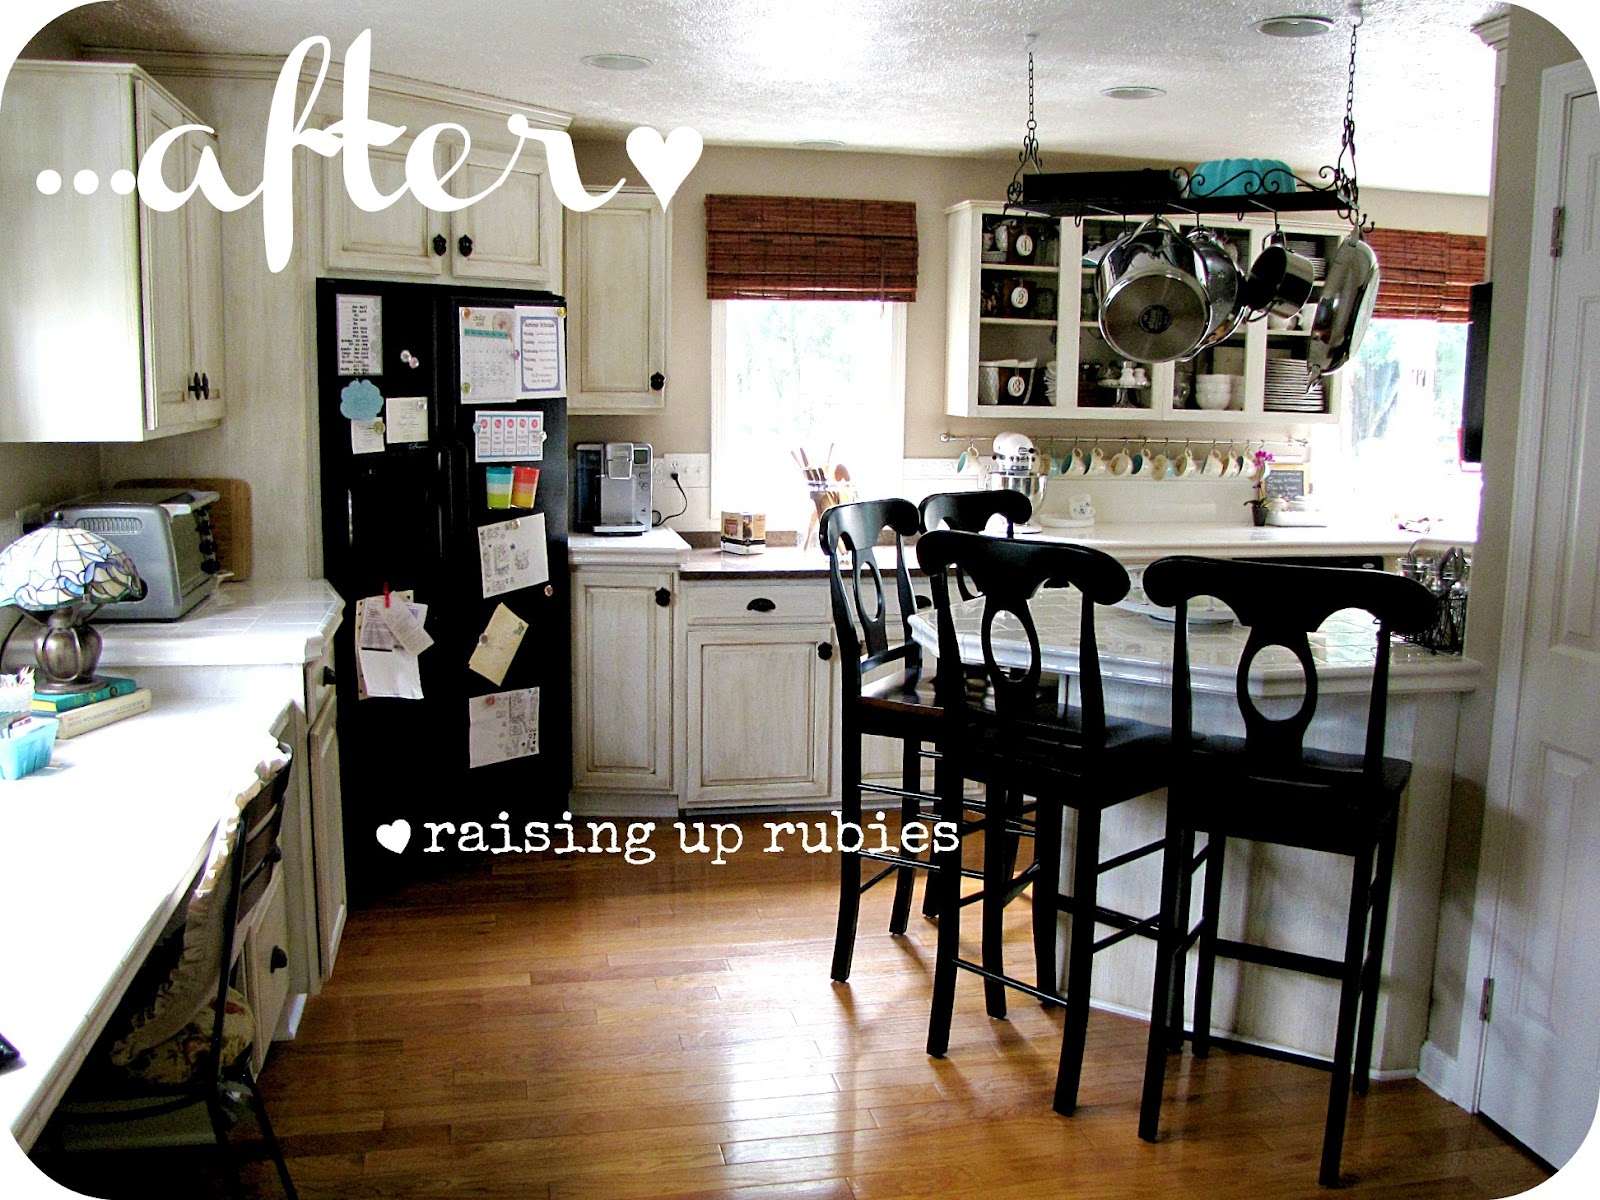
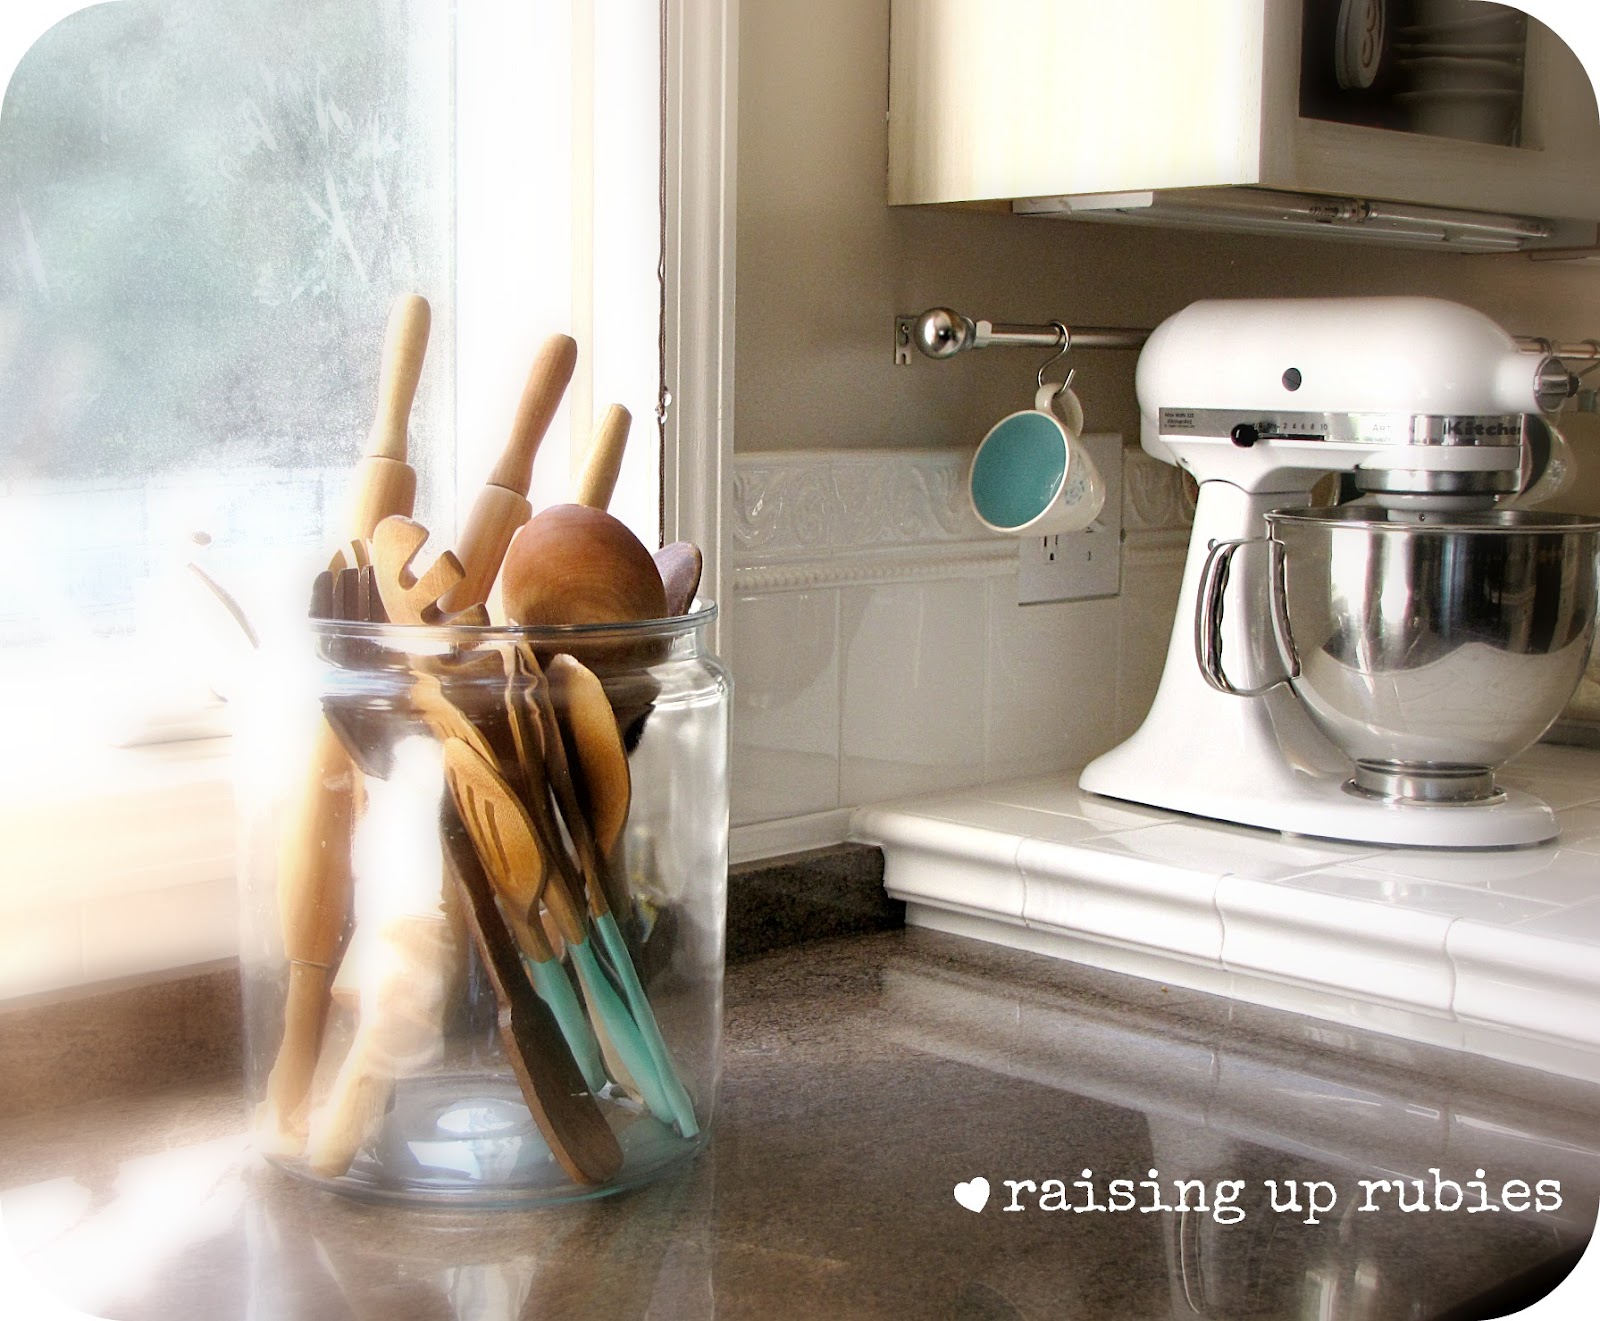
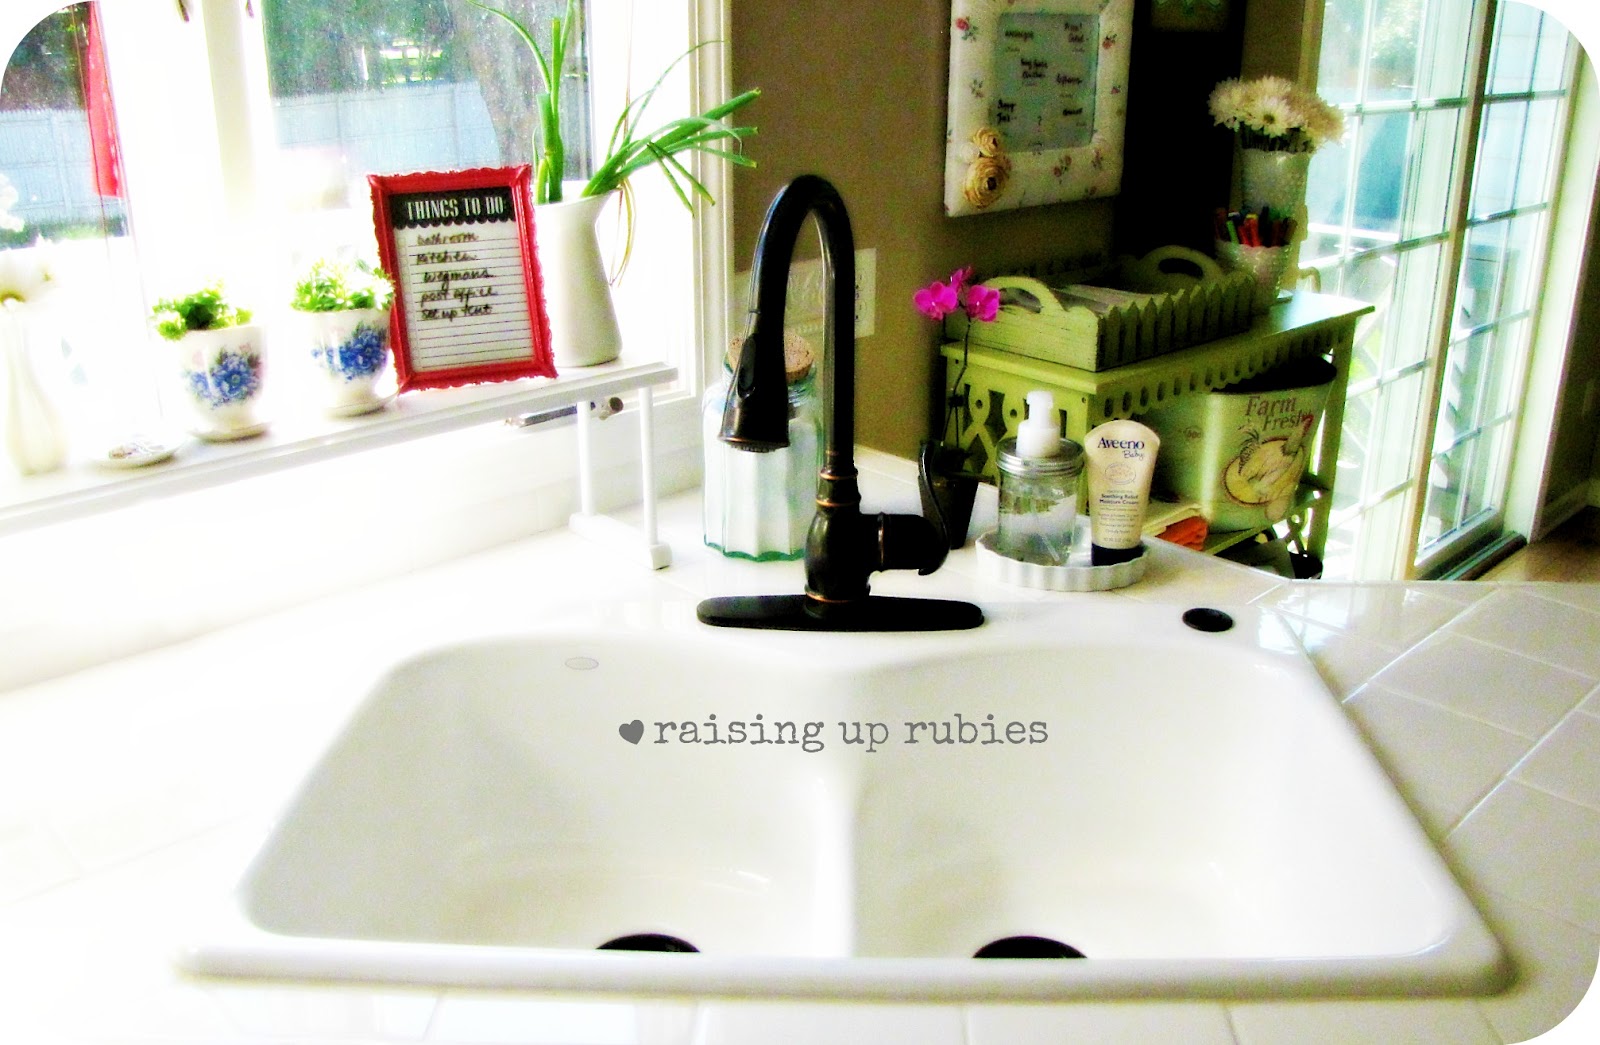
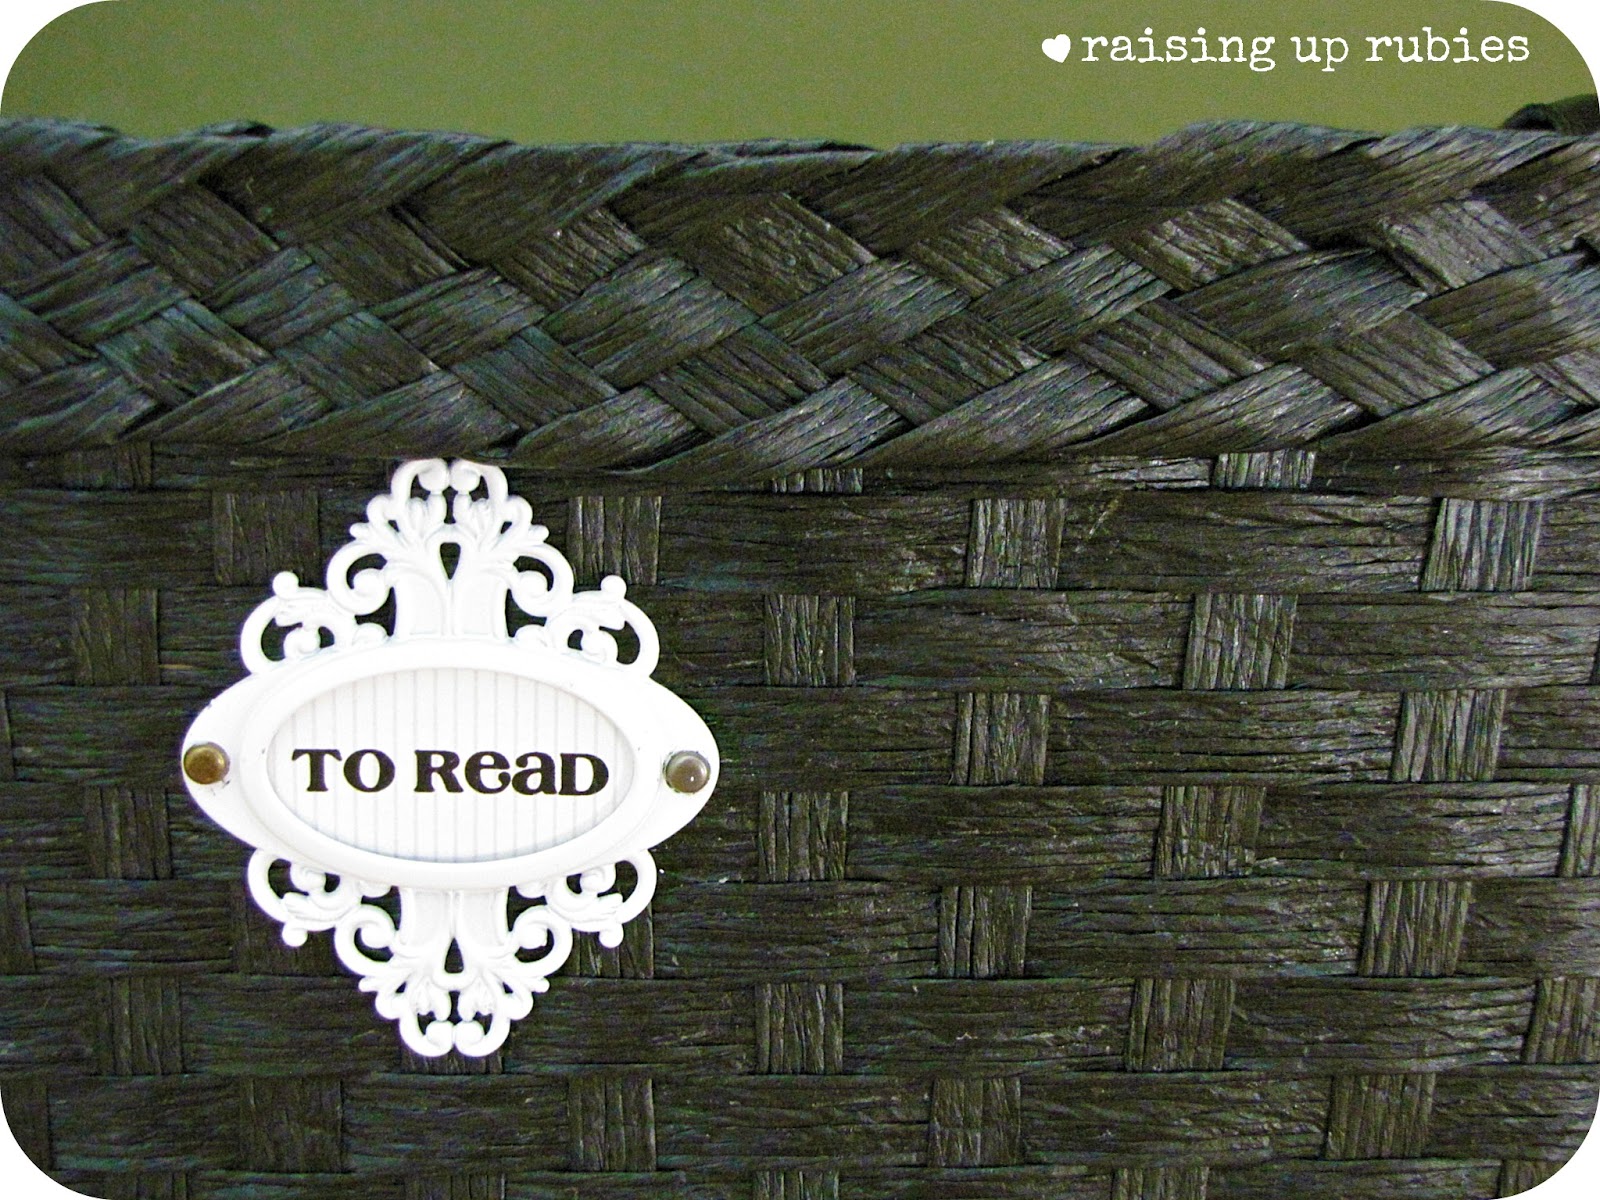
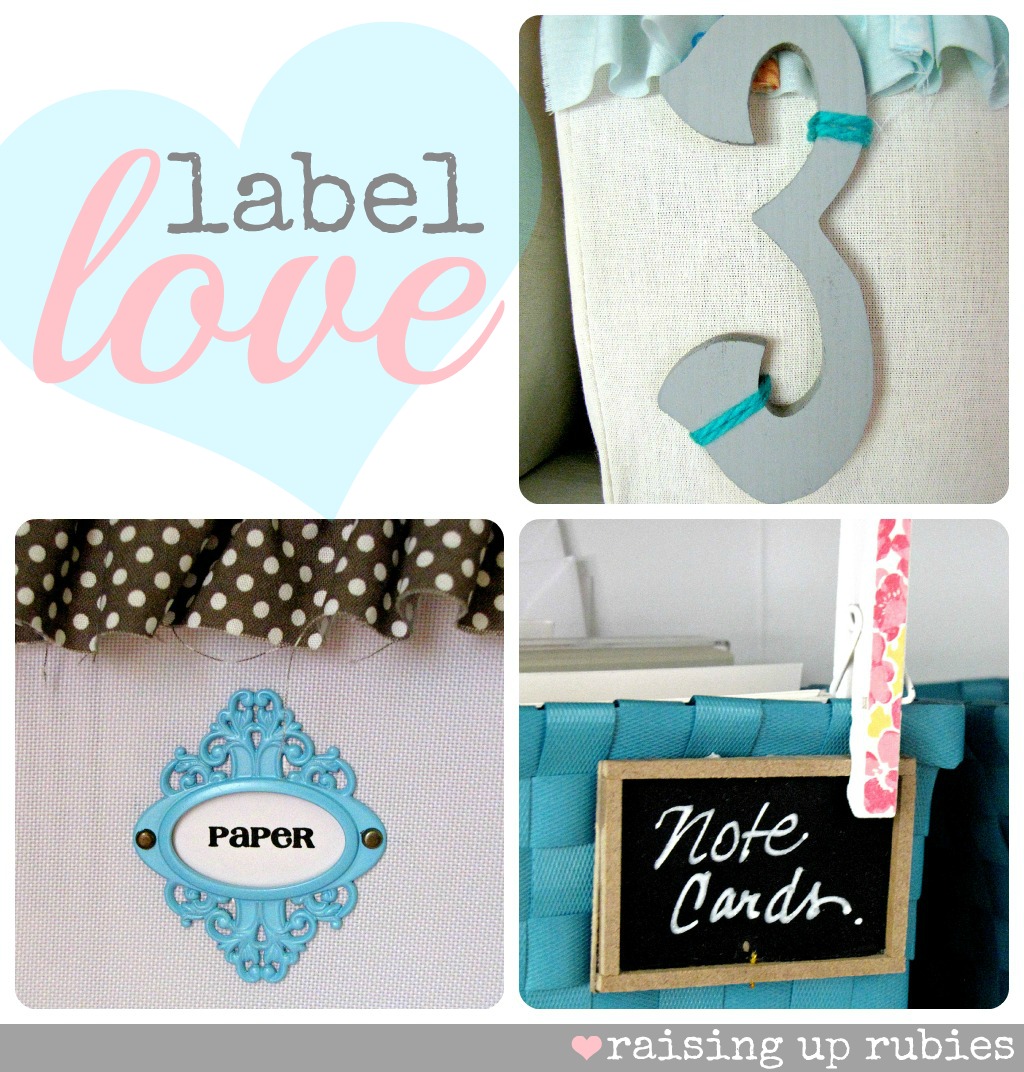
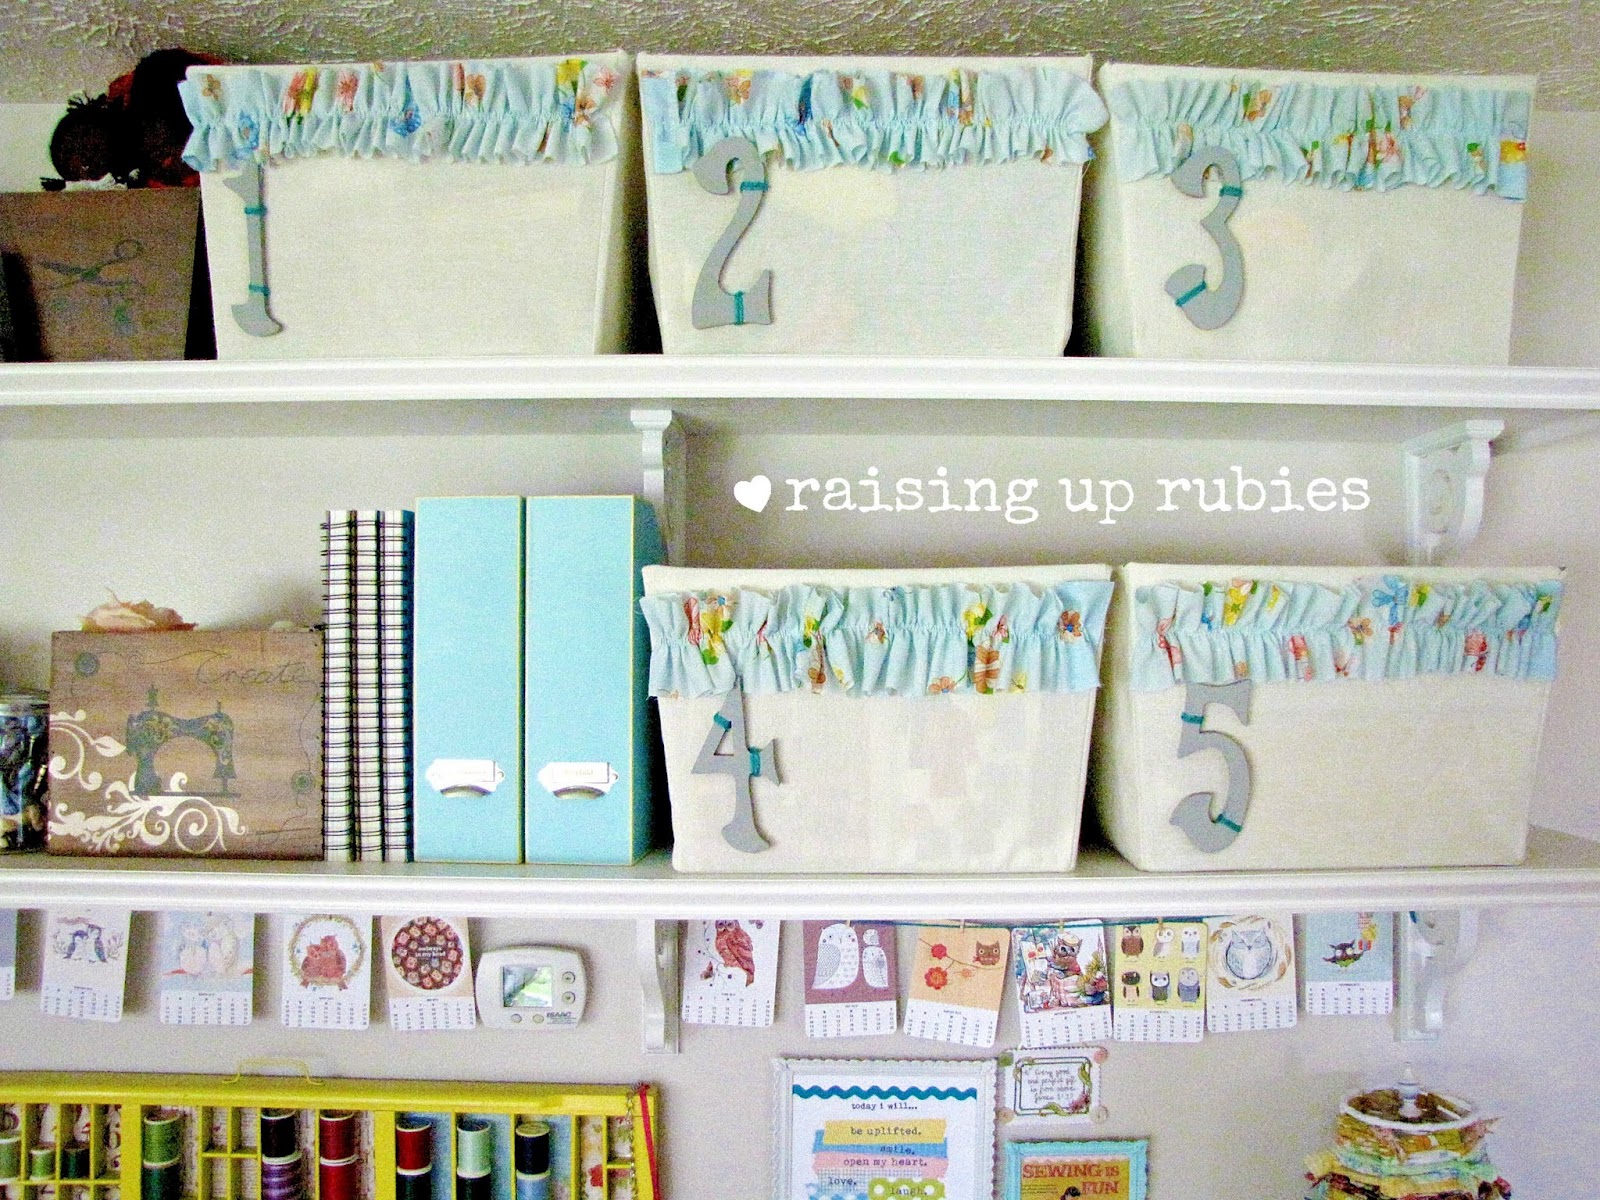
Here is mine right next to my kitchen sink …
I spend a lot of time here! {as most of us do!}
It’s a place where I put notes I want to remember 
or things i want to focus on during my day ♥


a few more favorites of mine from her etsy shop! 

tons of ideas are floatin’ around in my head!
the bicycle would be super cute on a library or market canvas tote 
maybe an apron or tea party tablecloth for a little girl’s Christmas gift??!
baby onesies or blankets with the little birdie
the sewing machine is going to be incorporated onto my machine cover …
if i ever get around to making it 🙂

thank you for all the wonderful images Keren!
much love ♥
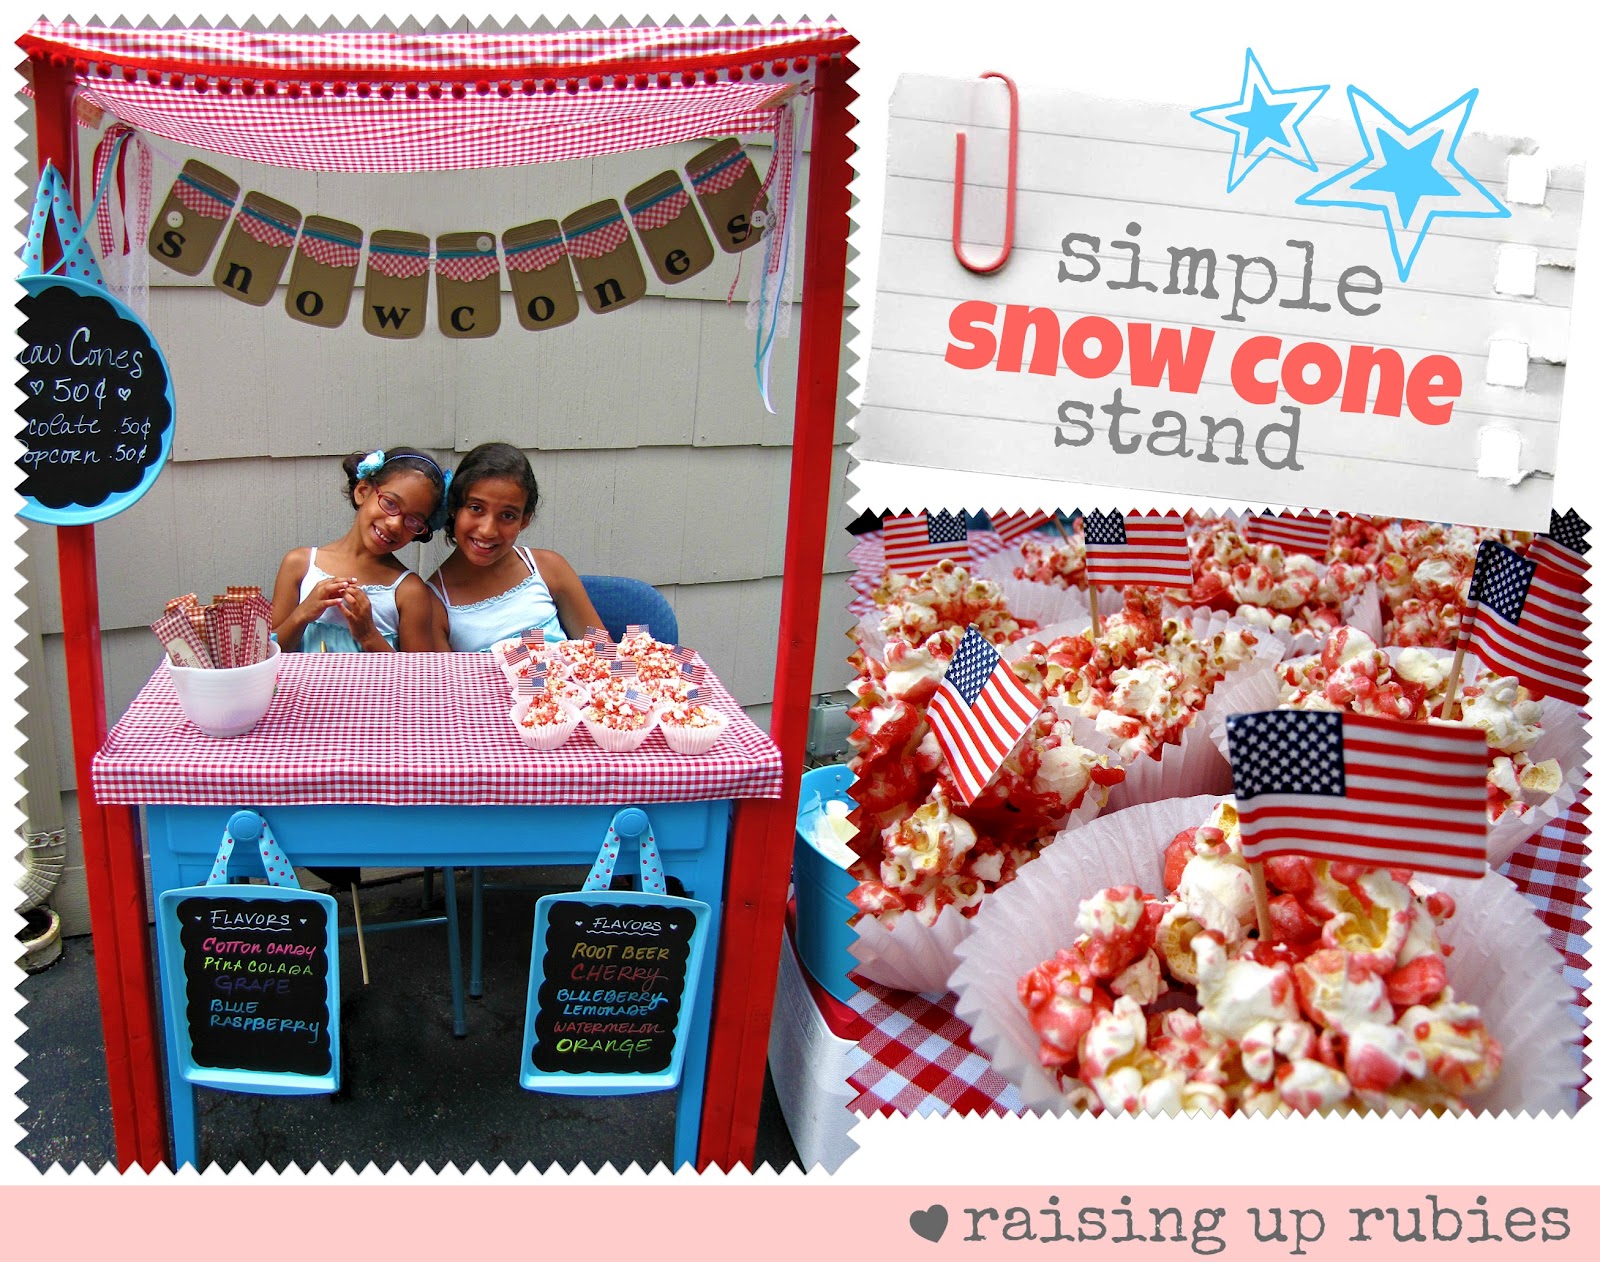
sweet parties here… ♥

live.laugh.{linky}thursday ♥ live.laugh.Rowe.
Uncategorized

burlap & book pages trim … ♥

sometimes it’s the simple things that just make me happy 🙂
like this little spool of trim … know what i mean? 
come on, let’s make stuff 🙂

sound of music should be playing in your head right now 🙂 
i just love gathering a pretty little dish full of goodies
then seeing where the creative in me decides to go 


~ cut & fold ~

~ sew ~

~ trim ♥ ~ 
during my garage sale outings this summer i found this old flour sifter …
a little spray paint, some trim we just made, and some other pretty things 🙂
now it holds my sharpies


what else could you put in a made-over flour sifter? 

much loves to you!
sweet parties here … ♥

whatever you want Wednesday ♥ Free Pretty Things for You
a crafty soiree ♥ Yesterday on Tuesday
Saturday Night Special ♥ Funky Junk Interiors
Uncategorized

diy laundry soap … ♥


making your own laundry detergent is all over blog land
but i thought i’d share a few pretty pictures, to make it seem like it’s soooo fun to make 🙂
(it actually kinda is … heehee)
the ingredients are the same as most, just the ratio is what i changed 
after researching whether or not it was ok to use on a front loading machine, and it is!
i’ve been using it for almost a year
sayonara store bought 14 million dollars a box laundry detergent
oy.

this is the way i make it 🙂


chop up the soap in small chunks … it’s easier on your processor that way 🙂
(i use this processor only for making detergent
it’s a small kitchen aid that i had before i upgraded to a larger one)

then mix the borax & washing soda into a large bowl or container
my pretty glass container (from Target) holds a 6 batches …
so 6 cups of each of the 3 ingredients 
(18 cups total)
(i’m bad at math)
🙂

process 1 cup of the chopped soap at a time
i scoop a bit of the powder mixture in with the soap
the dry ingredients help grind the soap, which is thick & dense
and it produces much finer soap flakes 🙂
(i sound smart don’t i)
(heehee)

once you’re done pour into the pretty glass container
hard work doesn’t seem hard at all when it’s in a cute glass jar
and with a cute scoop to boot
🙂

i usually have extra ingredients
i just store them in a big metal bucket for next time
everything all in one place makes it easier to pull out when i need to make more
(we may or may not have gone 5 days without washing clothes 
since someone’s butt was not in laundry making soap gear)
(cough cough)

 labels make me happy 🙂

the day i made the laundry soap, i tried a recipe for fabric softener too!
… i’ve been using it for a week, it’s working great
i noticed my towels seemed soft & thick
(yes… thick… but that part is just my imagination since i made my own fabric softener
my towels surely must be thicker … right?)
(my girlfriend made me those cute dish scrubbies … they make me happy too 🙂


i have a few fun things planned these next few weeks
and since i have Christmas on the brain …


every Wednesday beween now and December 12th,

all pretty gift wrapping items will run 20% off
in the store! let’s make stuff & wrap it!
so start thinking bundles & packages with me 
and stock up on tags, tape and embellishments for your Christmas gifts
come back and take a peek Wednesday for the scoop!
 i hope to have a bunch of new tags and gift wrapping kits in the store throughout this week


much love to you all & with gladness in my ♥
psalm . four . seven 


sweet parties here … ♥
Tip me Tuesday ♥ Tip Junkie
live laugh linky Thursday ♥ live laugh rowe
Uncategorized

a shabby vintage kitchen … ♥

grab a cup of tea … this post is picture heavy 🙂
besides my craft room this is where i spend most of my time…
my kitchen♥

this picture was taken when we moved in:


here it is now!
i’m so glad you’re here! come on in 🙂


hubs built these corner shelves 
in what would have been a wasted space
they house a lot of my vintage dishes & some serving pieces

Goodwill find last year … i love these canisters 
the knobs were already painted that pretty green

i like the idea of things stored in wire baskets … i’m on the lookout for more


the pot rack was from Hobby Lobby
i still have a few pans from my set to accquire
computer desk on the back window is where i connect with all of you ♥


a perpetual calendar & some old cook books


i wish i had a before picture of this lazy susan 🙂
but here it is now, all nice and pretty


this is the view walking through from the other side, which is my craft space


this is my favorite part of the kitchen
the open cabinets … we decided to leave them open at the last minute
i’m so glad we did!
even though i would like to take the middle bars out of each section
 … still have to convince the hubs 🙂


the tea cups are hung from a stainless steel curtain rod


 more wire baskets … for more service and some pot holders


an old cheese box with sugars, salt & peppers

my grandma’s china ♥


hubby & his dad put a new sink in when they tiled the counters
i spend a lot of time in front of it … what mom doesn’t right?
the little ledge near the windowsill holds herbs, 
to do lists & bible passages i’m trying to remember or reflect on
(or flowers the hubs brings me on occasion 🙂
i wrote about that little ledge here

this is another small curtain rod, hung on the side of the sink area
keeps kitchen towels out of the way (most of the time 🙂


this is our command central
in & out papers, lunchboxes, and everyday life happens here


the “masterpieces” strip was made from yardsticks & clothespins
two of my favorite things ♥
my menu board is an old frame wrapped in vintage sheets
it’s a free printable from here


the baskets are for recycling ~ shredding ~ reading ~ keeping
i used the same label frames i used in my craft space here

a tiny peek into my living room …


thanks for comin’ along on my little house tour ♥
hope you enjoyed!
if you want to see more of my house go here & here
much love & gladness in my ♥ !


sweet party link up here ♥

get schooled Saturday ♥ too much time on my hands
Sundae Scoop ♥ i {heart} naptime
air your laundry friday ♥ freckled laundry
Frugal Friday ♥ the Shabby Nest
Doin’ it Yourself ♥ aka design
Link up with Me ♥ Liz Marie Blog
Junkin Joe ♥ The Cottage Market
Tip Me Tuesday ♥ Tip Junkie
live laugh {linky} thursday ♥ live laugh Rowe
Party Time! ♥ the 36th Avenue
DIY Project Parade ♥ DIY Showoff
A Crafty Soiree ♥ Yesterday on Tuesday
weekend wrapup party ♥ Tatertots & Jello
Saturday Night Special ♥ Funky Junk Interiors
Uncategorized

diy laundry canvas art … ♥

hey all!
today i’m posting over at Everything Etsy
head on over and take a peek at this fun and easy Target knock-off project 🙂


i can’t thank you all enough for the sweet words & kindness you’ve all poured on me about my etsy shop! i’m so blessed … and golly gee i’m so stinkin’ excited!!

i’m scramblin’ to get everything done 🙂 
and since i can’t sleep due to OCD overload, i’ve been crafting till all hours of the night!
(i’m sure the coffee’s not helping either)

hopefully i’ll be back before Monday to share this super cute project 
i’ve been working on for my girls 

much love to you today ♥

Uncategorized

diy Bisquick … ♥

i’ve been thinking more and more about all the cleaning supplies i use
and all the preservatives in all of the food we eat
and i’ve been making changes a little at a time

i started making my own laundry detergent last year
and i will never go back to Tide
(no offense Tide)
the cost is 1-2 pennies a load
(!!)
and the ingredients are simple … it’s nice to know that we can have everyday products
without all the chemicals and other things 
our bodies we’re probably never made to put up with 🙂  

i’ve started a few dryer balls with my sister-in-law
our project was interrupted a few times so we’re only half done
but i’ll let you know how they turn out
next on my list is fabric softener
🙂

after church sunday i started to make pancakes, then realizing i was out of Bisquick
thought it was the perfect opportunity to take a peek at all the recipes to make your own
that have been floating around pinterest
i looked at three different ones and kinda mixed ’em all together… 
with some of my own how-to

divide all ingredients in half
mix one half of the recipe at a time in an electric mixer
 … starting with the first half 
mix dry ingredients together in the mixer until well blended 
add 1 cup of the shortening and mix again until incorporated
(scraping the paddle as needed)
about 2-3 minutes

that’s it!
i figured the ingredients cost me $2-3
which made the equivalent to 2 large boxes of the real stuff
each box cost somewhere between $4-5 at Wegmans


have you made any “knock-off” housekeeping products?
tell me about them!
check out my housekeeping board
there’s so many good ideas just waiting to be tried …

much love ♥ 
linking up here … ♥

all crafts Homemade Projects ~ Add Yours! {7 31}
Uncategorized

simple snow cone stand … ♥

hey all!
i wanted to share this project with you…
just in time for the holiday weekend and for summer!

one of the things on our summer list has always been to do a lemonade stand
my aunts have a garage sale every summer that gets quite a lot of traffic
so this year we set up shop
and instead of lemonade…we did snow cones!
i had all the supplies on hand already
 so it was easier than buying 40 lemons to make lemonade 🙂

now, we happen to have a lot of scrap lumber, craft supplies 
and numerous items waiting to be spray painted layin’ around
so if you’re not a sort-of garage sale stuff hoarder like me
…you might have to get a little creative with your supplies :):)
lemme give you a run-down of the stuff i used 
and how i jerry-rigged (is that a word?) everything together
spray paint some cookie sheets & old trays to use as menus
some chalkboard paint, clalkboard makers, ribbon and hot glue came in handy here too!


 the little blue table was a yard sale find…just waiting for something good 🙂
the red supports to hold the bunting & the little awning thing, was put together by the hubs
totally on the fly…2 pieces of 2×2 put together 
one piece to wedge underneath the lip of the table, the other was at the desired height 
with cup hooks screwed in at the top for the bunting

 this is where the “jerry” and the “rigged” came into play 🙂
(i take total responsibility for this part…my hubby is not a fan of either of those words 
…especially when put together 🙂 he’s a by the book kinda guy
…i’m a fly by the seat of my pants-let’s build a snow cone stand at midnight! kinda girl)
i cut both a piece of sturdy cardboard, long enough to go across the top of the stand,
and a piece of fabric that would cover the majority of the table top
then hot glued each end of the fabric to half of a yardstick
laid the fabric piece over the cardboard
and nailed both layers to the top of the wood pieces

(i warned you … jerry-rigged)


hopefully these pictures will help 🙂

 another cup hook for the chalkboard menu
some supplies…

and some snacks…


 according to my daughter…snacks are the source of all life force
with out them, we would be doomed
she’s even got a bag of cheez-its stashed in case of a snack emergency


the girls had such a fun time serving customers
and they made over $30!! 
which had them so excited…i think it will be something they do every summer
they had fun eating them too 🙂

i have another 4th of July project i want to do with you guys this week!
so maybe my kitchen pics are on hold 🙂
much love
sweet parties … ♥


Uncategorized

some label love … ♥

happy Tuesday! ♥
this is the last week of school for my girls
we can’t wait ’till summer vacation officially starts!
i see all these neat ideas on Pinterest for summer fun … then … i forget 
 outta sight…outta mind
🙂
this way all those ideas are in one spot…quick & easy access
the girls & i are really excited about some of them!


so now that the shades in my craft space are done, let’s label, label, label stuff!
then i can check another to-do off the list 🙂

for the small canvas bins, i found these brackets at Joanns
…from Tim Holtz (i love the vintage look of his stuff)

 a little spray paint and presto…pretty 
the little brads come in the package… they push right through the canvas and hold the hardware quite nicely 🙂

wow! doesn’t it make a big difference?
 (well, ok to me it does cause i stare at these a lot)

for the little blue baskets I used mini chalkboards (from Joanns too 🙂
and a clothespin to clip them on ~ i use chalkboard markers like these
(spruce up your clothespins with a little paper &  Mod Podge!)


painted wooden numbers on the large canvas bins were sewn on 
with a large tapestry needle and some chunky yarn

all done ♥

a couple other ideas…
i wanted to show you what’s lives on the top of my island

 these are the supplies & tools that get the most use
i wanted to make them easily accessible when i’m working on different projects

the big white bowl in the middle is for garbage

tea cups, mason jars & copper jello molds are great for all the little things ♥

i’m still learning to think outside the box for storage or organization ideas…
sometimes when you mix & match things together, it makes it all the more your own
… i found all of the pedestal dished at garage sales ♥ 
no more than a one or two dollars each 🙂

thanks for stopping by!
with gladness in my ♥
some sweet parties ♥ …

all crafts Homemade Projects ~ Add Yours! {6 12}
Uncategorized

do it yourself! upholstered ceiling medallion

i’m so thankful for all you guys ♥
i’m so so happy you liked my master bedroom!
now stay tuned for more “fun” projects in this room
(ya know, like the crafty stuff 🙂

just wanted to pop into your day 
and tell you how i made the ceiling medallion for the chandy in my bedroom 🙂
it’s easy & cheap…and fun!


now bear with me on the crazy pictures…
i took them last year when we were in the middle of remodeling…well…a lot of stuff 
it was before my craft space & big table were even a thought (can you even imagine? 🙂

the idea started with an old mirror my aunt gave to me…
then i broke it
then i held on to the frame for like…2 years
i knew i’d come up with somethin’ for it 🙂


i started by painting it white ( i ♥ white)
(i paint almost everything white)
(much to my husband’s dismay..he’s a leave wood alone kinda guy)
(no fun!!)


it’s funny looking at these pictures…
we remodeled the kitchen last year…so they seem like so long ago


this is what the island looks like now ♥
(just had to show ya!…i’ll post more pics soon)


this is 1/4in. plywood
we laid the frame on a the whole sheet, 
traced the inside of the frame to get this back piece 
then measured and cut out the middle based on the size of the metal plate from the fixture


add as much or as little batting as your heart desires
i just wanted a little for fluffiness 🙂
i cut it the same shape as the plywood


i don’t remember what this material was called
but it’s very slippery & hangs nicely…maybe a satin-ish something or other?
the yardage amount would also be based on the size of your frame
take one side of the fabric and lay it out around the outer edge of the plywood & batting
 to see how much you would need to ruffle…
then whatever the measurement is, double it for a full ruffle
if you want it fuller and tighter do double and then some 


so this is kinda what you should  have goin’ on
again…with it ruffled now…lay it out around that outer edge
you’ll have a huge pile of excess in the middle


put your frame back on top


flip the whole thing over
(it helps to have some extra hands here…trying to keep the layout of the fabric in tact)
staple that outer edge onto the back of the plywood…
(this picture is a few steps ahead, but just to give you an idea)


once the outer edge is secure, bring the excess through the middle 


pretty easy right? the plywood should fit into the frame nice and snug with all the extra padding…
my hubby connected the fixture with the wiring in the ceiling and secured the frame with small nails from a nail gun into the ceiling (into studs 🙂 
(he’s obsessed with putting stuff in studs) 
(why? i have no idea…it’s just a light hanging over our heads at night…no big deal)


i get excited thinking about doing this with even small size frames for any hanging light fixtures
lot’s of possibilities!

i hope this was easy to understand…if there are any questions…please ask!

much loves

sweet parties…♥