Uncategorized

pom pom apple garland … ♥


here’s a cute project to make during these back to school days ♥
it’s simple … come on, let’s make stuff 🙂

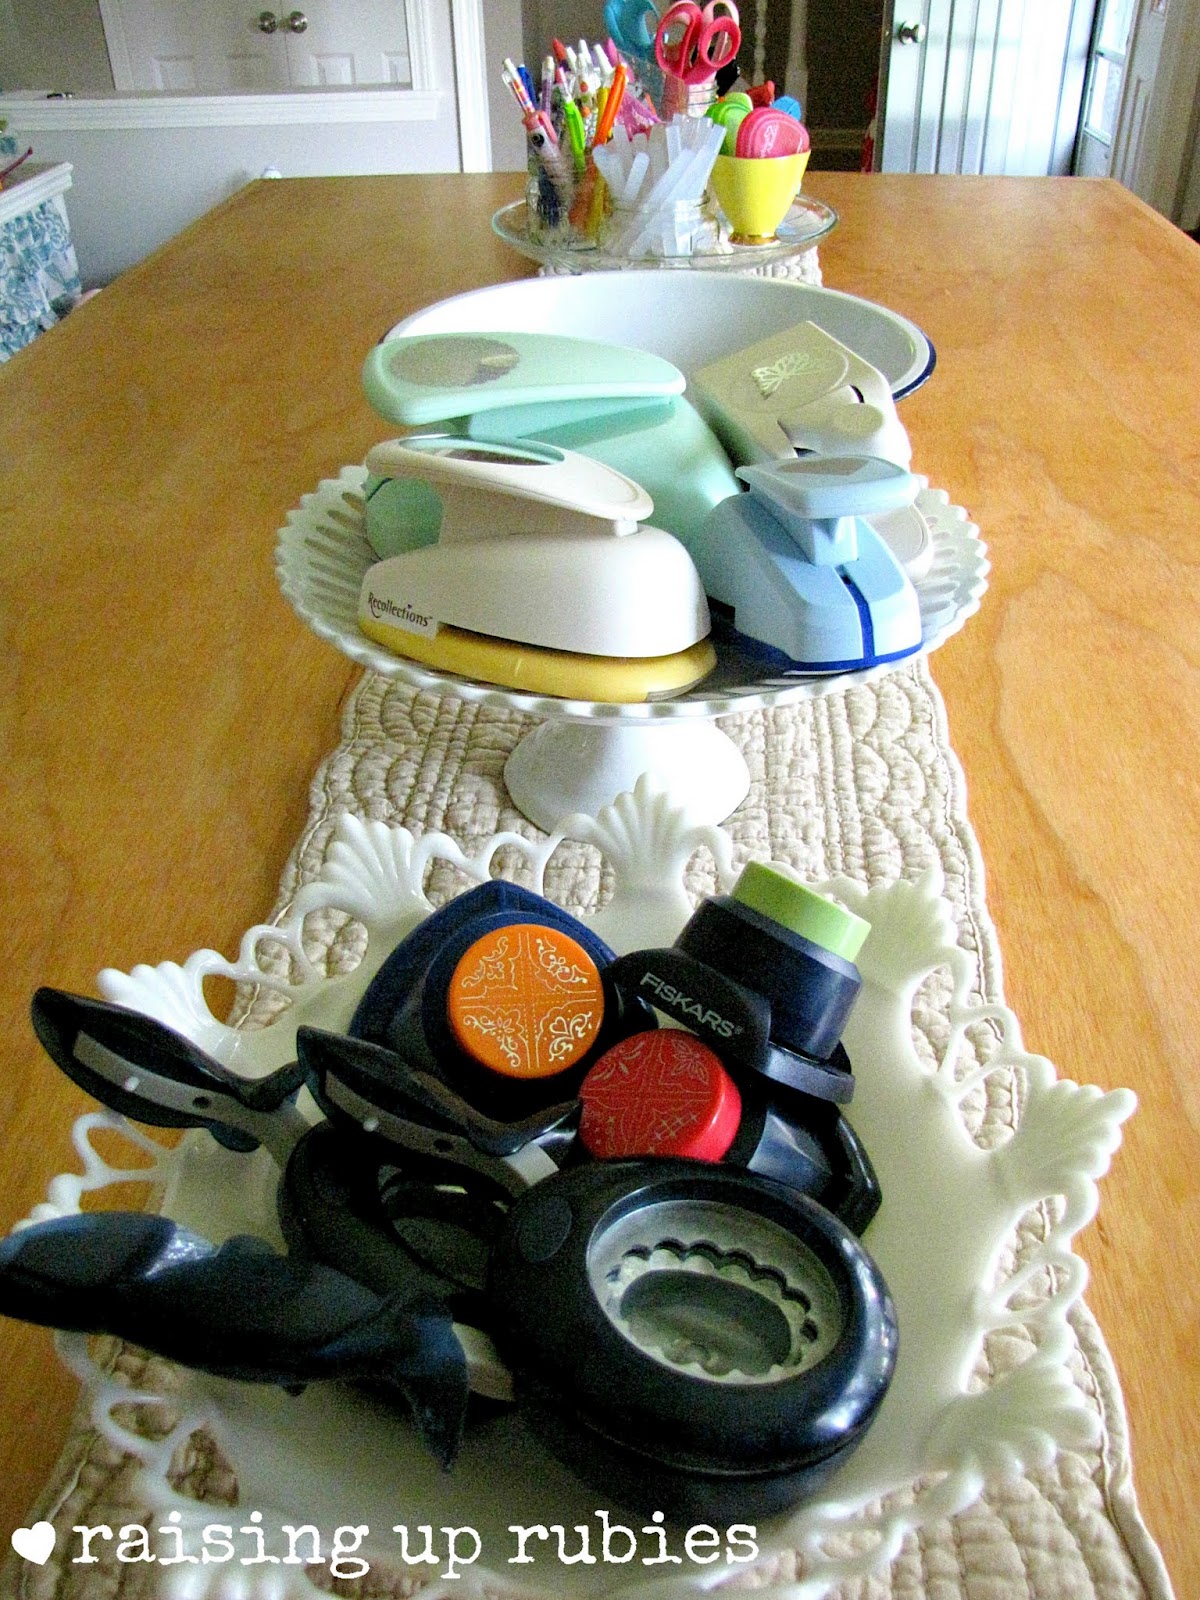
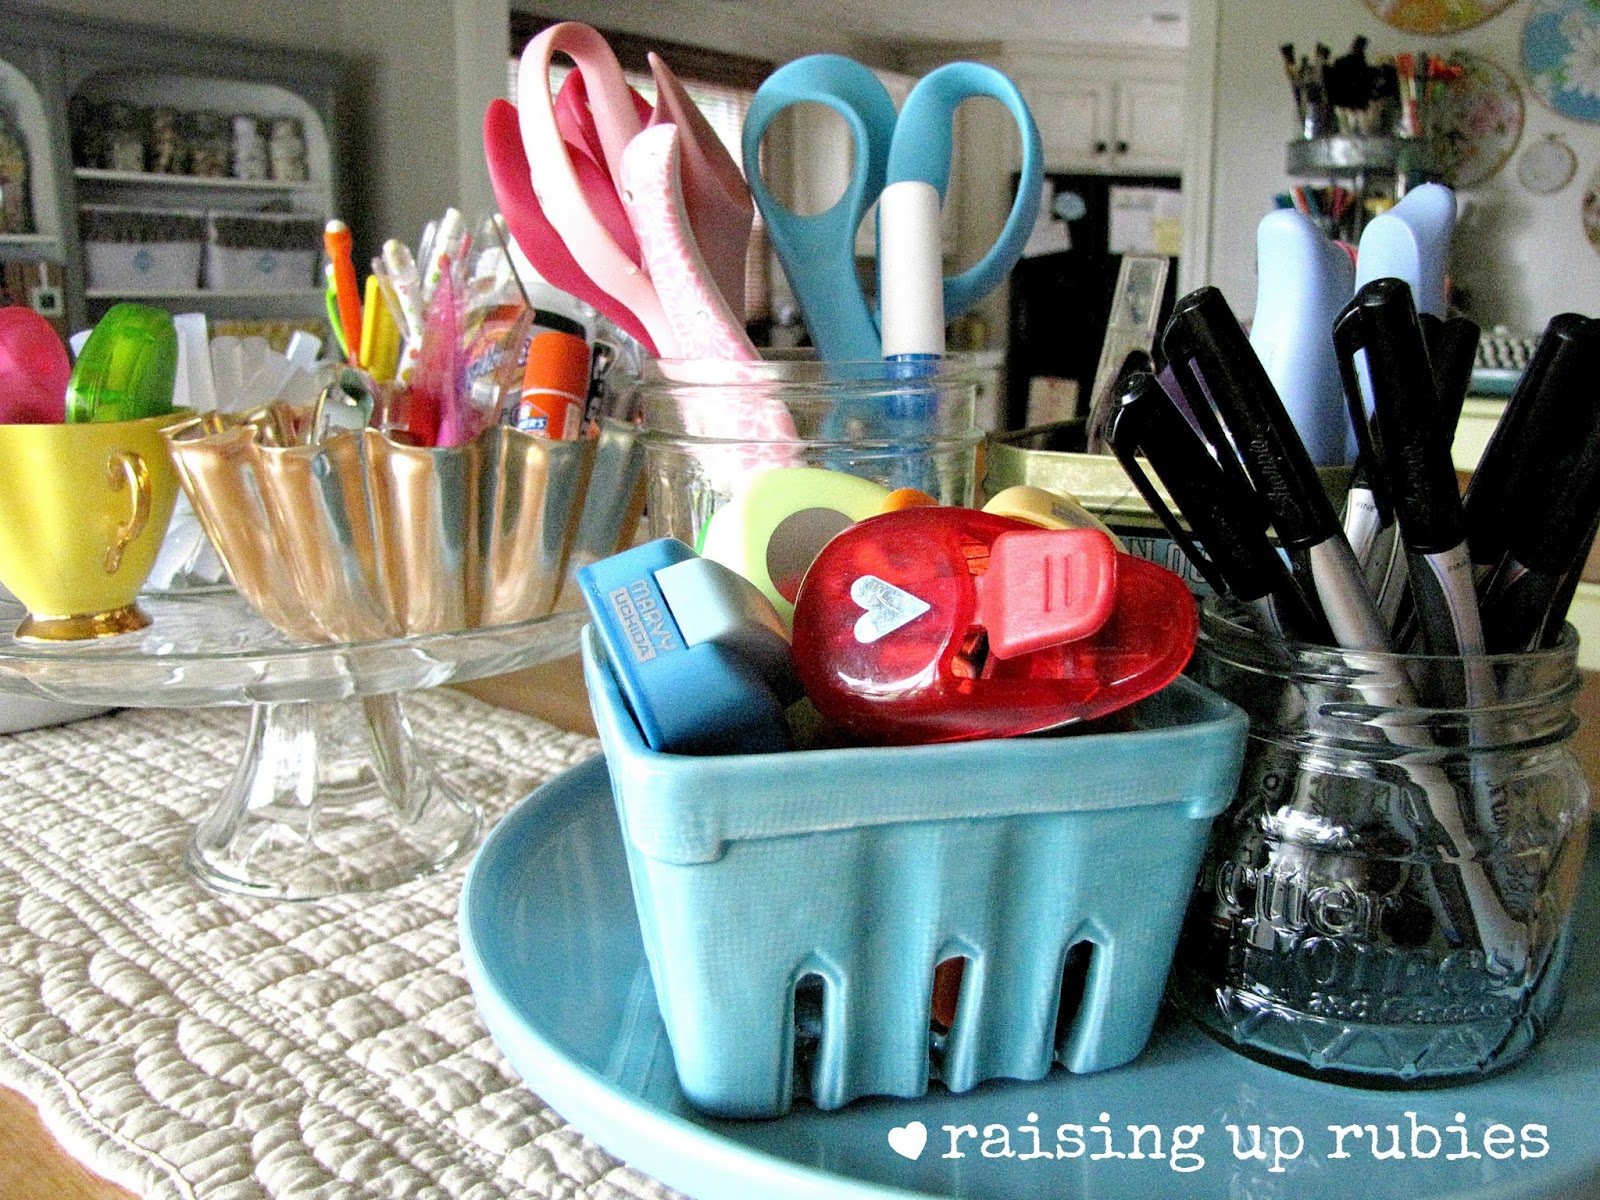
a few things you need …


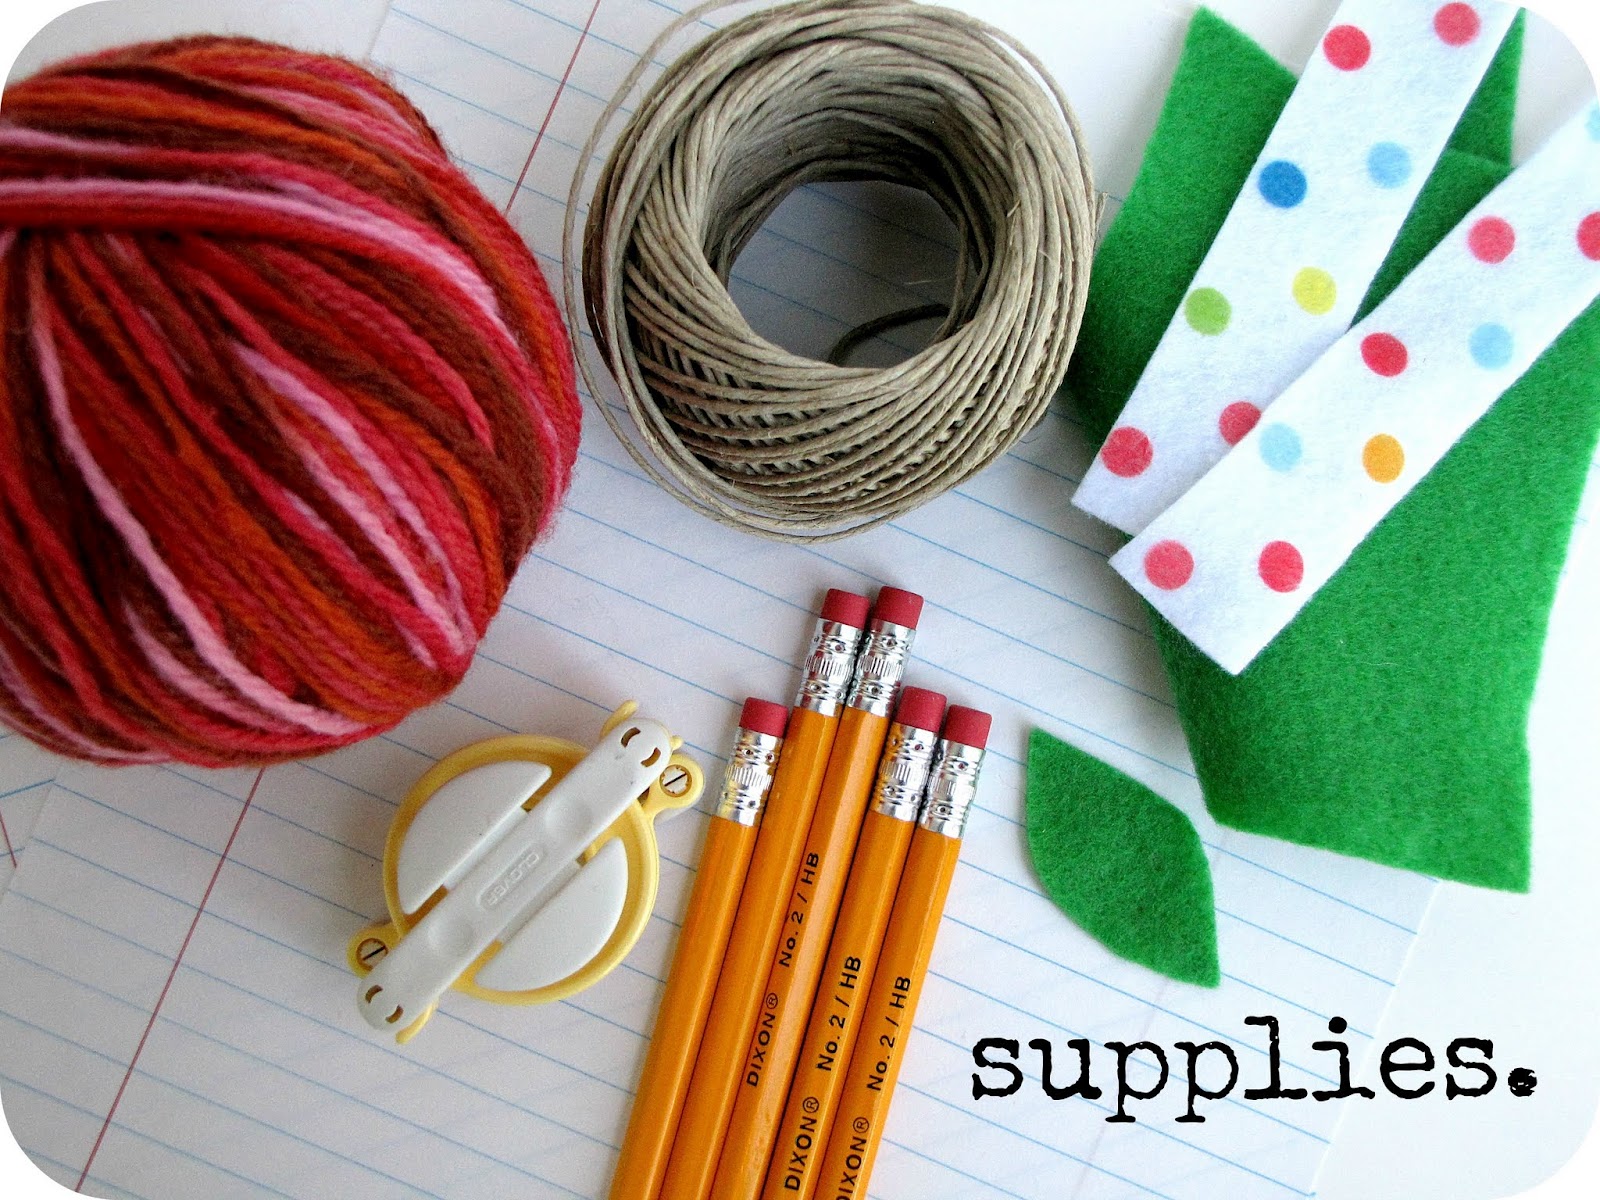
pom pom makers are the funnest (not a word i know) things to have
oh i know you don’t need them to make pom poms 
but they make it a little easier 🙂
the medium size was used for these pom poms
they’re made by Clover and we got ours at Joanns and i’ve seen them at Walmart too
they have a few different sizes, one of them is huge
and would make an apple pom pom the size of … well … an apple 🙂
there’s even a heart shaped pom pom maker! can you imagine??
(not ’cause i like hearts or anything)
(♥)

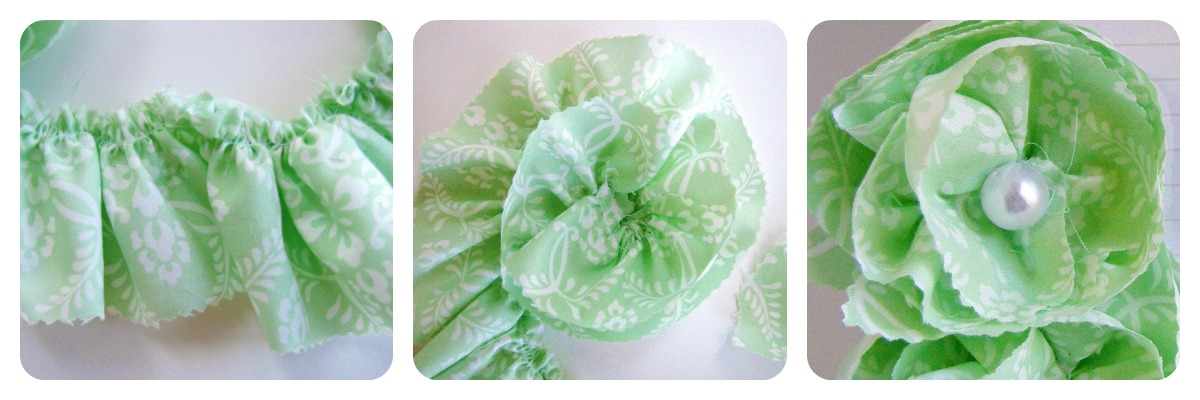
since the instructions on the back of the package are basic
i thought i’d give you a few pictures of the process


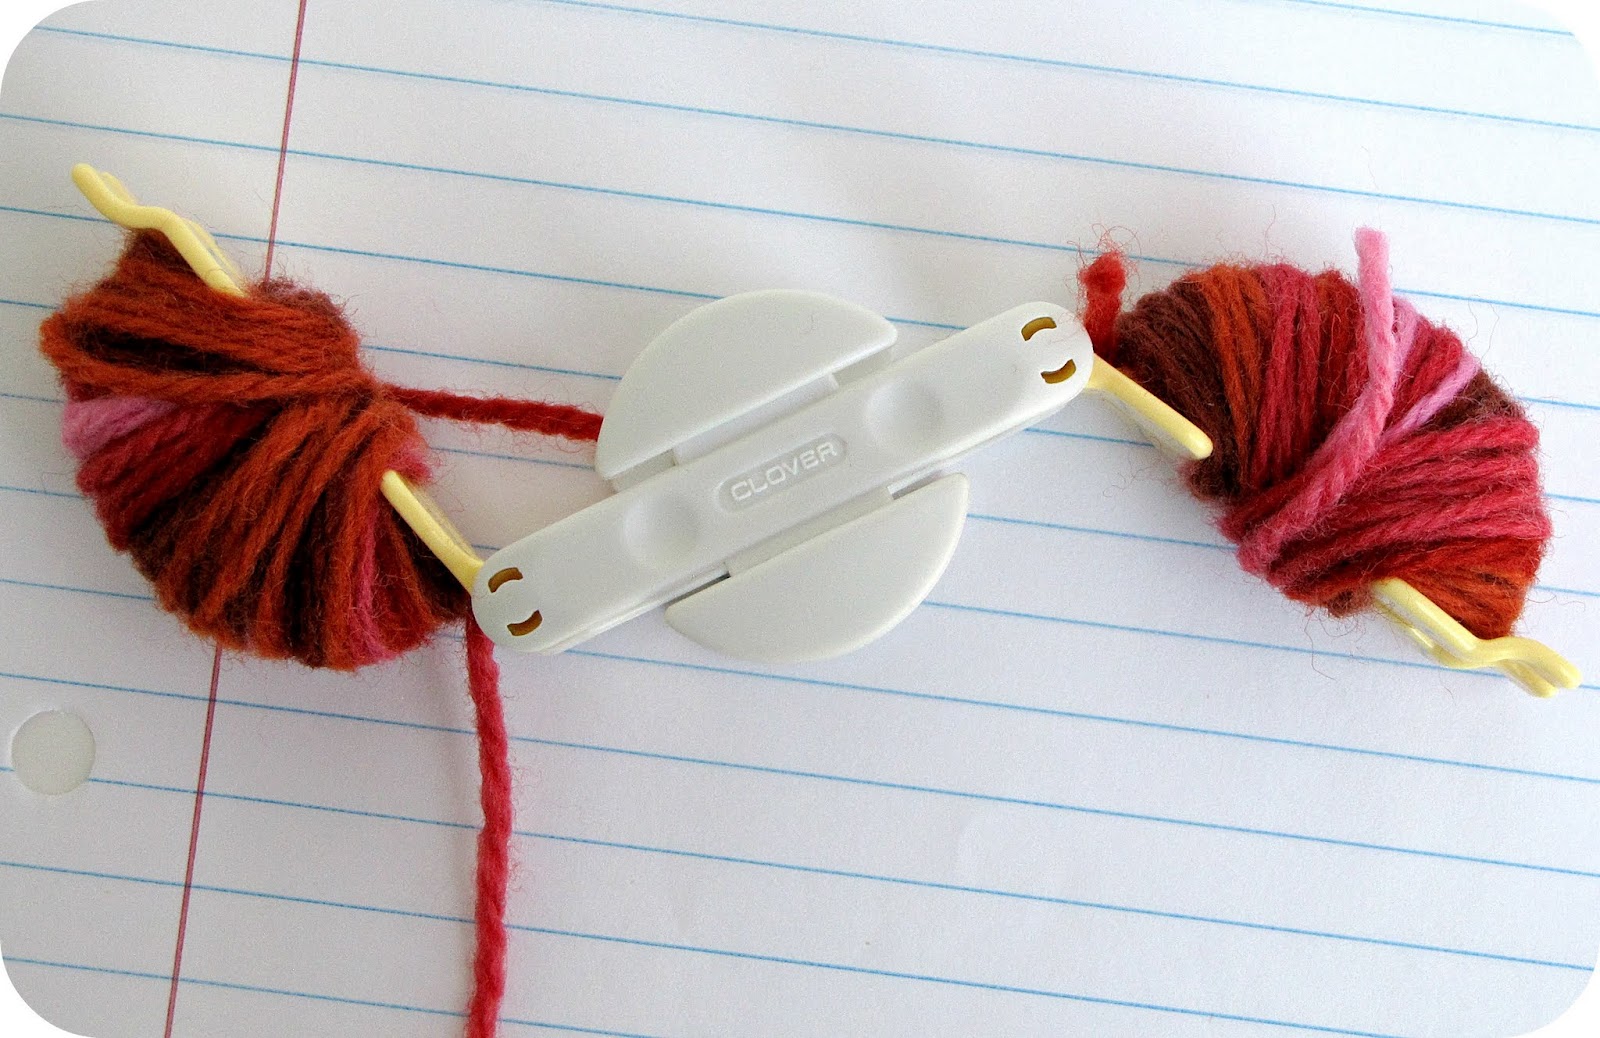
first wind the yarn of your choice around both sections of the pom pom device 🙂
don’t worry about the ends, they will blend in when you trim at the end


close both ends together and then cut with sharp pointed scissors 
through the thickness of the yarn

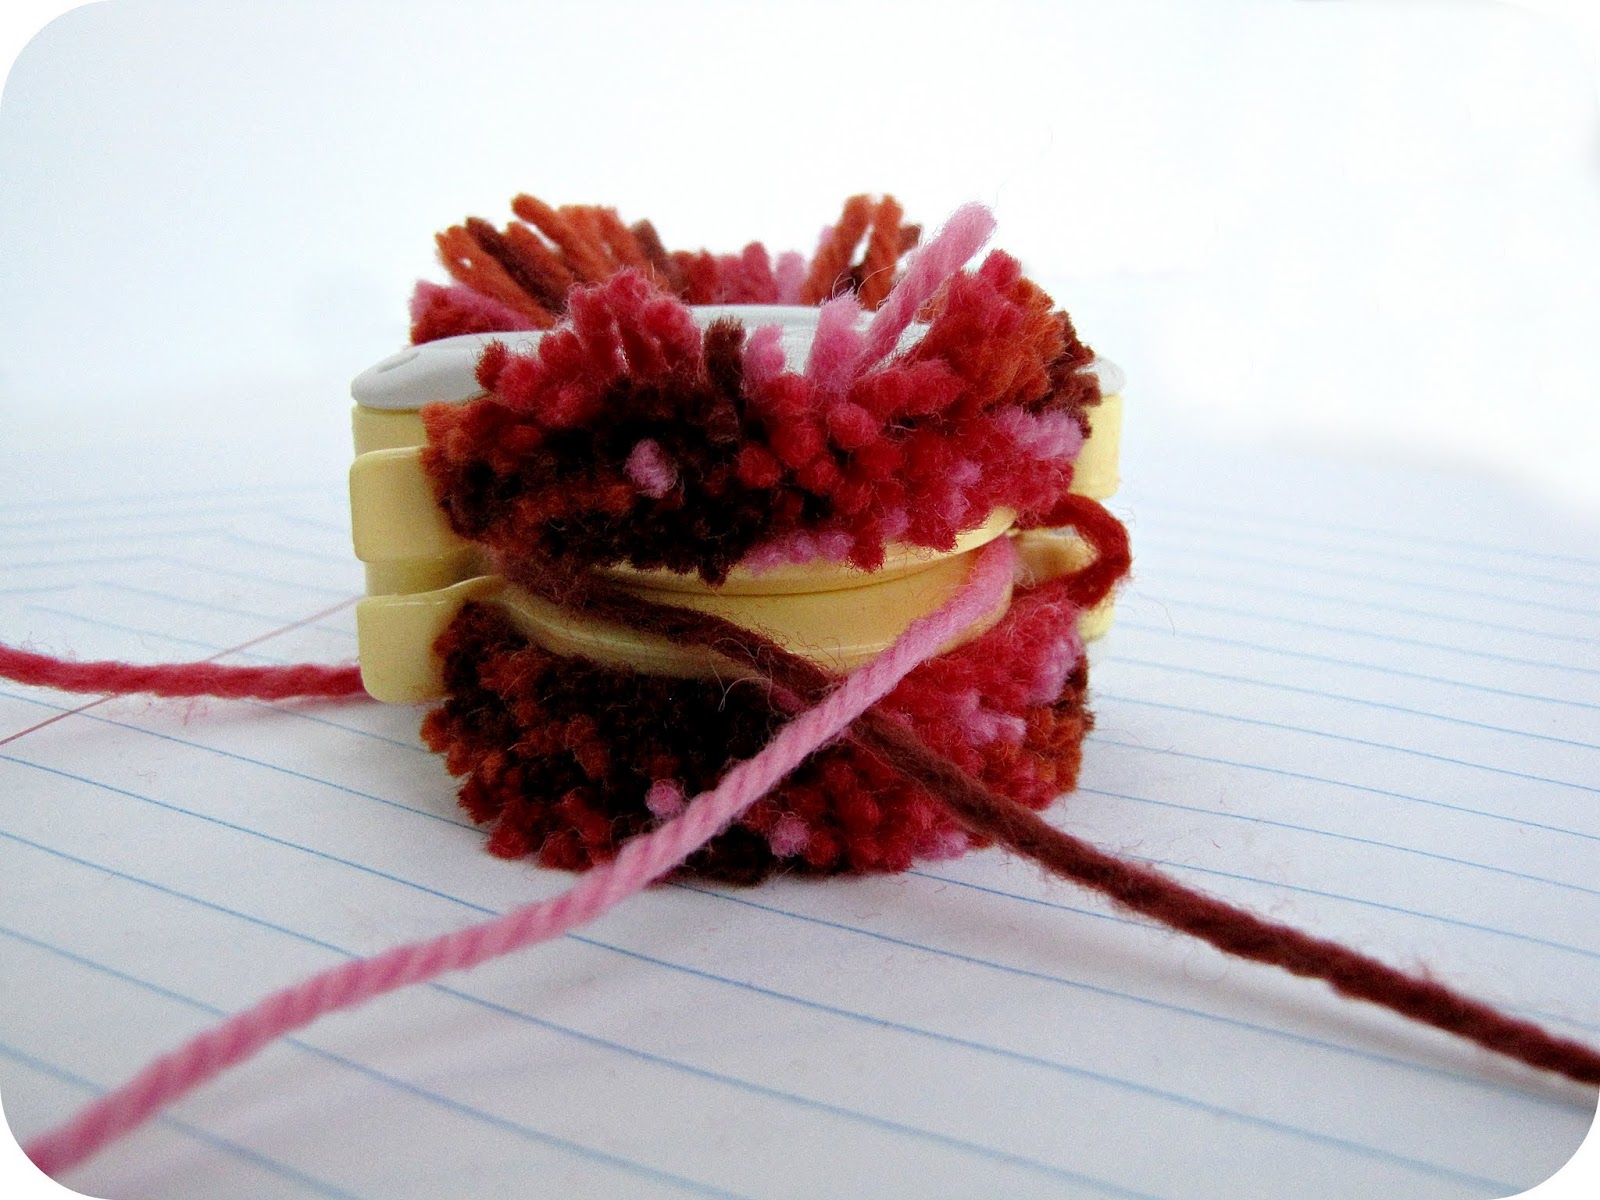
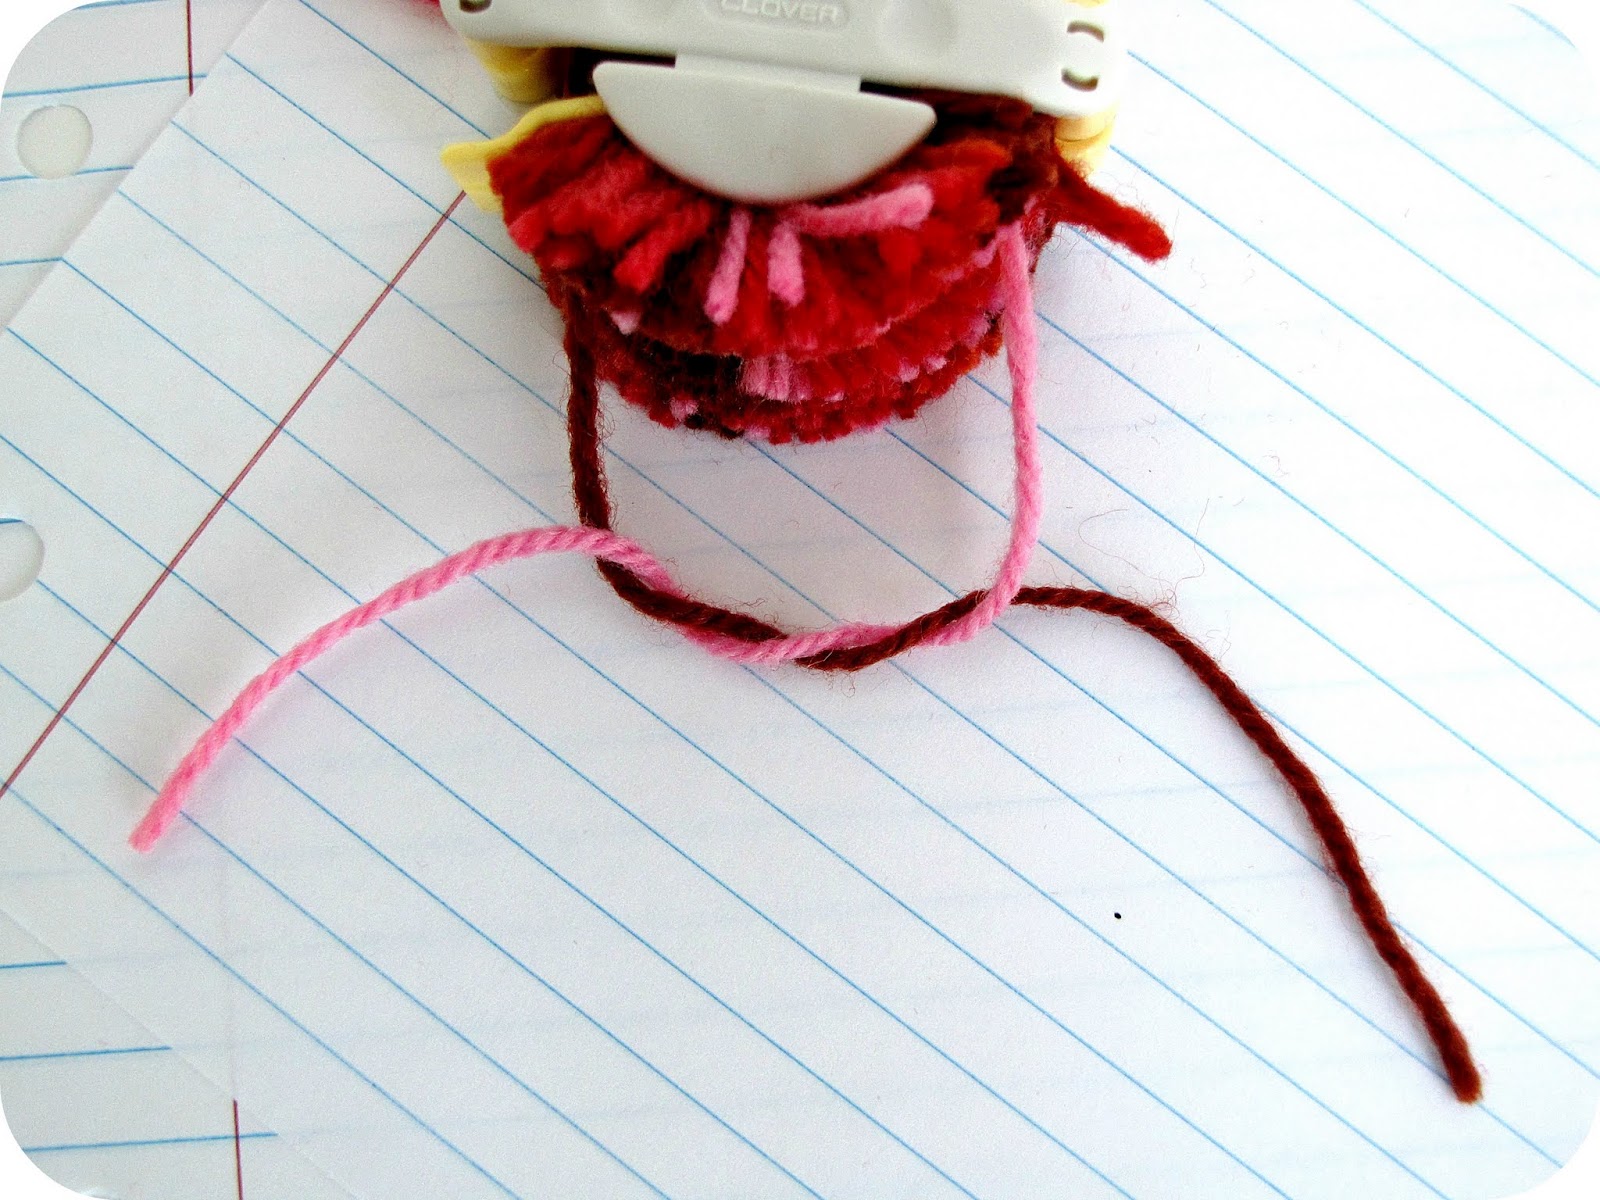
take a separate piece of yarn and wrap it around the groove that is now exposed
loop the ends through each other a few times to make sure the pom pom doesn’t get loose

open both ends and open up the pom pom maker
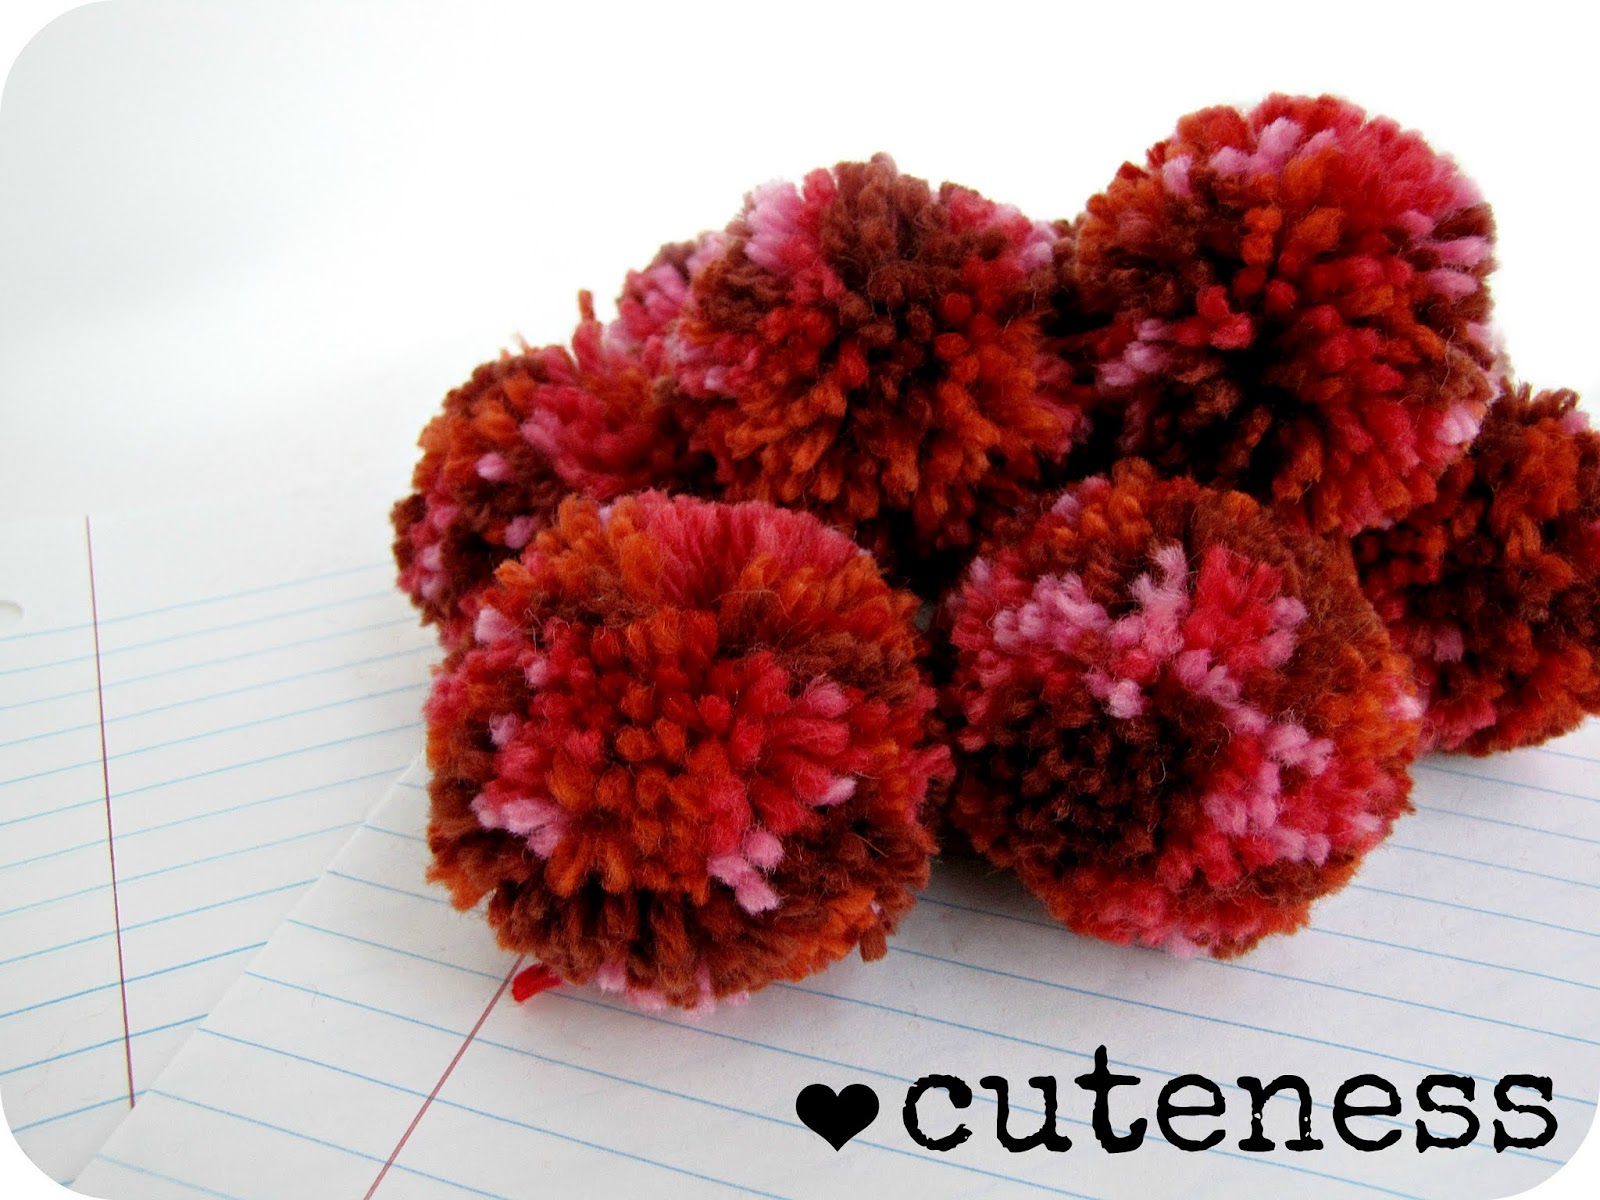
pom poms! make lots now 🙂

they will need some trimming to give them a round shape
don’t worry, it’s hard to mess this up 
(unless you’re blind folded 🙂

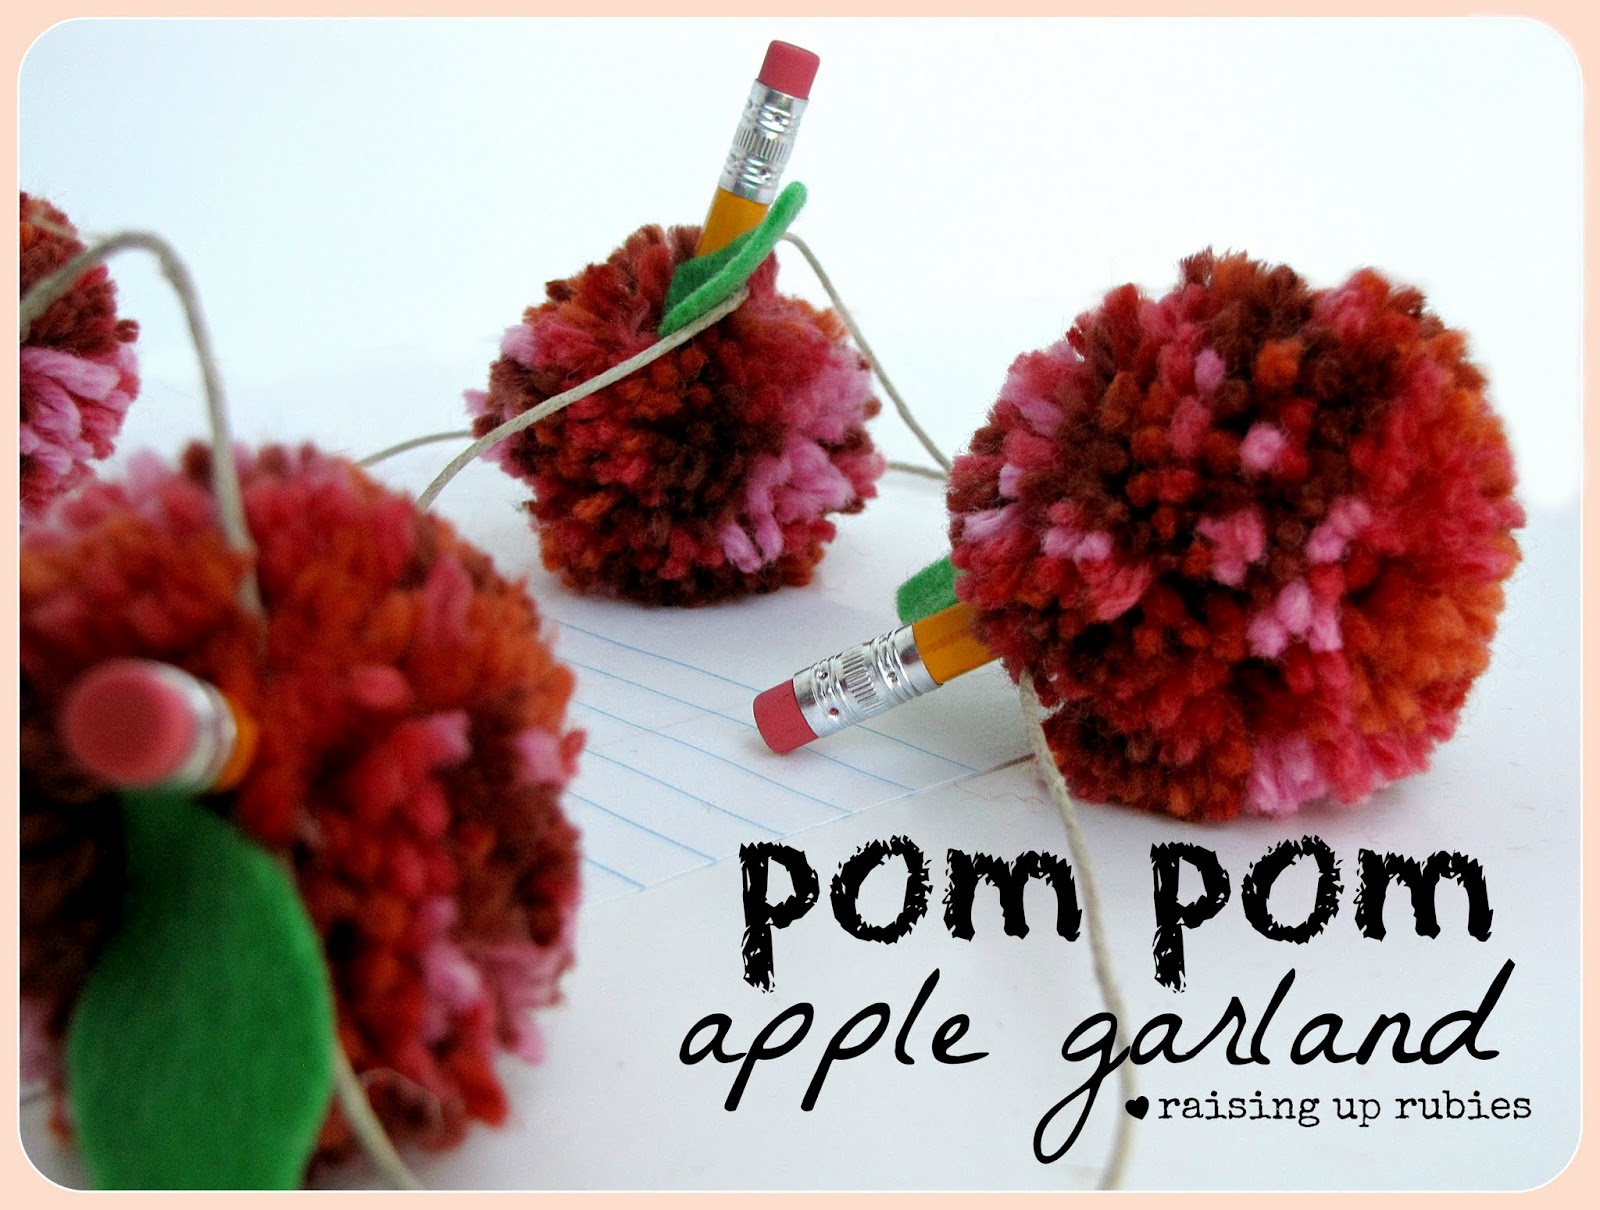
all done … fun! now let’s make garland


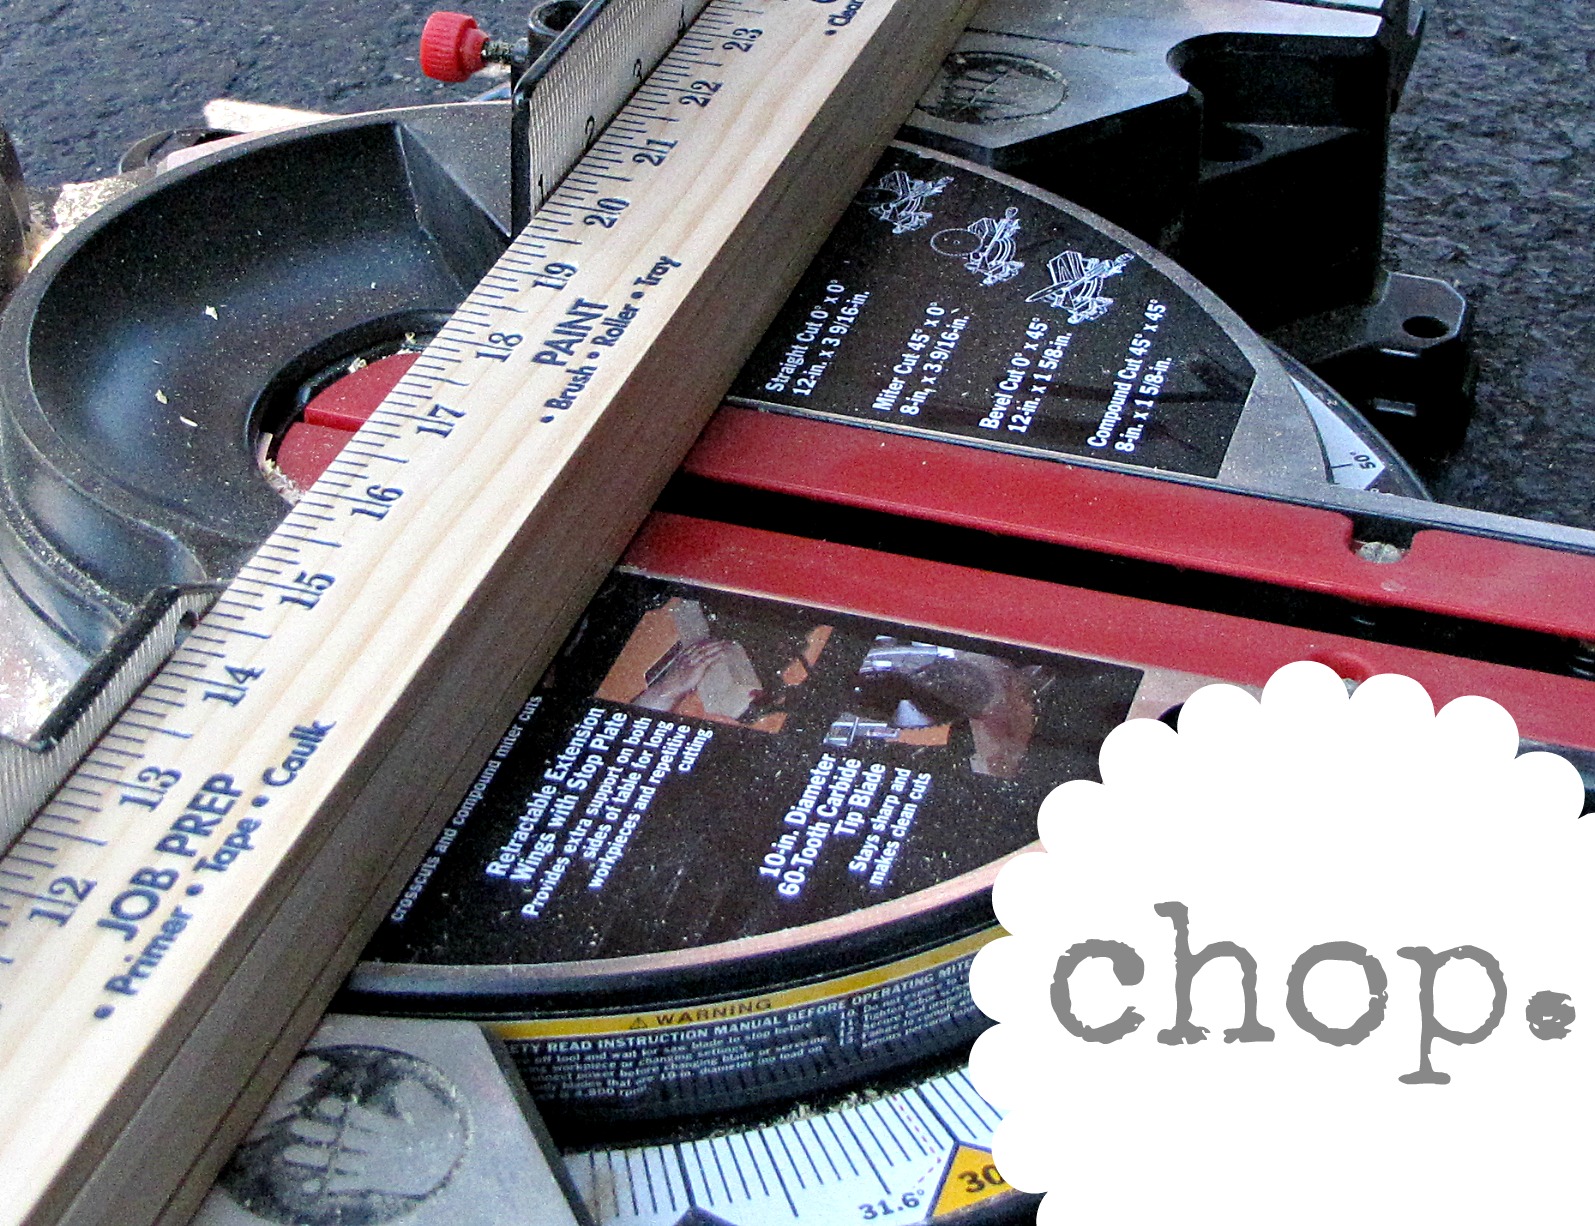
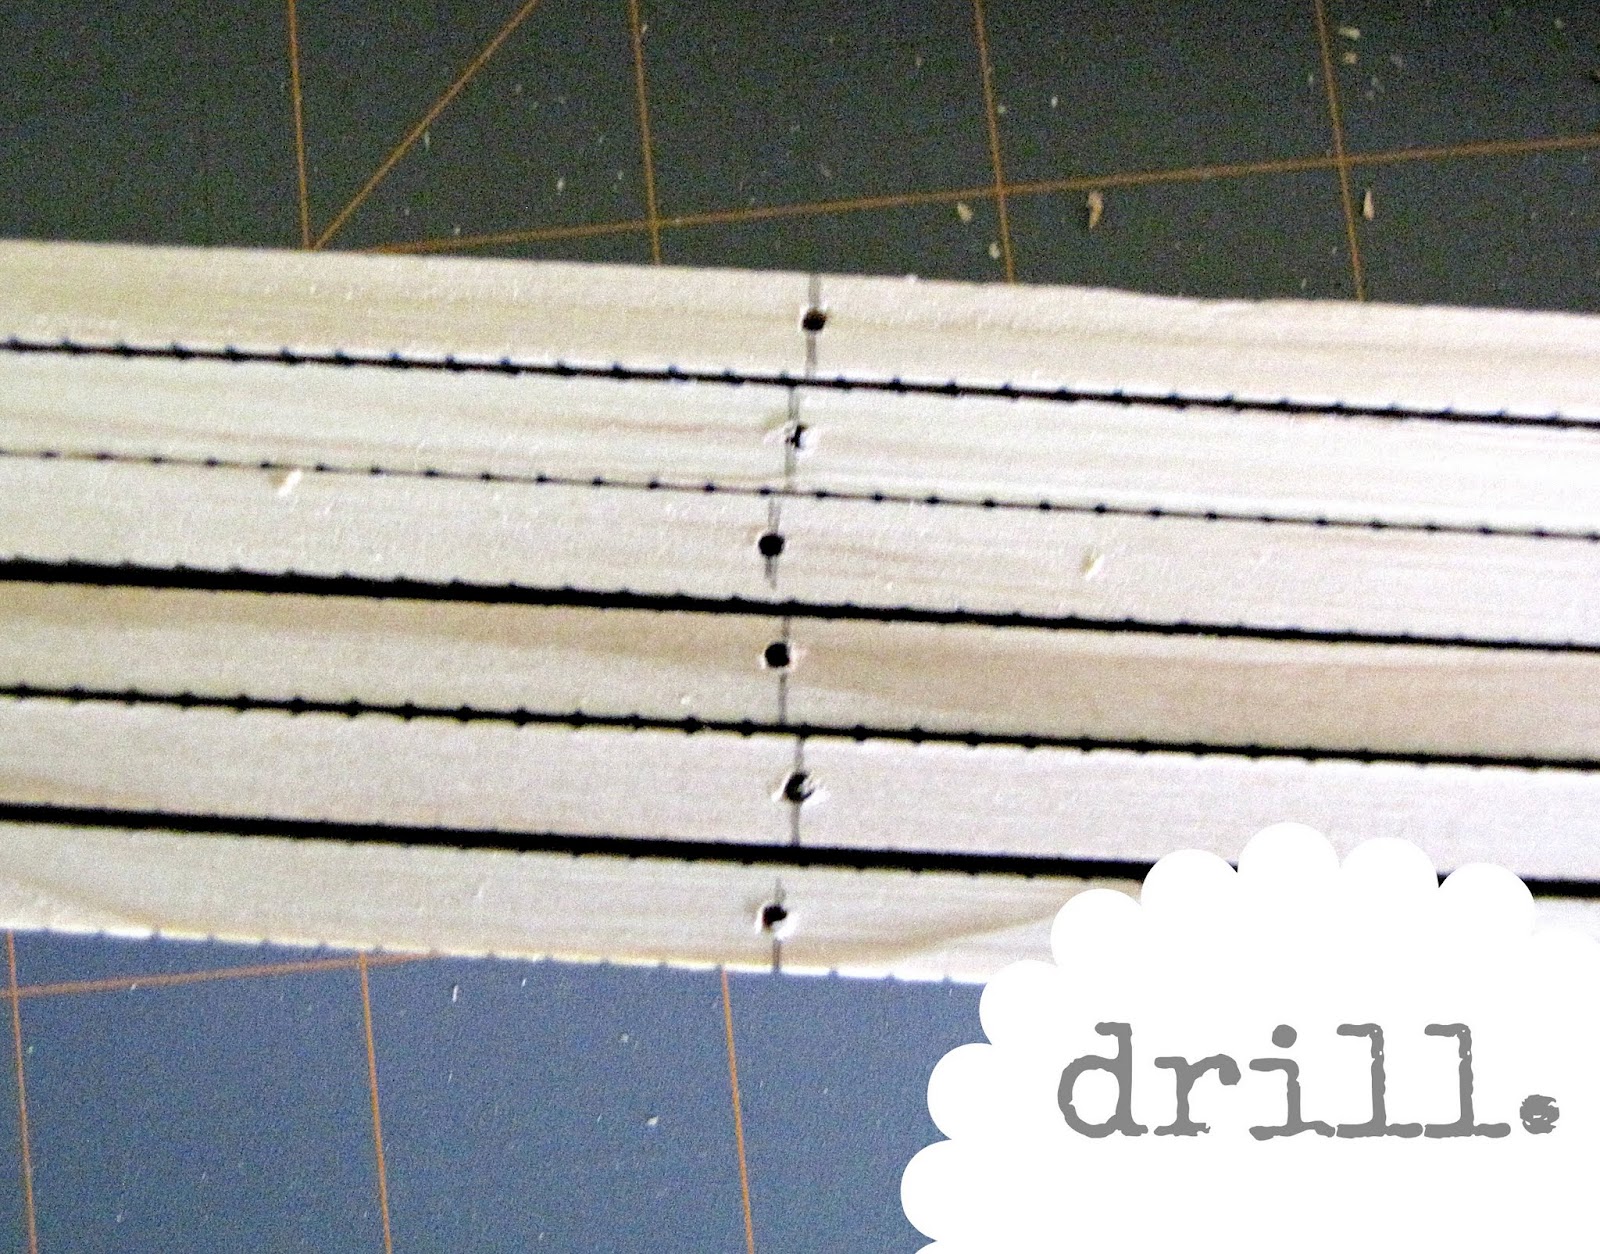
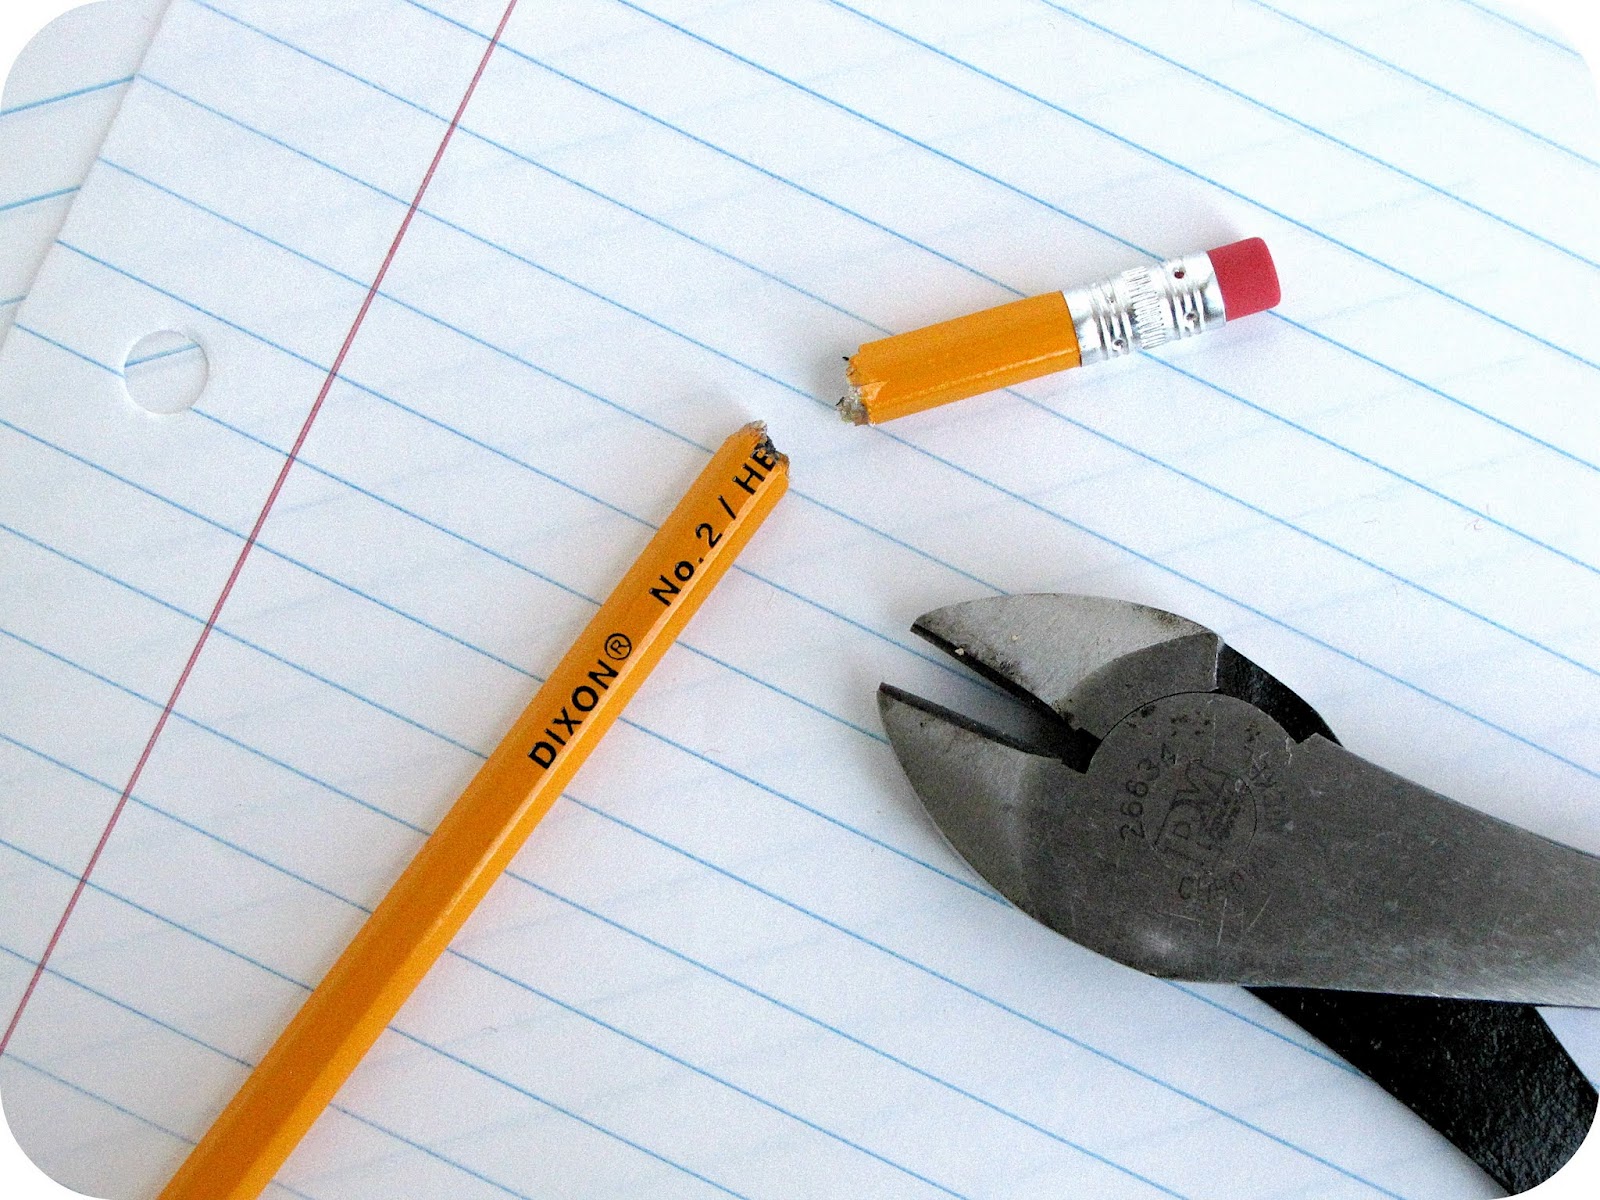
to make the stems use wire snips to cut the pencils
(you can still use the bottom of the pencils
you just can’t make any mistakes when you write with them 🙂


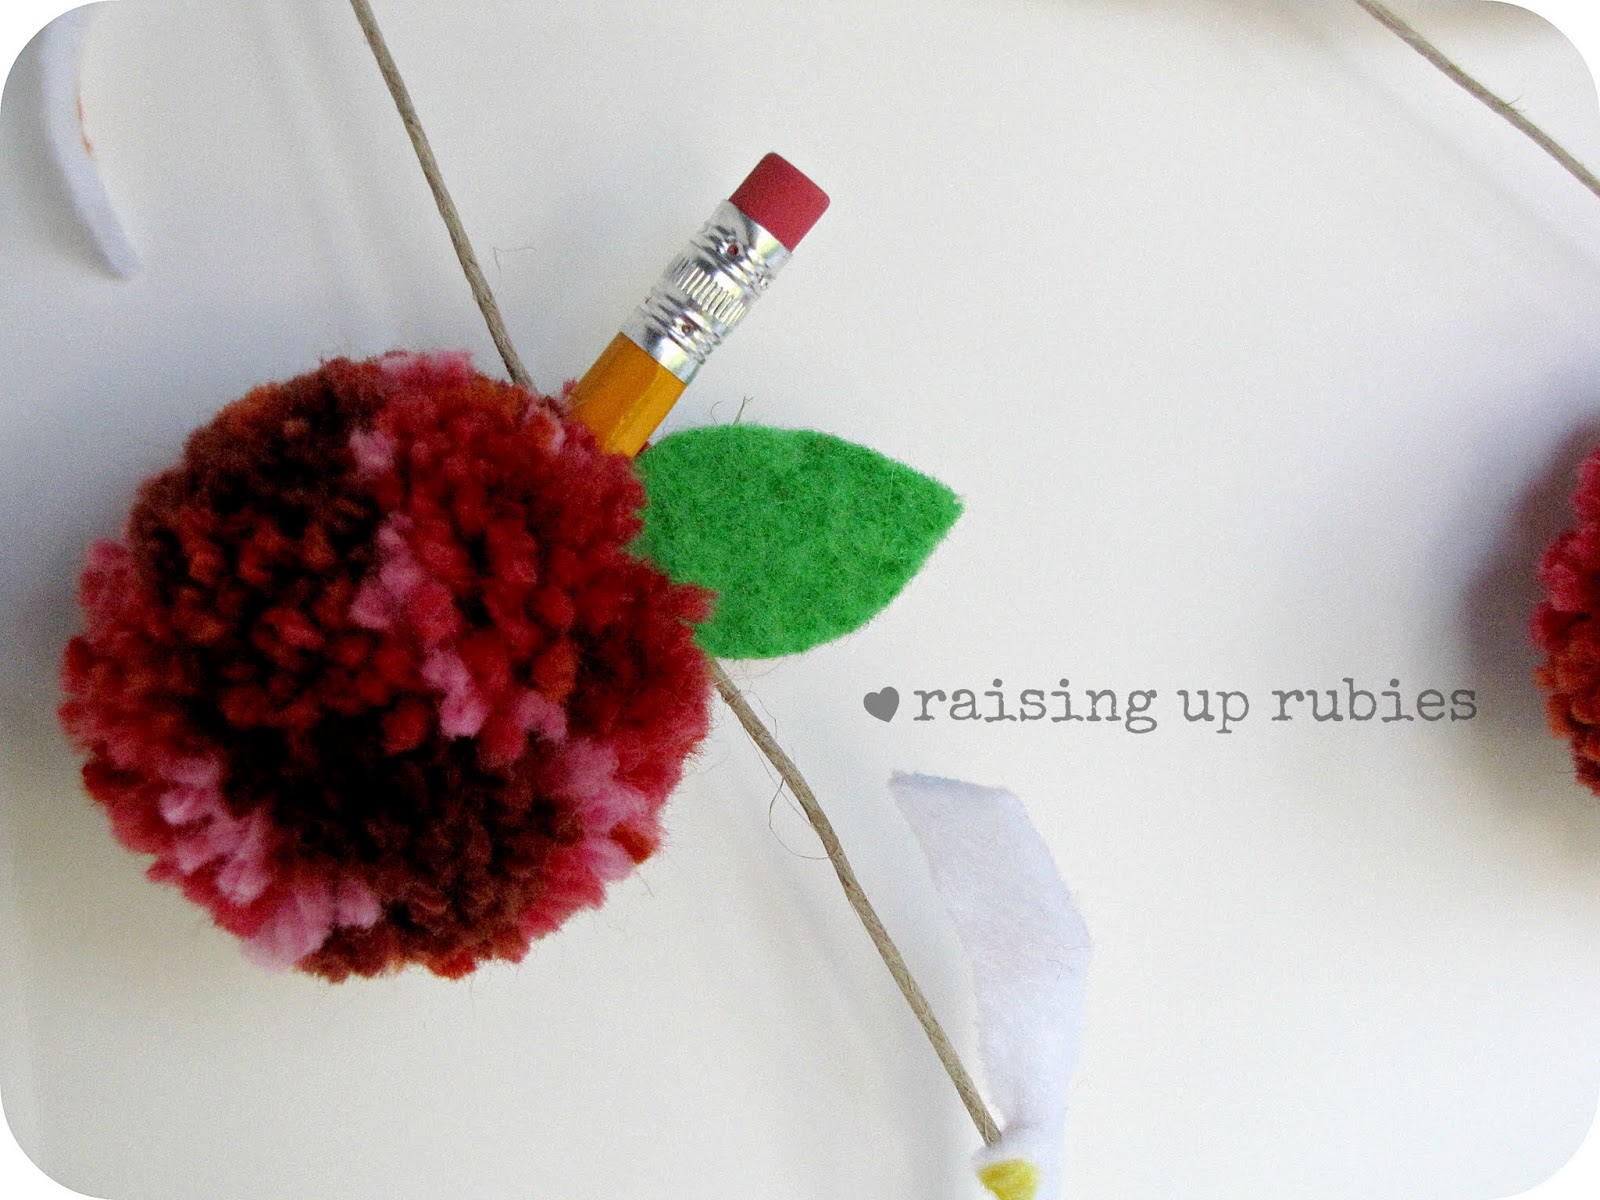
cut some leaves out of green felt
hot glue the pencil tops & the leaves inside the pom pom 
pressing the yarn around it to hide the base

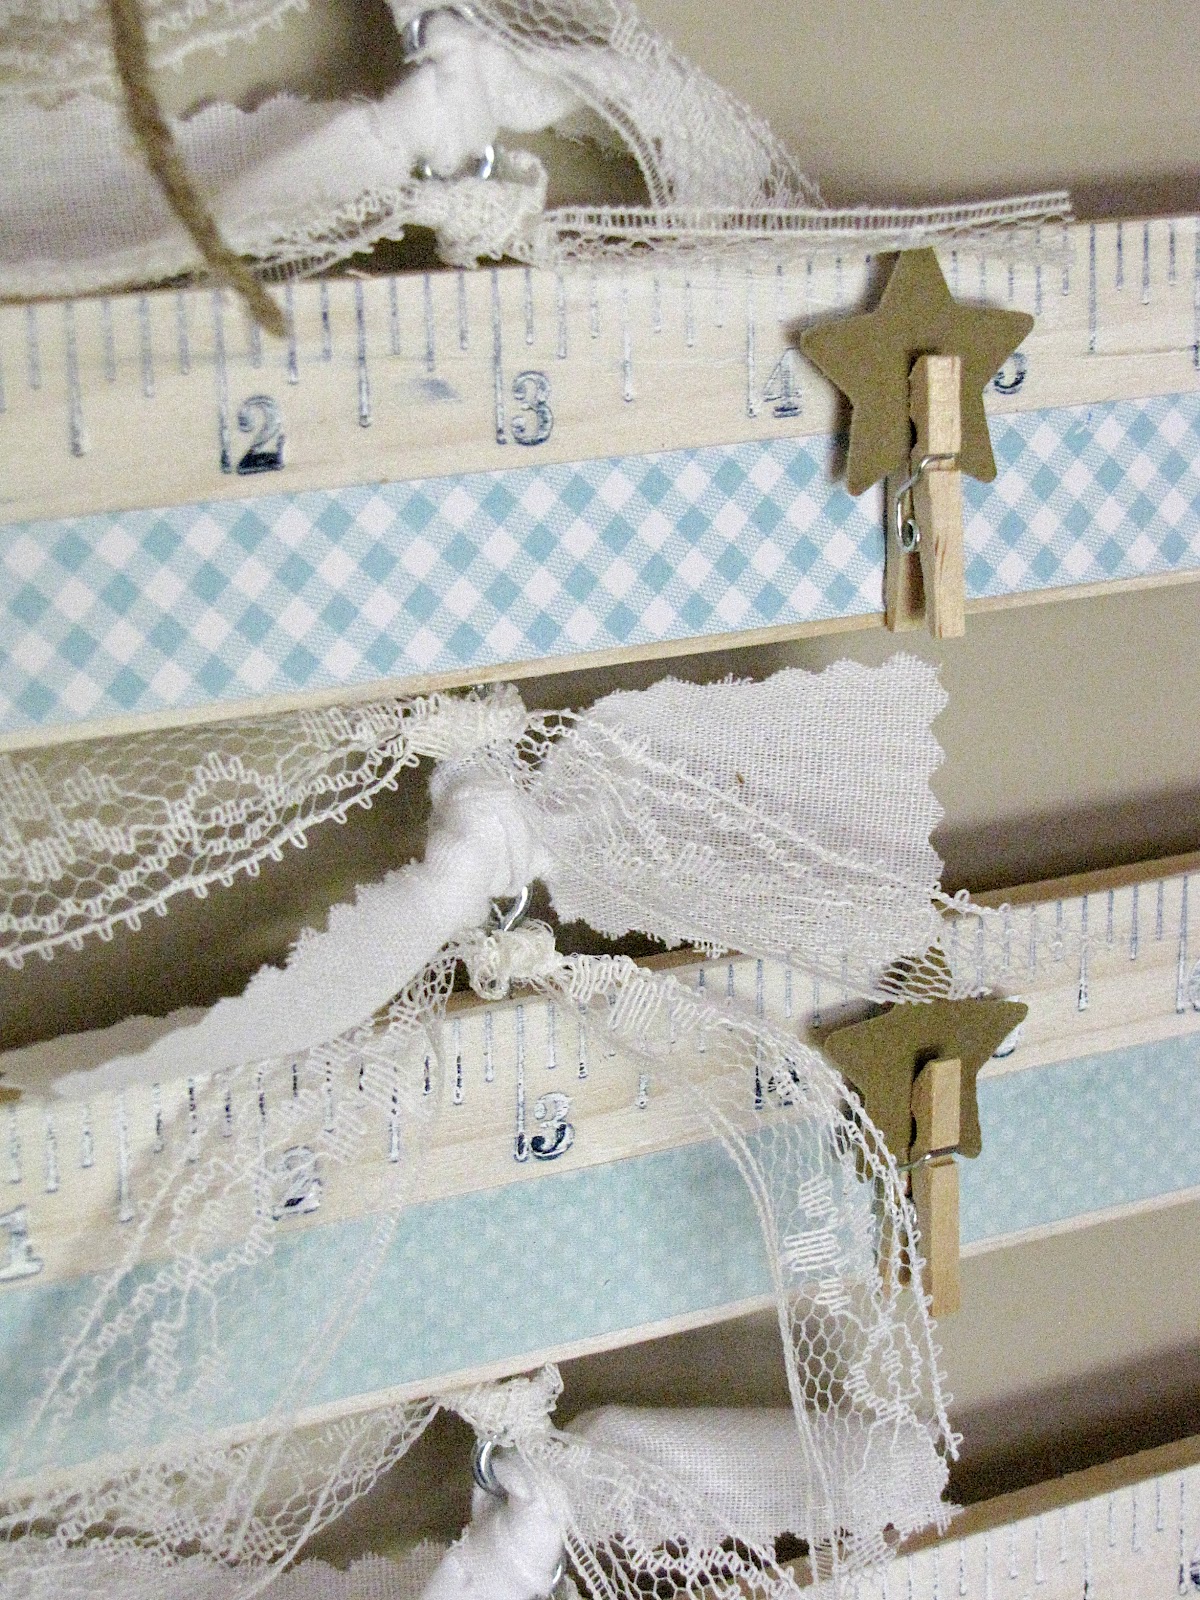
to string them, i used jute that was a more on the stiff side 
(from the jewlery section at the craft store)
just so the apples wouldn’t be top heavy and slouch over

hot glue the jute onto the backside of the pencil more towards the base
you want the apple to hang from the pencil not the pom pom

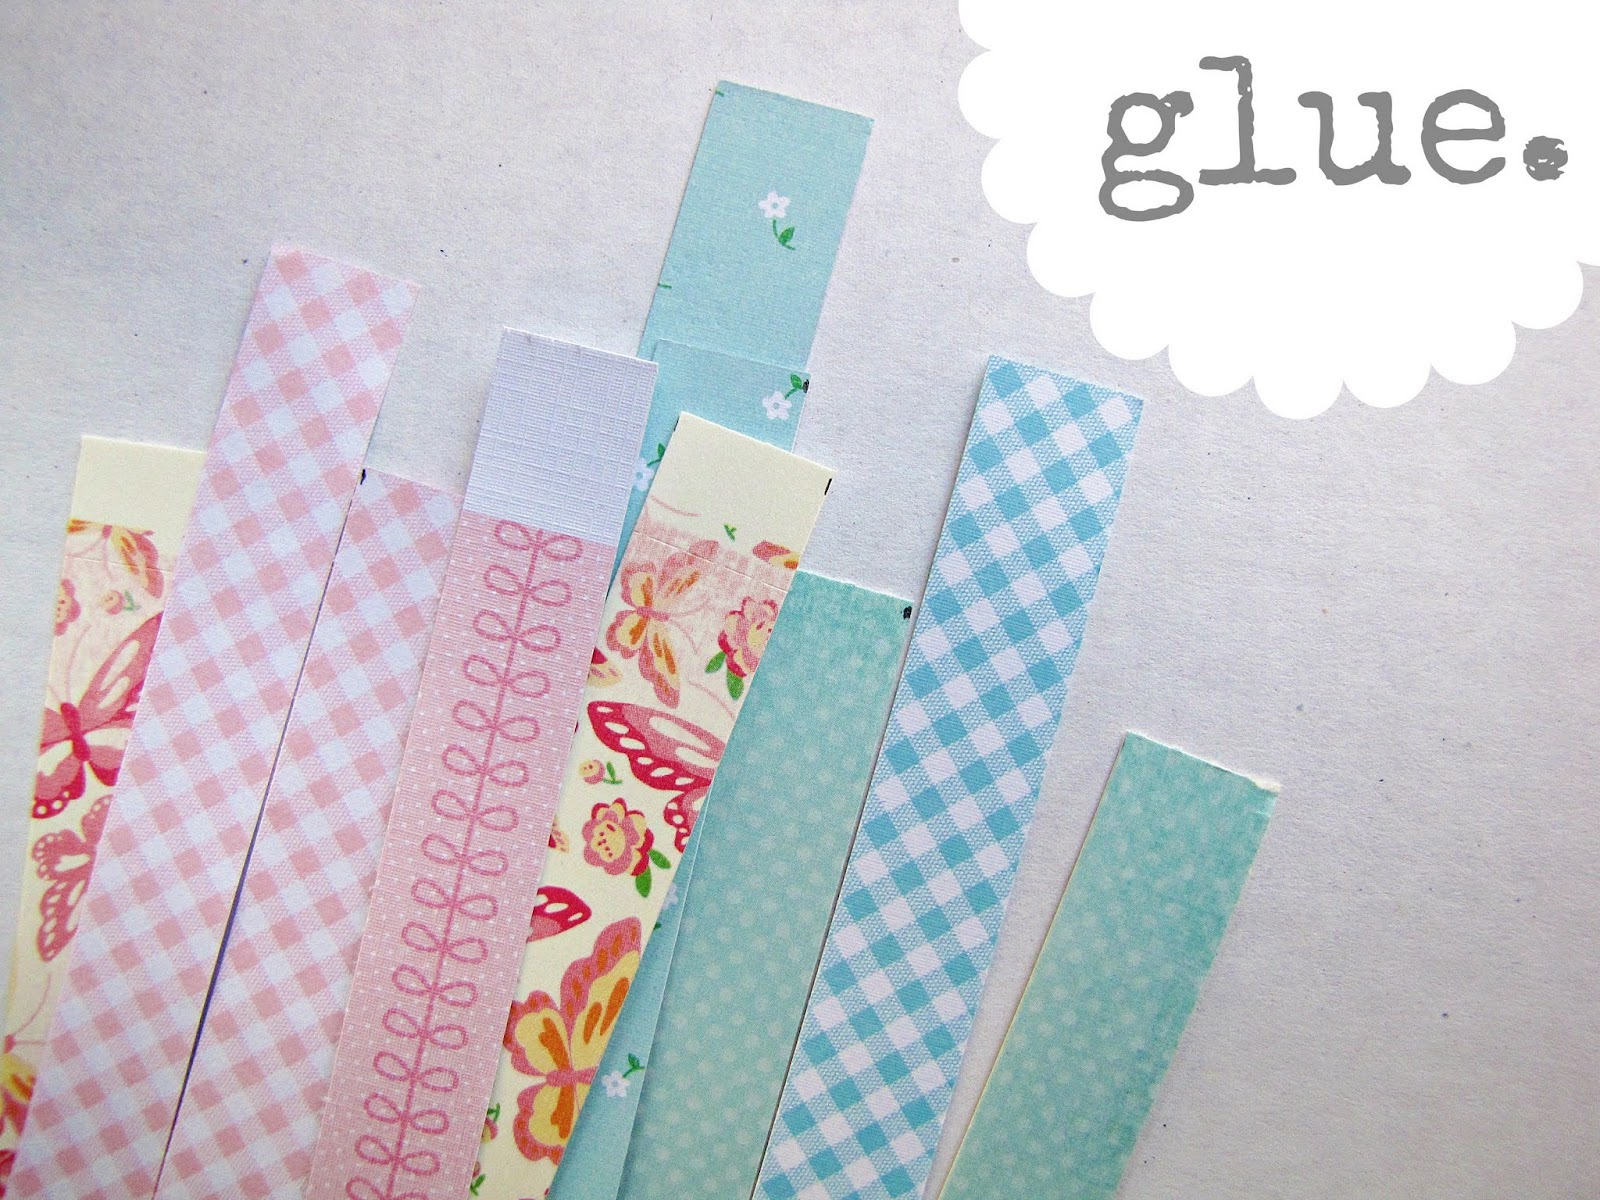
you can cut strips of felt or material to tie between the apples
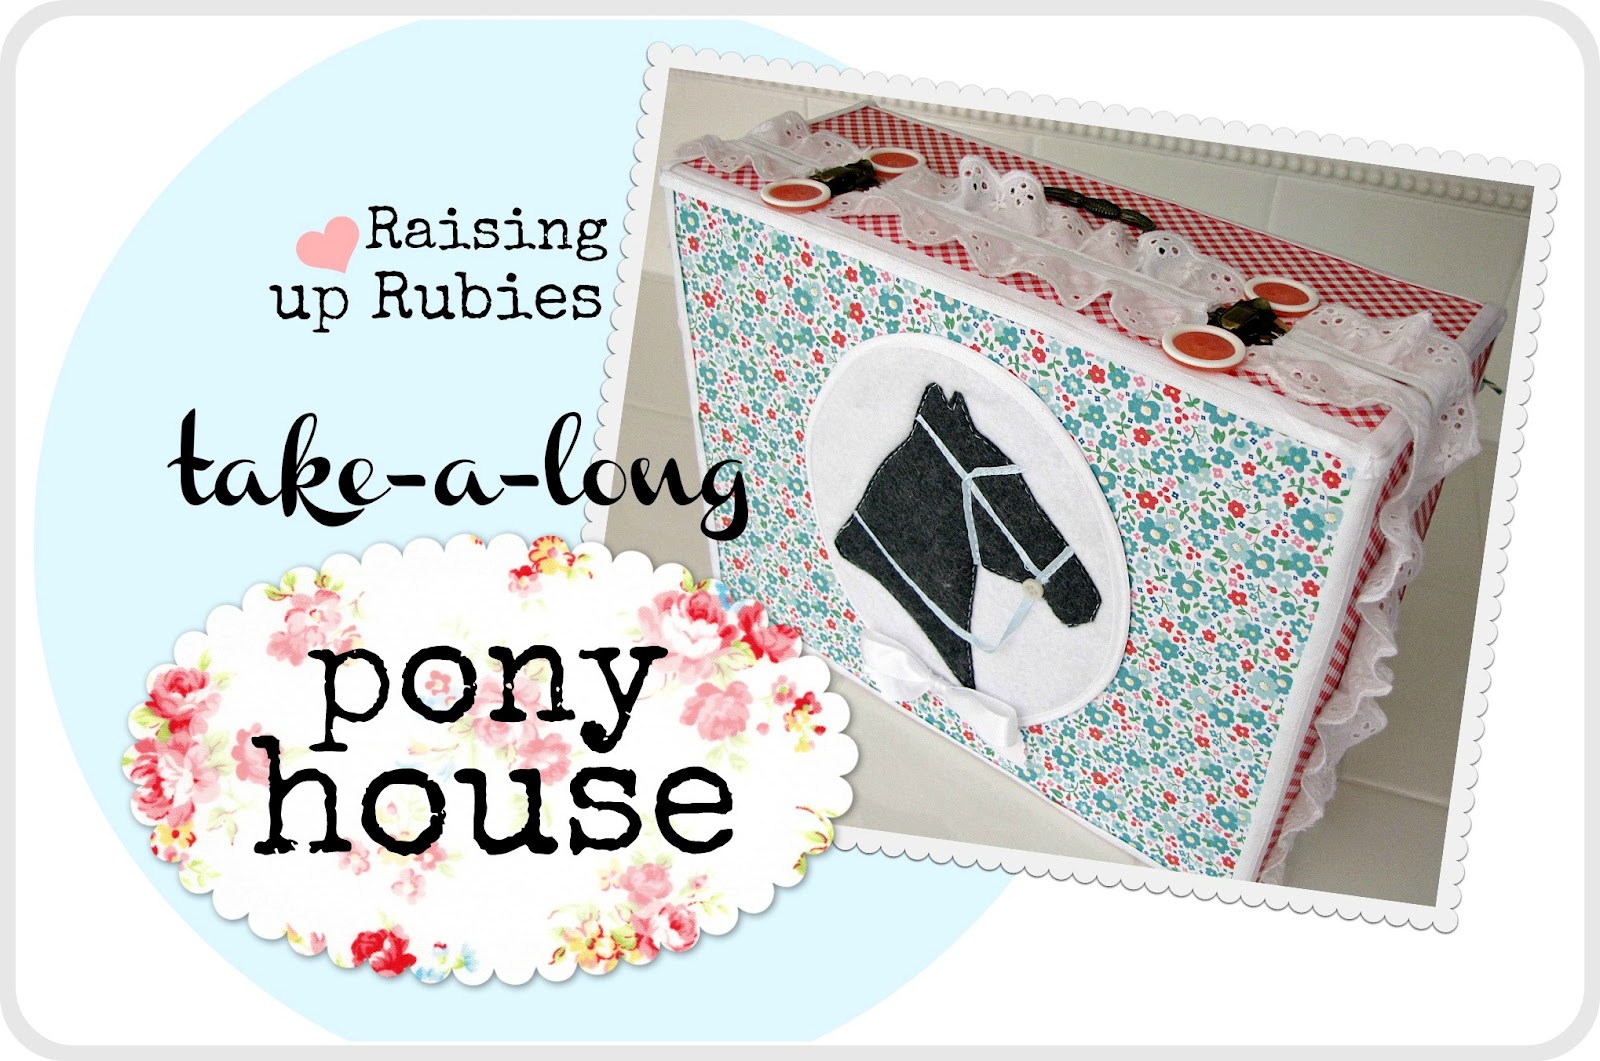
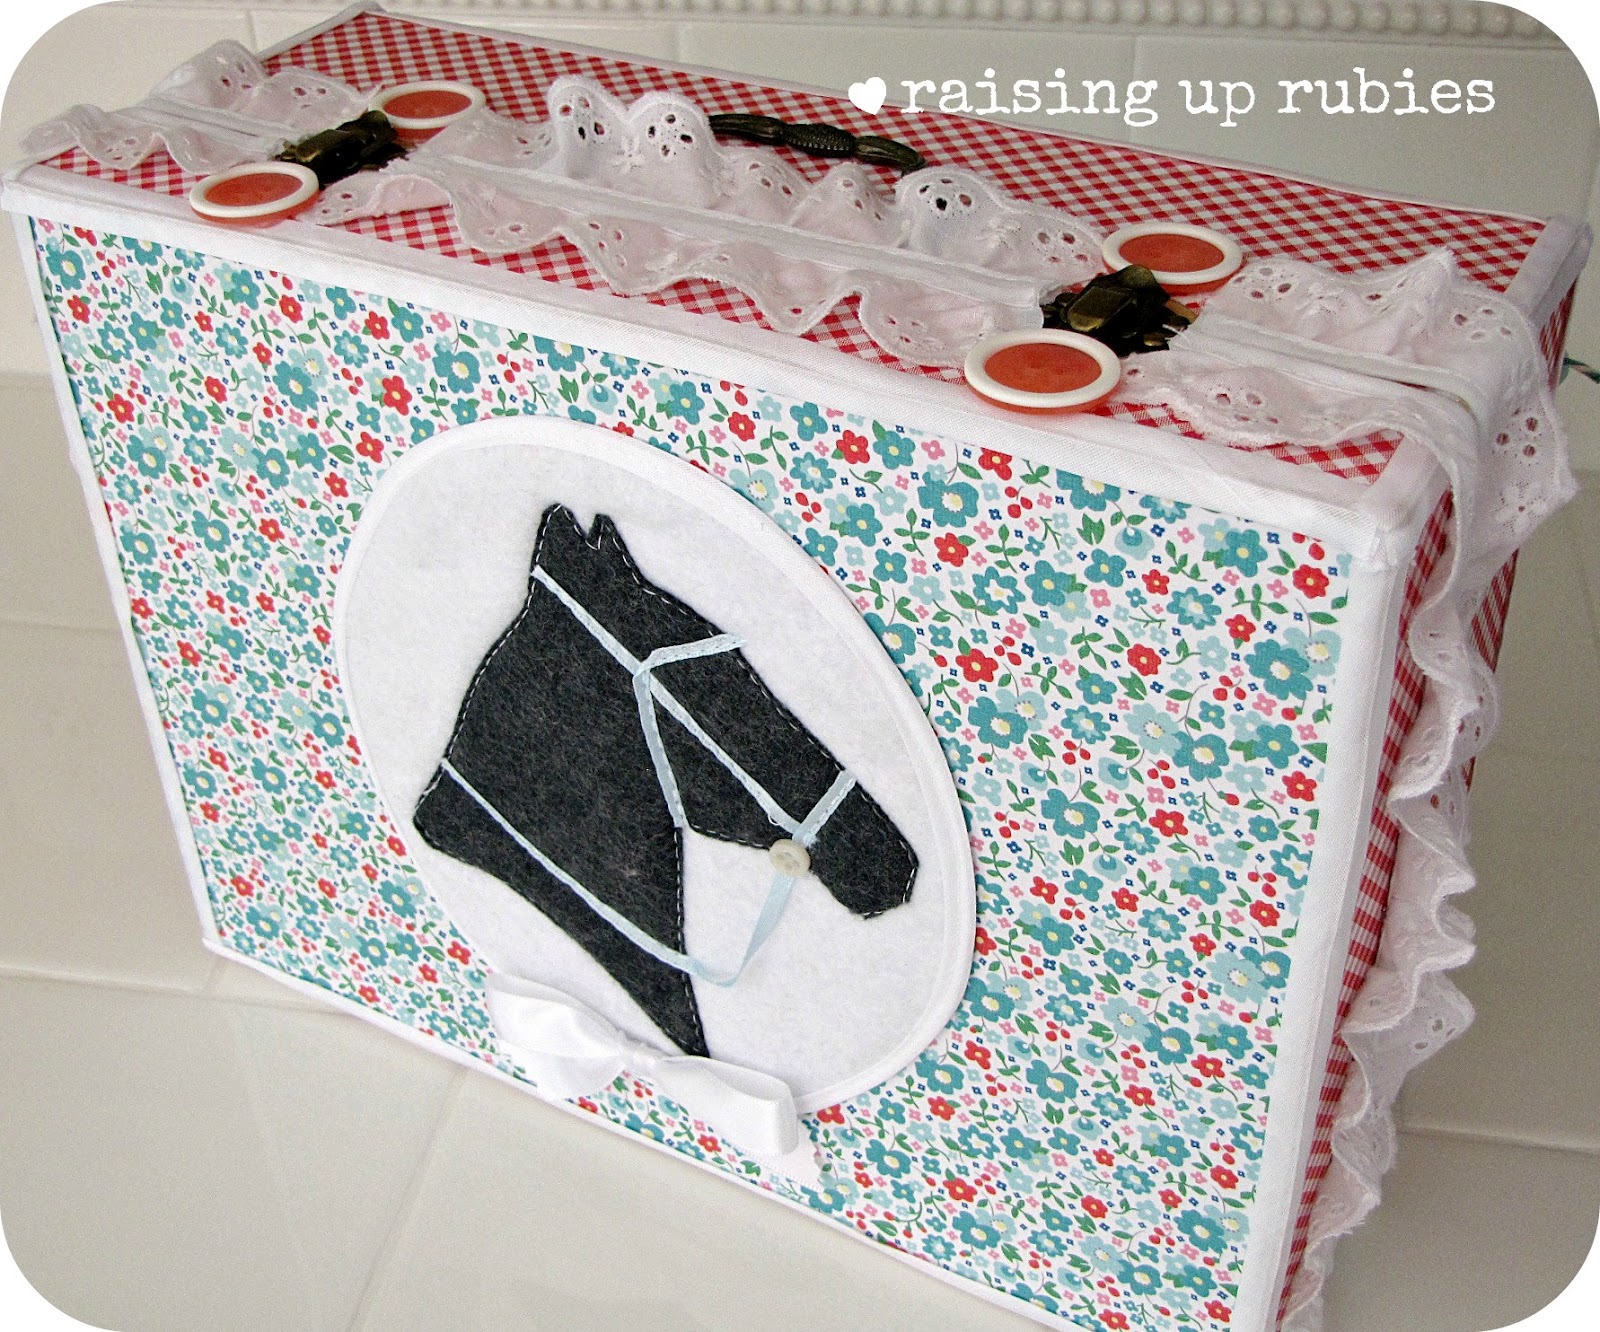
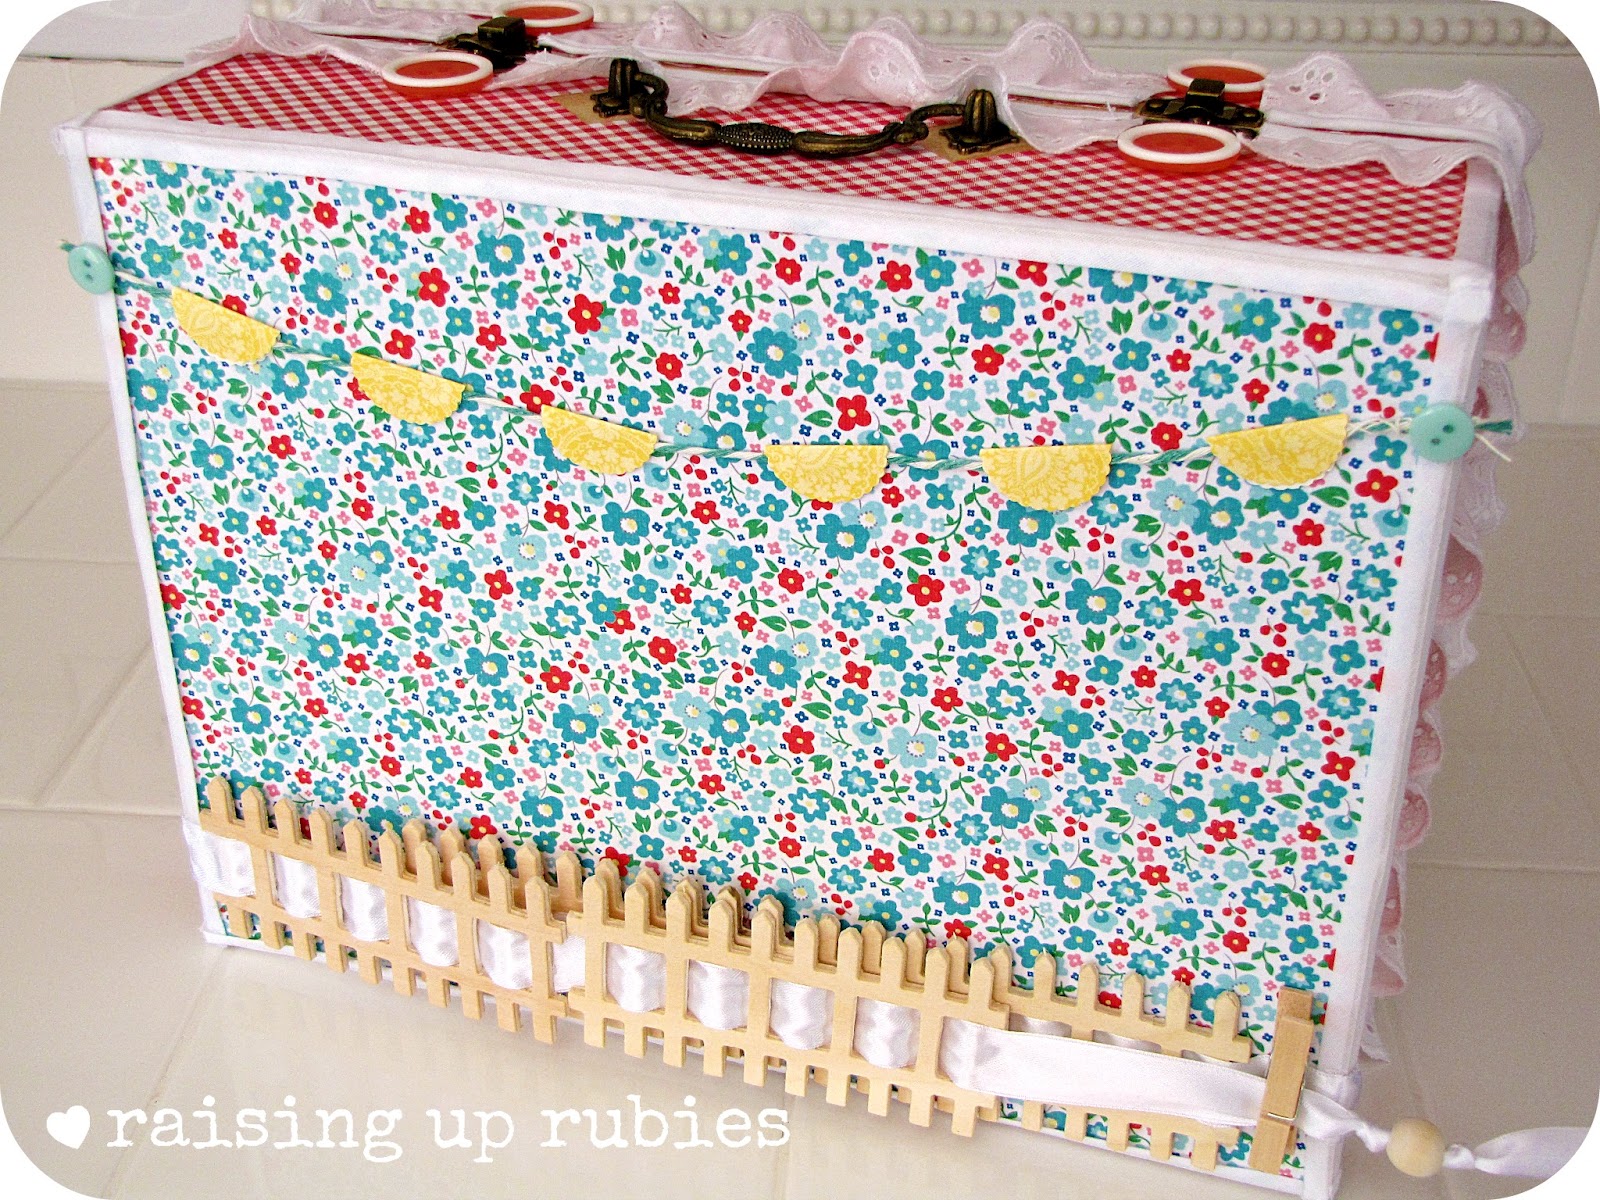
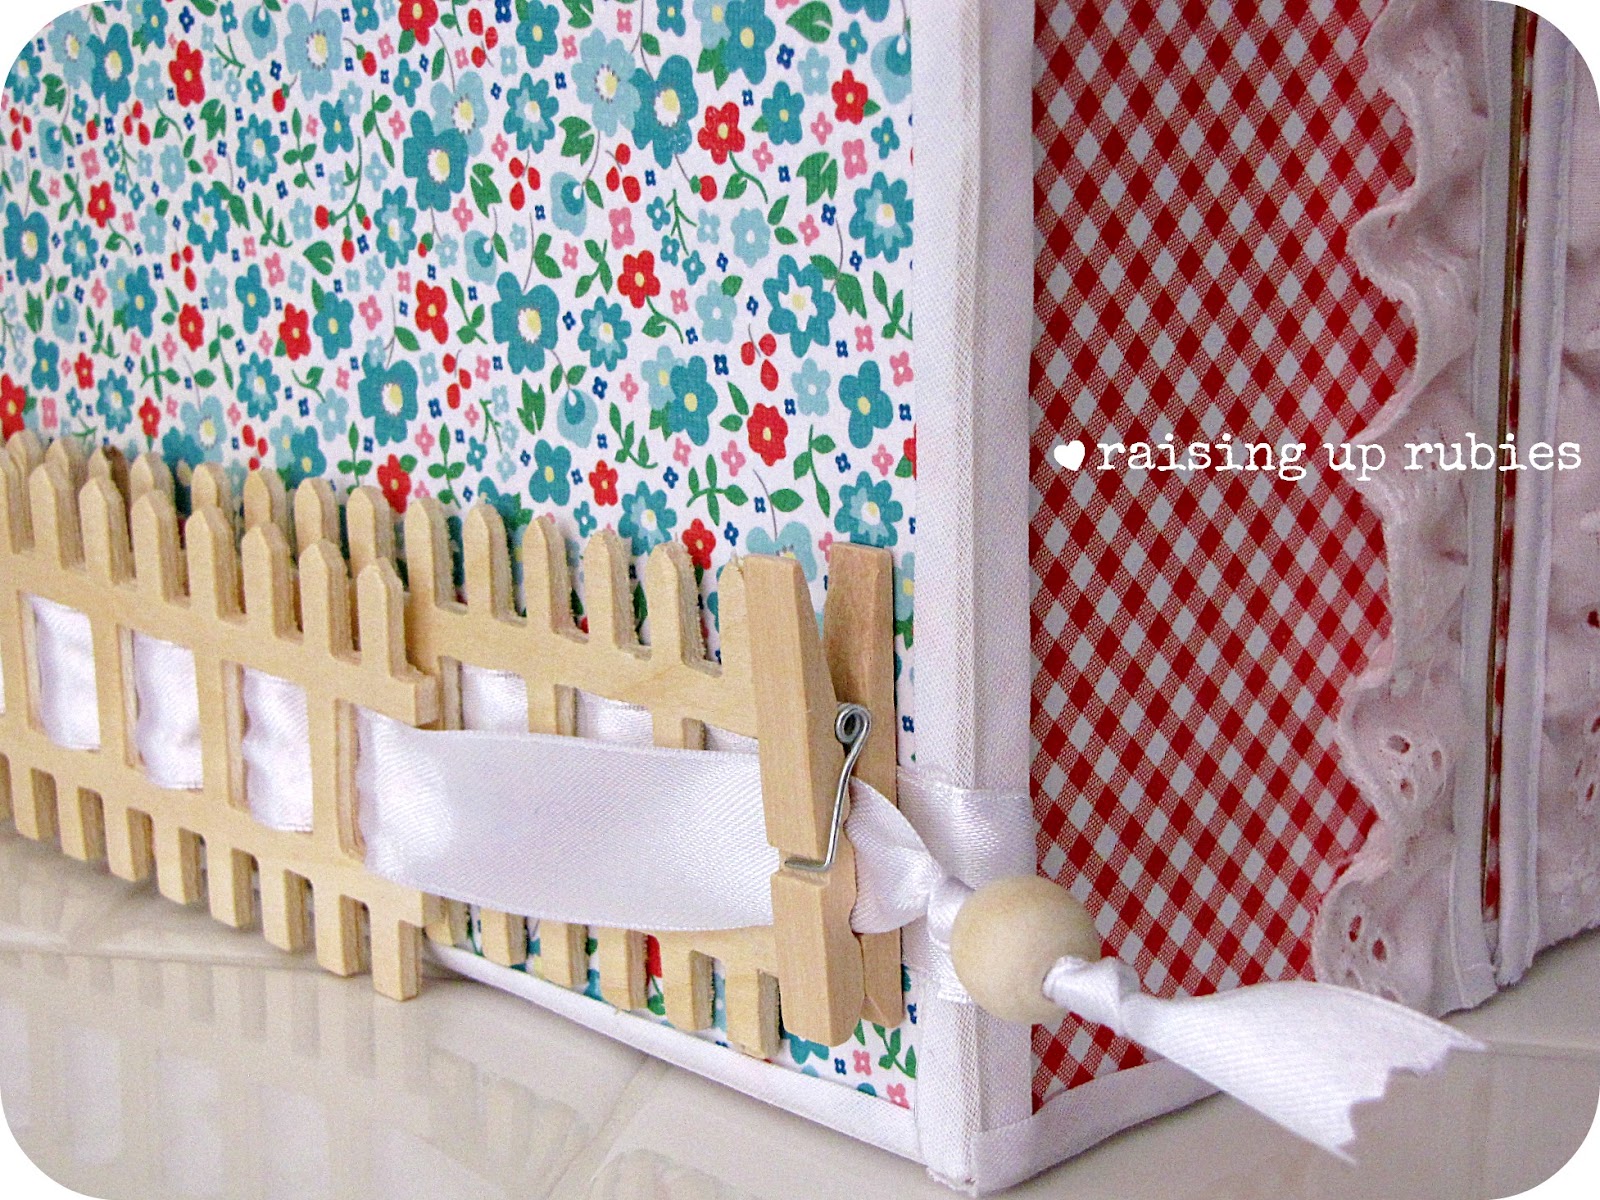
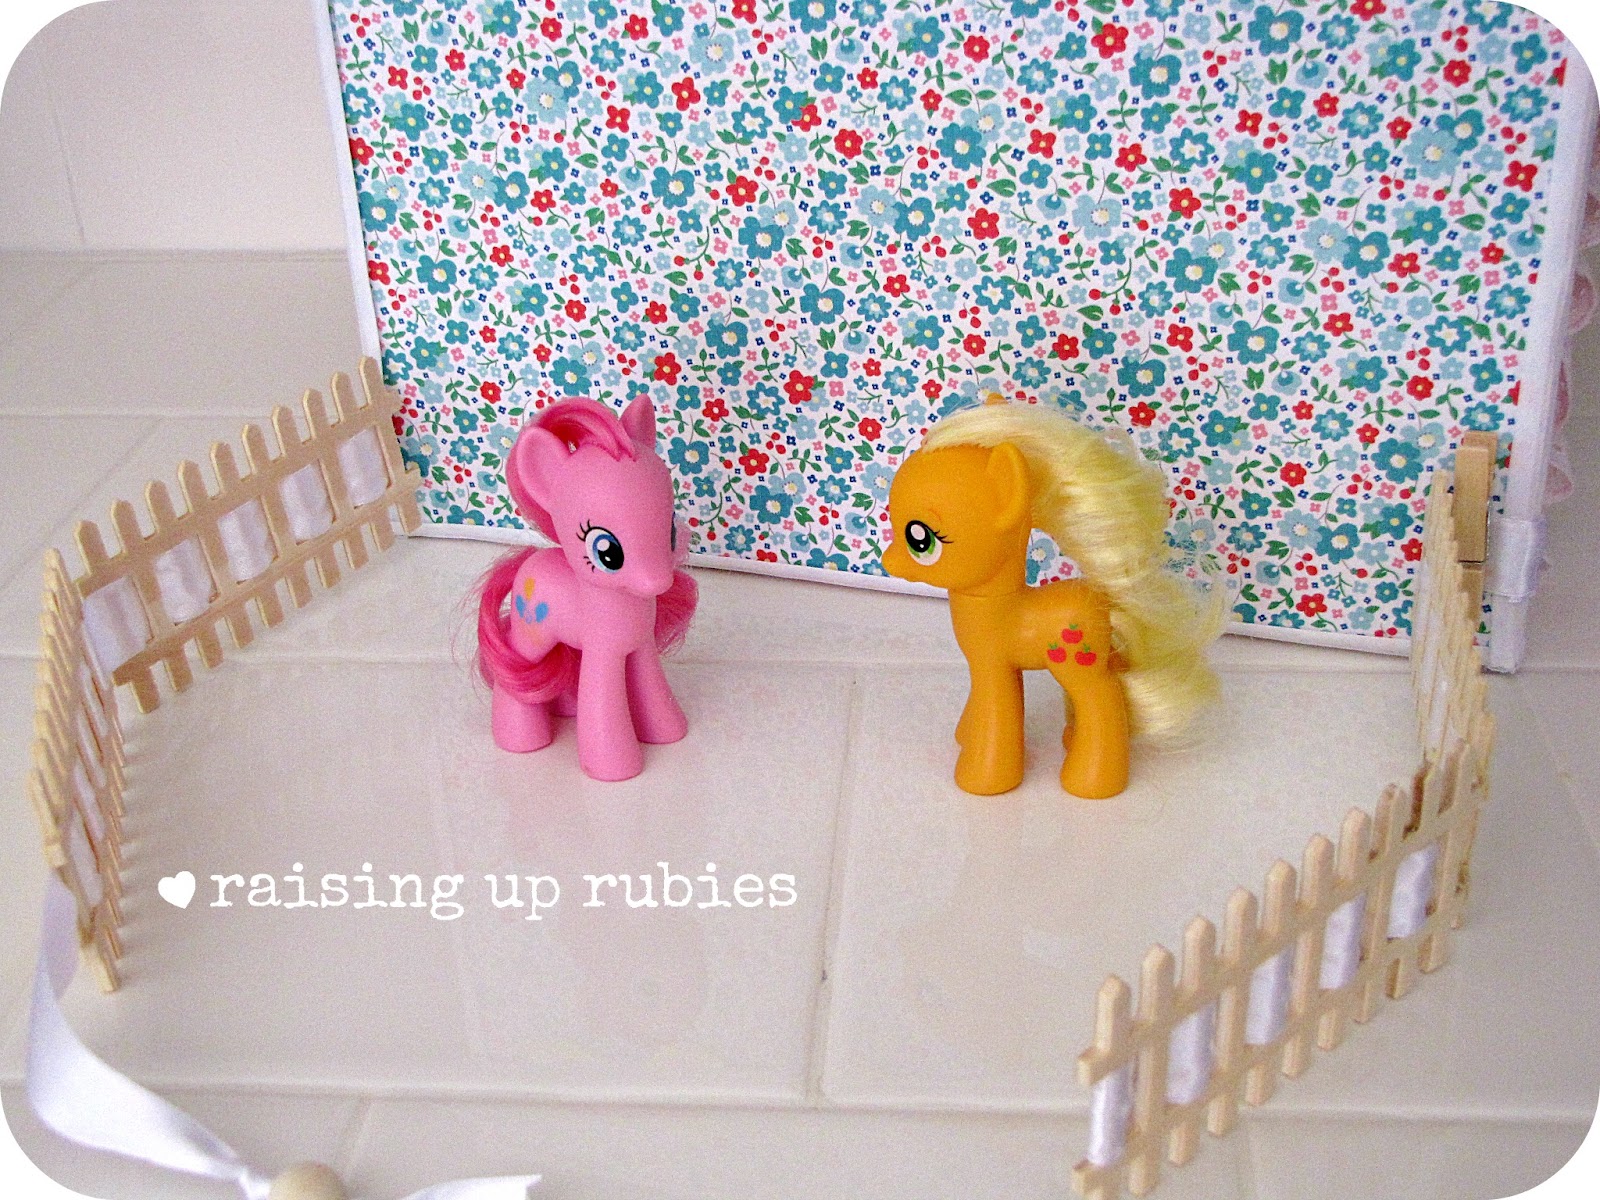
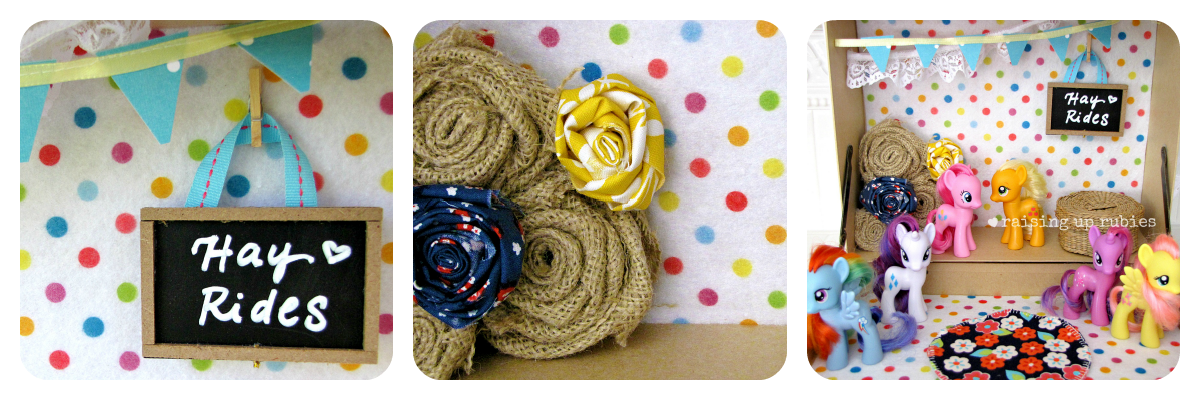
these polka dot scraps were leftover from the pony houses i made here 🙂


hang it somewhere and enjoy the cuteness ♥

happy weekend & much love 

linking up here ♥ :

linking up here:
Uncategorized

take-a-long pony house … ♥


we are obsessed
with what you ask?
chevron?
s’mores?
mason jars?
no.
my little ponies
yes.
that’s what i said.
my little ponies 


yes … these cutie patootie ponies!
from top left …
rareity ~ rainbow dash ~ pinkie pie ~ apple jack ~ twilight sparkle ~ fluttershy
(it’s way cuter when it’s a little girl, with a little girl voice who’s telling you all their names 🙂
have all become official members of our household
aren’t they so cute!?
(ok, i’m totally reliving my childhood)


so, it all started a couple weeks ago 
when my girlfriend and her 2 girls came over for a play date
and they brought their my little ponies …
 besides lovin’ the my little pony cartoon
they wanted to use some of their “spending money” on ponies…oy

we’re even going to a my little pony birthday party this weekend 
(yes it’s for the little girl who started this whole thing 🙂
so i decided to make a house for my girls to keep their ponies in 
and make another for the upcoming party 
(could i have said ponies one. more. time.)


i started off with an unfinished box from Hobby Lobby


and a few things


plus some more stuff as i went along 🙂

i used scrapbook paper & mod podge to cover the box
then finished off the seams with bias tape


lace trim around the opening with some buttons just makes it more girlie 🙂

using some clipart and tracing paper i made a horse cameo on the front of the box

added some embellishment 🙂

on the back, i wove some ribbon through these little wooden fences i found at Joann’s 


glued the ends and used a small clothespin to secure the “gate”


they can open and close it when the ponies want to play in the pasture 🙂


the inside is so fun!
a little printed felt (also from HL)
some scraps of ribbon, lace and burlap made up the buntings, rosettes and the little circle rug
(see how i make the rosettes here)


these are the stowaways in the little basket for the birthday girl ♥


this is the first house i made for my girls
it was much more fun the second time around when i had everything figured out 🙂


love handmade toys … don’t you? ♥


i’m hoping to have one of these pony houses in the shop on Monday for the grand opening

don’t forget to come back Monday for the giveaway 
and to check out all the cuteness in my etsy shop
it’s gonna be a fun fun day!
can’t wait!


much love ♥

linking up here ♥ …

Uncategorized

diy laundry canvas art … ♥

hey all!
today i’m posting over at Everything Etsy
head on over and take a peek at this fun and easy Target knock-off project 🙂


i can’t thank you all enough for the sweet words & kindness you’ve all poured on me about my etsy shop! i’m so blessed … and golly gee i’m so stinkin’ excited!!

i’m scramblin’ to get everything done 🙂 
and since i can’t sleep due to OCD overload, i’ve been crafting till all hours of the night!
(i’m sure the coffee’s not helping either)

hopefully i’ll be back before Monday to share this super cute project 
i’ve been working on for my girls 

much love to you today ♥

Uncategorized

vintage printables for you … ♥

Hi ! ♥
i’ve been excited to get this together today…
these beautiful free vintage printables were made just for YOU!
by my dear friend Kasey over at kj design

this girl is full of sweetness and love for graphic design
her focus is on custom stationery and wedding invitations …


she’s got a good eye for current designs, some with a cute vintage flair
which is right up my alley … right?!
stop over and show her some love ♥
(i’m sure she’ll love you back 🙂


so print these cuties out and let’s make stuff together… ♥
(scroll down and click on the link)


use leftovers or any bits & pieces from your stash to embellish
fabric scraps ~ stickers ~ twine~ ribbon ~ doilies ~ buttons ~ clothespin minis ~ ric rac
these make a sweet gift in a vintage tin or any sort of cute container
tied up with a ribbon … a collection of tags to be used whenever needed ♥


with some spray paint and a frame this to-do list makes me smile 🙂


add some rosettes and this makes a great handmade gift in a pinch!

i just have to share ~ this method for ruffling stuff 
found it on Pinterest… and it’s the most amazing way to ruffle ANYTHING 
without the hassle of pulling strings & spacing! 
i tried it for the first time while i was making these
you shoulda heard all the oooooh-ing, ahhhhh-ing and oh my goodness-ing up in here

thanks Kasey! for being cuter than cuteness … ♥ 
click on the images to download

much love !
Uncategorized

a yardstick flag tutorial… ♥

i’m really excited to share this project with you!
it’s really neat, and something new…


this came to me late at night a couple weeks ago
(probably when i ate too many whales)
(i’m addicted to these things guys)
(thanks to my cousin 🙂


this is super easy to make
the only thing my hubby did for me, was cut the yardsticks in half
and he drilled the holes too
(even though he has taught me to do both of those things myself)
(i just don’t jump at the chance to use “big man” tools)
(i’ll stick with a glue gun & corner rounder 🙂
(thanks)
but girls! i know the guys at Home Depot will cut stuff for you…just ask!
the rest is cake …

i just have a special place in my ♥ for yardsticks
i built these crates last year 


and ever since then, i’m sweet on yardsticks …
so i know my yardsticks guys…
i know Home Depots are orange (blah)
Lowe’s are navy blue (yay!) 
(these are the ones i like to buy at 69 cents each)
and Walmart’s are a really pretty light blue (cuteness)
but beware, they are much thinner and not always straight …
(right? a crooked yardstick is not really a good thing)

for this project i stuck with my fav’s ~ Lowe’s since they are the thickest
and since the numbers & lines printed on the sticks are a little indented
helping them have that “whitewashed” look 

nuf talkin’  …  come on! let’s make stuff ♥

what you need
♥ 3 yardsticks
♥ small screw eyes (see picture below)
♥ white acrylic paint
♥ Mod Podge
♥ pretty scrapbook paper
♥ fabric strips, lace, twine, ribbon 
♥ mini clothespins
(or whatever your heart fancies 🙂 


we used the chop saw to cut the yardsticks in half ~ right at 18 inches


mark the point where you will screw all the eyes in …
they should be all in the same place on every yardstick
ours were about a 1/3 of the way in from each side


drill the holes carefully! hubs used his very teeny smallest drill bit
don’t forget on each end … top & bottom


using white acrylic paint, i brushed it on moderately
then with a rag i wiped it off
(the left side is after i wiped off the excess)


last thing before the pretty part
is to screw those eyes into the holes you drilled 


now the pretty part ♥
cut strips from your scrapbook paper just wide enough to cover the bottom half of the yardstick … 
we don’t wanna hide those cute numbers & lines
use the Mod Podge to adhere them in the sections where the “stars & stripes” would be

i used strips of white muslin, lace and more lace ♥
… thread them through the holes of the screw eyes
attaching all the yardsticks one underneath the other


last thing was to punch small stars out of brown kraft paper ~ clip them inside of the tiny clothespins, stuck on with hot glue 


so pretty … no?!?!
i love this so much ♥
it’s hanging right inside my foyer 
with this little vignette shelf i got at a garage sale last weekend for $5 
(chipper chicken … any FOTB fans out there? heehee:)


Happy 4th of July all !!
i’m going to enjoy my family and be thankful for our freedom and our country

Image 1
much loves ♥
sweet parties … ♥
Uncategorized

what a feature …♥

wow ♥ wow ♥ wow
I am so honored today!
 to have my craft space featured over at i heart organizing!
i have followed Jen’s blog for a loooong time 🙂 
and have gained a ton of inspiration from her super star organizing ideas…
go on over and check it out!
thanks Jen!!
oh! ps.! since you’re here check out my patriotic clothespin wreath tutorial ♥
with Kim over at Everything Etsy
it’s too. stinkin. fun.  !!!


Uncategorized

some label love … ♥

happy Tuesday! ♥
this is the last week of school for my girls
we can’t wait ’till summer vacation officially starts!
i see all these neat ideas on Pinterest for summer fun … then … i forget 
 outta sight…outta mind
🙂
this way all those ideas are in one spot…quick & easy access
the girls & i are really excited about some of them!


so now that the shades in my craft space are done, let’s label, label, label stuff!
then i can check another to-do off the list 🙂

for the small canvas bins, i found these brackets at Joanns
…from Tim Holtz (i love the vintage look of his stuff)

 a little spray paint and presto…pretty 
the little brads come in the package… they push right through the canvas and hold the hardware quite nicely 🙂

wow! doesn’t it make a big difference?
 (well, ok to me it does cause i stare at these a lot)

for the little blue baskets I used mini chalkboards (from Joanns too 🙂
and a clothespin to clip them on ~ i use chalkboard markers like these
(spruce up your clothespins with a little paper &  Mod Podge!)


painted wooden numbers on the large canvas bins were sewn on 
with a large tapestry needle and some chunky yarn

all done ♥

a couple other ideas…
i wanted to show you what’s lives on the top of my island

 these are the supplies & tools that get the most use
i wanted to make them easily accessible when i’m working on different projects

the big white bowl in the middle is for garbage

tea cups, mason jars & copper jello molds are great for all the little things ♥

i’m still learning to think outside the box for storage or organization ideas…
sometimes when you mix & match things together, it makes it all the more your own
… i found all of the pedestal dished at garage sales ♥ 
no more than a one or two dollars each 🙂

thanks for stopping by!
with gladness in my ♥
some sweet parties ♥ …

all crafts Homemade Projects ~ Add Yours! {6 12}
Uncategorized

drum shade makeover … ♥


hey girls! ♥
it’s Friday! and according to my girlfriend, Saturday is craft day!
so wake up tomorrow and make stuff with me! (she’s so smart)
remeber the hanging lamps in my craft space?


i wanted to spruce them up…

aren’t they pretty?


i’m really pleased with the way they turned out!
(after many different attemps to go overboard on the flowers)
(lemme tell ya, hot glue & felt will never be un-stick from eachother)

i had lots of lace from the thrift store i got for $2 … i think it was over 4 yards!
and some leftover felt


just some simple strips of both cut with pinking shears

and a little hot glue 

thread pearls on some twine and wrap it around as many times as you like 🙂
(i love this kinda stuff)


pretty-ness … ♥

i love when something so pretty can be just that simple ♥


wanna make flowers?!
these are pretty big flowers, the largest i’ve ever made 🙂
wanted to show you how i did it…
come on … let’s make stuff!

make lots!
have fun!

much love … ♥

Uncategorized

silhouette pendants ♥


hope your mother’s day was lovely ♥
i just want to say how touched i am 
the love & sweet words that flooded my email & comments were so kind!
the thought that you all would love my little space so much was amazing…
i can’t wait to hear all about what you’ve done with new ideas

(oh, and for those who asked about plans for the table construction…
the hubs is going to work something up for me, 
since he did have graph paper plans and i’ve since lost them! yikes…
i’ll try to put something up within the next week)

my girlfriend made beautiful pendants with silhouettes of her two daughters 
inspired from pinterest … and i knew when i saw them i wanted to give them a try!
(which is simple to use once you get a feel for it)
i made my girls’ silhouettes and added vintage flower graphics from here
i made one for myself and another for my mom
though these would really be a sweet gift for any occasion


pendants are from Hobby Lobby
chains were from Joanns


skipping the top coats over the faces resulted in the dimensional magic seeping through my paper, leaving blotchy marks that were not cute…shoulda taken a pic for you to see 😦
i would say do 2-3 coats taking care to go right up to the edges (don’t worry it all dries clear)

this was my first time experimenting with dimensional magic…it’s well…magic!
in the top pic you can see the sheen from just the mod podge, the second shows the 
D-magic…it applies very cloudy, but also dries clear…
the package recommends 3 hours drying time
i left mine overnight and noticed in the a.m. that when it dries it sorta shrinks
you can keep adding layers of dimensional magic until you’re happy with how it looks…
i was going for a beveled/dome/more puffy effect 🙂
it will dry clear each time
the jump rings are optional…it can be hung directly from a link on the chain
to have the pendants lay more flat, put them on the ring, 
then add the ring to a link on your chain 
(please forgive me if i’m not using correct jewlery supply thingy terms
…i’m just sorta wingin’ this 🙂


pretty! …give to someone you love (and who loves your kiddos)


here’s a peek at what i woke up to this mother’s day morning
sweetness …♥


to all the moms who have children
who lost children
who desire children…
life was never promised to us hurt free…
but to be Held during the hurt 
is the guarantee from the One who knows you by name


the Lord bless you & keep you
the Lord make His face shine upon you
and be gracious to you
the Lord turn His face toward you 
and give you peace
numbers 6 ♥

much loves…
sweet parties here … ♥