Uncategorized

Celebrating Christmas with a Jesse Tree … ♥


my littles were sick last week
and everything slowed down here
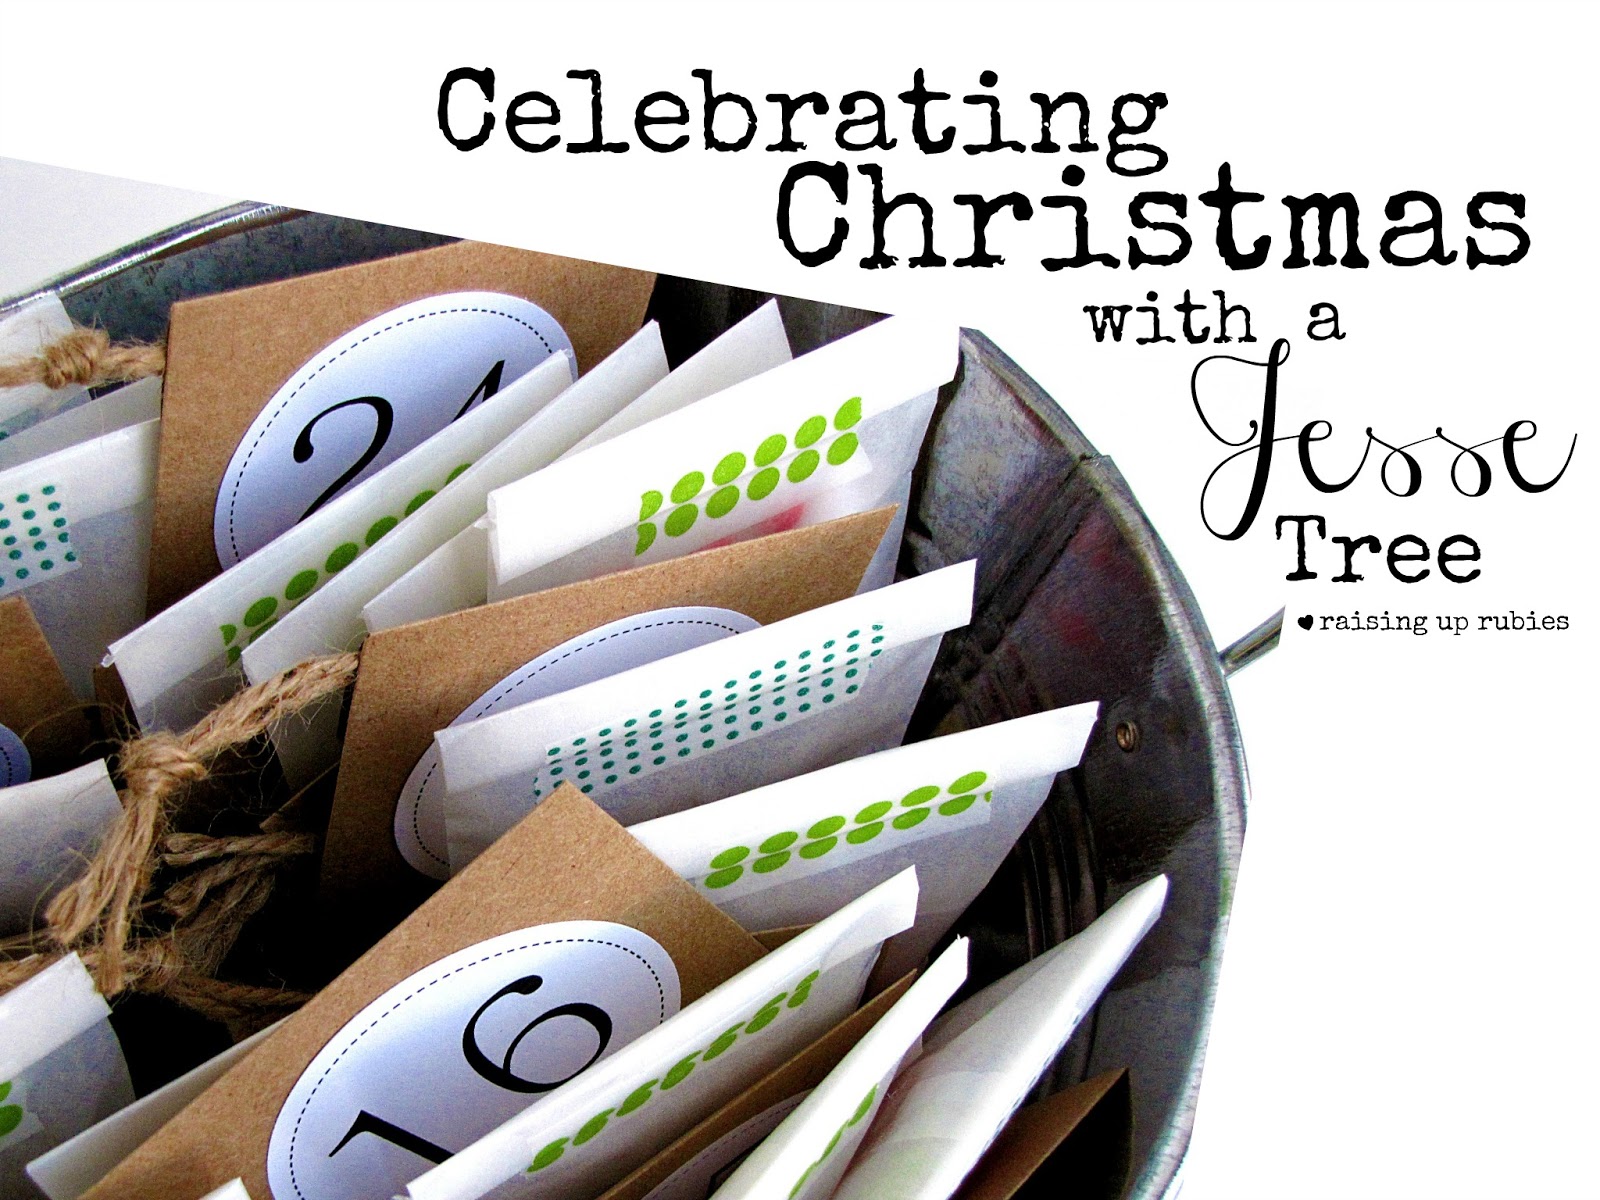
but i managed to finish this advent calendar that I wanted to share with you
so tuck this idea away somewhere on a Pinterest board and save it for next year 🙂

focusing on what Christmas really means can get lost in the shuffle of holiday prep
i like the idea behind the Jesse Tree, which is to travel through Old Testament history eventually leading up to the birth of Christ on the last day, the 25th … each ornament has a picture that symbolizes each of the stories


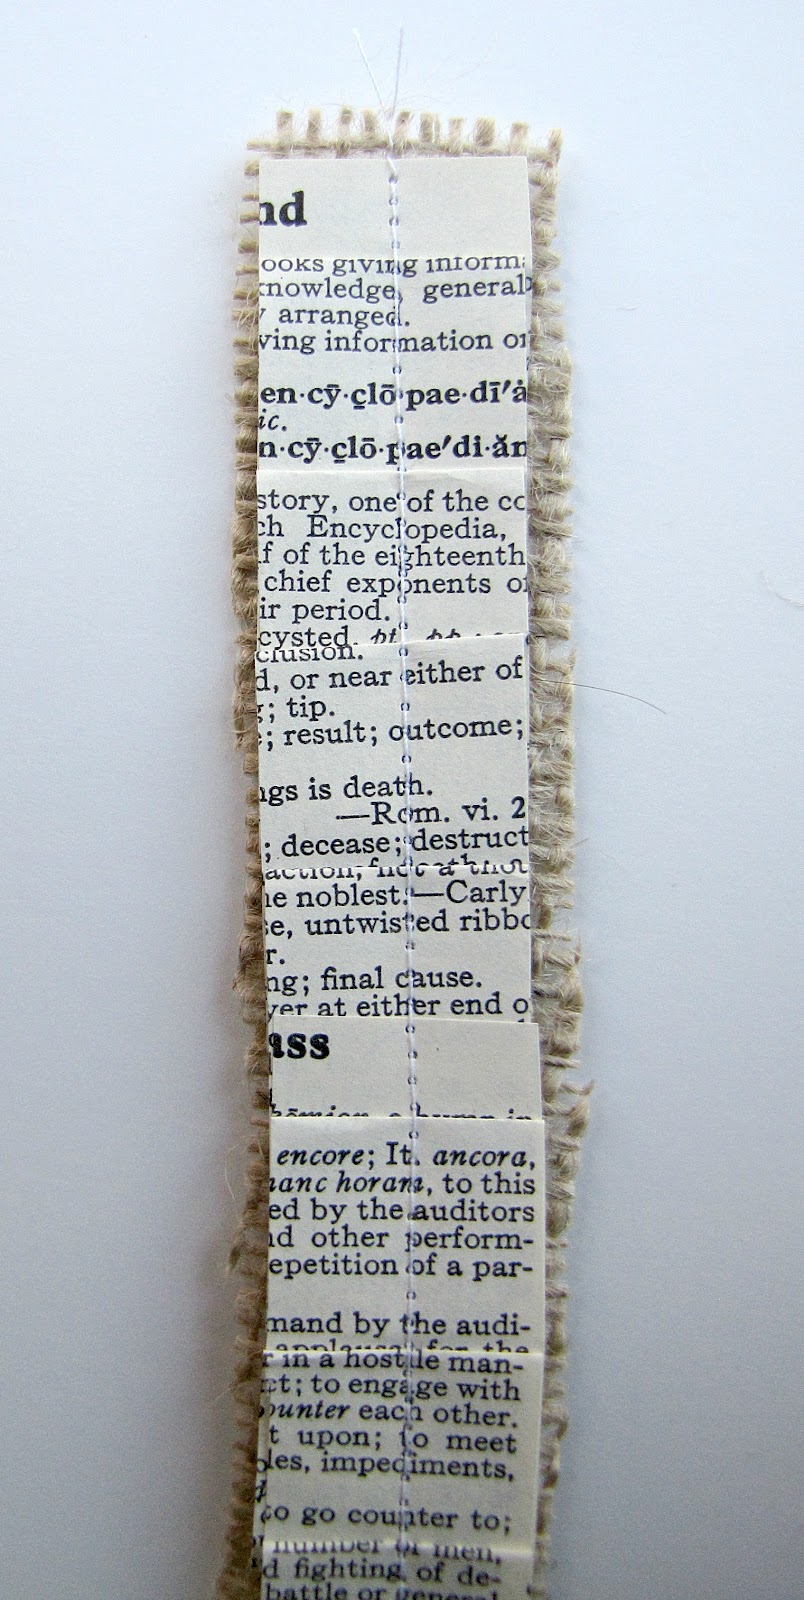
the printables to make these ornaments are from the here 
… or you can make your own with some clip art
that’s how i did the numbers for the outside of the kraft envelopes that i found at Michael’s
then used a circle punch to punch them out
simple number stickers would work just as well


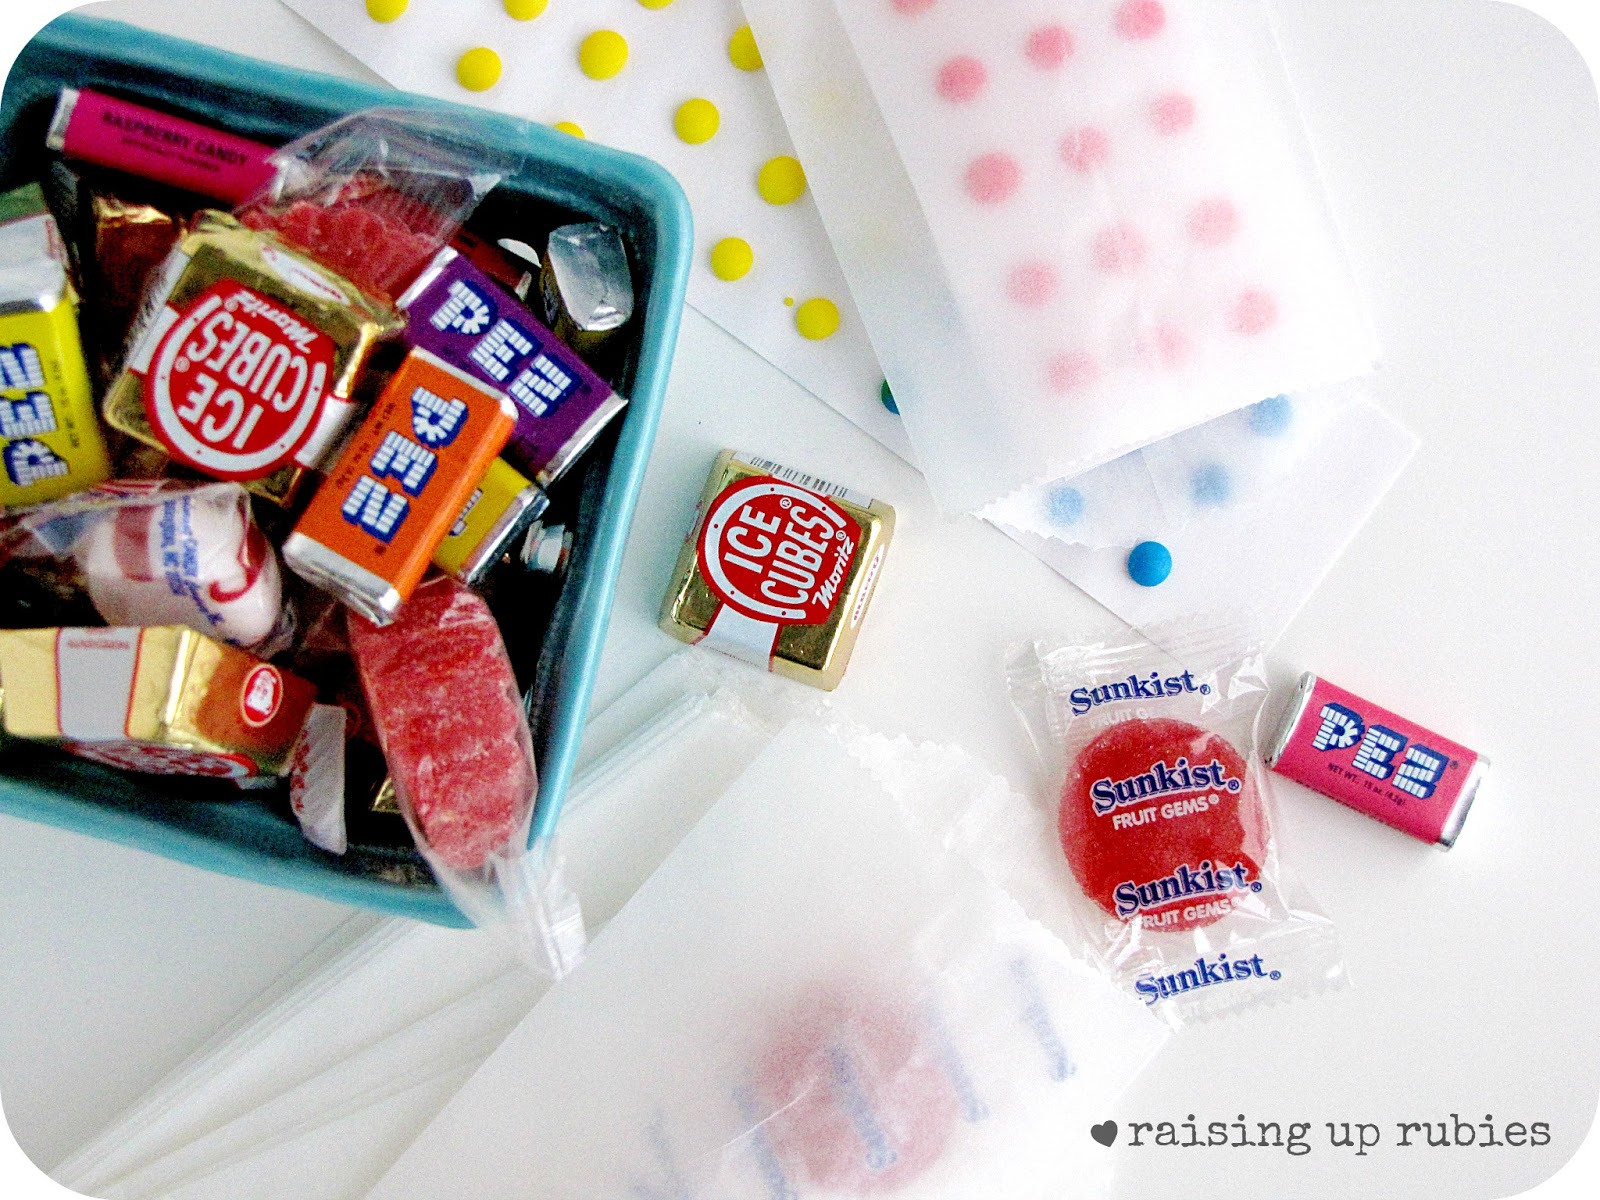
I bought a bunch of penny candy and slipped two pieces into little glassine bags


tucked behind each envelope for that day is the little bag of treats sealed with washi tape
some of the Jesse Trees on Pinterest were made from wood or felt … 
we just decided to put them up on our big tree 🙂


Do you celebrate with a Jesse Tree?
Be back soon … much love ♥
linkin’ up ♥

live laugh linky ♥ live laugh rowe
Party Time! ♥ the 36th Avenue
Uncategorized

simple packaging idea … Everything Etsy ♥

hi all!
i’ve been sparse around these parts the past few days
Black Friday weekend sent my shop into hyper drive
and i’m taking a quick break from my sewing machine …
just to tell you i’m posting over at Kim’s place today

if you need an easy – stash busting – way to spruce up your pretty presents this year
hop on over there and say hi 🙂 the instructions to make these cuties are sweet & simple

they’re also for sale in my shop too!

all wrapped up and ready to love ♥
be back later this week with a quick advent calendar project that we can make together…
loves!


Uncategorized

wrappin' up Wednesday and a little gratefulness … ♥

happy Wednesday ♥
Christmas is 40 days away …
40 DAYS!!
i have tons to do … do you?
here’s a quick project i’m posting about over at Everything Etsy


using just manila tags, twine, felt and some mini clothespins 
{ i ♥ mini clothespins … can you tell?}
{heehee}
hop on over a take a peek!

the coupon code is up in the store today 🙂
gladness in my ♥ and much love to you …
Uncategorized

pretty diy ♥ up~cycled dishrack


i’m super duper excited about the Better Homes & Gardens shoot this week 🙂
and i’ve been super duper busy shopping for some new clothes, making paper flowers, spray painting stuff and putting a few finishing touches on my craft room …
{and cleaning my house}

so i thought i’d sneak in a quick project that i did last week
using some more of Keren’s beautiful digital art!

if you’re stopping over from FPTFY … welcome!


i was inspired by a few pictures i saw on Pinterest of old dishracks turned into neat little organizers for holding file folders, pens & pencils … i spray painted a thrifted dish rack white and covered the utensil holder with some strips i cut from a vintage sheet
i made my file folders out of chipboard {but any manila folders will do} and used the bicycle image from Keren’s shop to embellish the folder that would be in front 🙂 fun!


washi tape and a sharpie … all you need to label the folders
if you’re like me {and change your mind a lot} they’re easy to remove & replace when you need to reassign the folder


it’s a great project when you can take something you aren’t using anymore and turn it into something that has a new & fresh purpose … and that’s cute to boot 🙂


much love to you all this week ♥ 
hopefully i’ll be back Monday with a bunch of fun stuff to share!
happy crafting …
linking up here:  ♥
the 36th Avenue ♥ Party Time!
Funky Junk Interiors ♥ Saturday Nite Special
i {heart} naptime ♥ Sundae Scoop Link Party
live laugh rowe ♥ live laugh {linky}
Tatertots & Jello ♥ Weekend Wrap up Party
Uncategorized

thanksgiving heart art … ♥


i am so thankful for you guys
always leaving me the sweetest comments
and the nicest compliments
you make me wanna do a happy dance
(i do like to dance 🙂

i feel so very blessed everyday to be living out these little dreams of mine ♥
and you all make it so much more enjoyable than it already is …
so let’s do a happy dance together
well…
let’s make something instead 🙂

here’s another fall project idea that was stuck in my head for a while
i dig the paint chip art that’s all over blog land
thought i’d throw my spin on the whole idea 🙂

come on! let’s make stuff 🙂


all you need are a few of my favorite things ♥
(or a few of your favorite things)


i used rub-on transfers since i had them layin’ around
printing out the words in a pretty font on heavy card-stock would work just as well


i used another one of my loopey frames 🙂
this one was an 8 x 10
i taped twine to each end of the paper and used the mini’s 
to clip the hearts to the “clothesline”
 … space them as you please or use pretty colors!


here’s a quick shot of a little vignette in my entryway
it’s still a work in progress … i want to hang the chalkboard and change it up a bit


tomorrow is wrappin’ up Wednesday 🙂
(and i think it’s actually Wednesday)
(tomorrow that is)

loves to you ♥
sweet parties here … ♥

live. laugh. rowe. ♥ live. laugh. {linky}
the 36th Avenue ♥ Party Time!
made by me Wednesdays ♥ JAQS Studio
Funky Junk Interiors ♥ Saturday Nite Special
i {heart} naptime ♥ Sunday Scoop Link Party
Tatertots & Jello ♥ Weekend Wrap up Party
Uncategorized

neutral fall wreath … ♥

One of the things i love about NY is our Autumn season
it’s my favorite time of the year weather wise
(as long as we don’t get any early snow storms)

and i’ve been slowly (very slowly) working on a little bit of fall decorating 
i am anything but traditional when it comes to holiday decorating …
i love using neutral colors, so that it’s easy to add pops of colors here or there 
without everything looking too “theme-ish” …know what i mean??

so i’m lovin’ the burlap/white combo on this wreath i made for my front door 🙂
(i’m calling this a wreath, even though i said i wouldn’t)
(but now i am, ’cause well, i guess if it’s hanging on the front door
you can call it a wreath, even though technically, it’s not)

moving on…

here’s how you make one of your own ♥

i started out by tracing a pretty scalloped frame shape onto brown paper
cut it out then traced that shape with a sharpie onto a large sheet of styrofoam, 
that can be found in the floral department at any craft store
(with the wreath forms and such)


now this stuff is pretty thick & crunchy, so power tools are needed
the hubs used a jigsaw to cut this out for me 🙂

use a small dowel rod or a few wooden skewers to connect the to sides together
finish off with hot glue 


once you’ve got the form together, now it’s time to cover it 
cut long strips of felt at approx. 2 inches wide
(i probably had 6-8 strips measuring 2 yards each)
i then ran them through the sewing machine sewing a line down the middle
with a dark brown thread, just to add some color and break up the white

wrap the felt around the form starting from the back
straight pins work great with the foam, no hot glue is needed 


here’s a peek at the back …

keep going until it’s completely covered 🙂
(it took me an hour or so, to get it just right)

embellish as you please!
i cut some leaf shapes out of burlap and some more felt
then used my zigzag stitch to sew them together
give them a little bit of a layered look
pinned them on and stuck some pretty feathers here and there 🙂
i love finding these little loopey frames (that’s what i call them)
at thrift stores or yard sales … i snatch them up since i seem to use them all the time
for different things … a little spray paint is all they need 🙂
all done 🙂
it’s a lengthy project, but in love how it looks on my front door
it blends well with my other fall decorations
hope to show you more of them soon!

gladness in my ♥ for you
sweet parties here ♥ :

live laugh rowe ♥ live laugh linky Thursday
the 36th Avenue ♥ Party Time!
30 Handmade Days ♥ linky party pity party
Liz Marie Blog ♥ Link up with Me, Liz Marie
Freckled Laundry ♥ air your Laundry Friday
Tatertots & Jello ♥ Weekend Wrap up Party
Funky Junk Interiors ♥ Saturday Nite Special
i {heart} naptime ♥ Sundae Scoop Linky Party
Hubby Made Me ♥ Throwback Thursday
Tip Junkie ♥ Tip me Tuesday
Free Pretty Things for You ♥ whatever you want Wednesday
Uncategorized

vintage inspired message board … ♥

Happy Monday!
if you’re stopping over from FPTFY …
♥ WELCOME ♥
so glad you’re here!
and thank you to the lovely Keren
for making this vintage mason jar image so stinkin’ cute!
   … her beautiful graphics can be the starting point for so many project ideas
i want to share this one with you today!

This is a super simple project that requires just a little prep work,
and can be done with any image and with any size frame.

I used some white muslin {any fabric will do} 
white fleece
22 gauge wire {with the jewelry making supplies at any craft store}
iron on transfer sheets ~ I used these
staple gun or flat thumbtacks {not pictured}
and of course a frame  { i found mine at Goodwill
and spray painted it white ahead of time }

After following the directions on the back of the transfer sheet package,
(make sure you print your image in reverse!)
I cut the image out, very close to the edge before ironing it on to my fabric.

After it cools, peel the paper off of the image … so pretty!
I cut 2 pieces of fleece the same size as the backing that came with my frame and used it as a insert between the cardboard and the image (just to give it a bit of puffiness)…

… fit the image around the backing & the fleece and put it back into your frame.
Wind strips of wire around the front of the frame, and attach to the back 
using a staple gun or flat thumbtacks.

Here is mine right next to my kitchen sink …
I spend a lot of time here! {as most of us do!}
It’s a place where I put notes I want to remember 
or things i want to focus on during my day ♥


a few more favorites of mine from her etsy shop! 

tons of ideas are floatin’ around in my head!
the bicycle would be super cute on a library or market canvas tote 
maybe an apron or tea party tablecloth for a little girl’s Christmas gift??!
baby onesies or blankets with the little birdie
the sewing machine is going to be incorporated onto my machine cover …
if i ever get around to making it 🙂

thank you for all the wonderful images Keren!
much love ♥
sweet parties here… ♥

live.laugh.{linky}thursday ♥ live.laugh.Rowe.
Uncategorized

burlap & book pages trim … ♥

sometimes it’s the simple things that just make me happy 🙂
like this little spool of trim … know what i mean? 
come on, let’s make stuff 🙂

sound of music should be playing in your head right now 🙂 
i just love gathering a pretty little dish full of goodies
then seeing where the creative in me decides to go 


~ cut & fold ~

~ sew ~

~ trim ♥ ~ 
during my garage sale outings this summer i found this old flour sifter …
a little spray paint, some trim we just made, and some other pretty things 🙂
now it holds my sharpies


what else could you put in a made-over flour sifter? 

much loves to you!
sweet parties here … ♥

whatever you want Wednesday ♥ Free Pretty Things for You
a crafty soiree ♥ Yesterday on Tuesday
Saturday Night Special ♥ Funky Junk Interiors