Uncategorized

upcycled leg warmers ♥


i love making sweater hoops
i usually hit the thrift store and spend some time there picking out some fun prints
wash them out and they’re ready for a hoop!
what i’m left with though, is a pretty bowl of sweater sleeves


the knit fabric of the sweaters make for the perfect pair of leg warmers
to make a pair of your own is the easiest ever.


cut the arches off of the sleeves so they have straight tops


turn them wrong side out and fold the top edge over about 3/4 of an inch
pin in place if you need to.


run it through your sewing machine on the zigzag stitch 
covering the edges as much as possible


find some lace and buttons and embellish!


i used my machine to gather the lace before sewing it on
(set your machine to the highest tension & highest stitch length 
and sew right down the middle lengthwise. it gathers right up)
i used a straight stitch to sew the lace to the fabric once 
then went around it again 1/4 of an inch under the first line


try the warmers on first and put a pin where you think the buttons should go
this helps making them even and in the same place on both legs.


that’s it!
now put your feet up and grab a cookie


linking up here ♥
Uncategorized

a winter wreath. winter break. and a little insta ♥

this is it
that time of year
when the cold, snow and lack of sun starts to get to me
like its gets really gloomy

this week is winter recess for my girls
so we’ve been home … just relaxing. and not relaxing.
a combination of both.

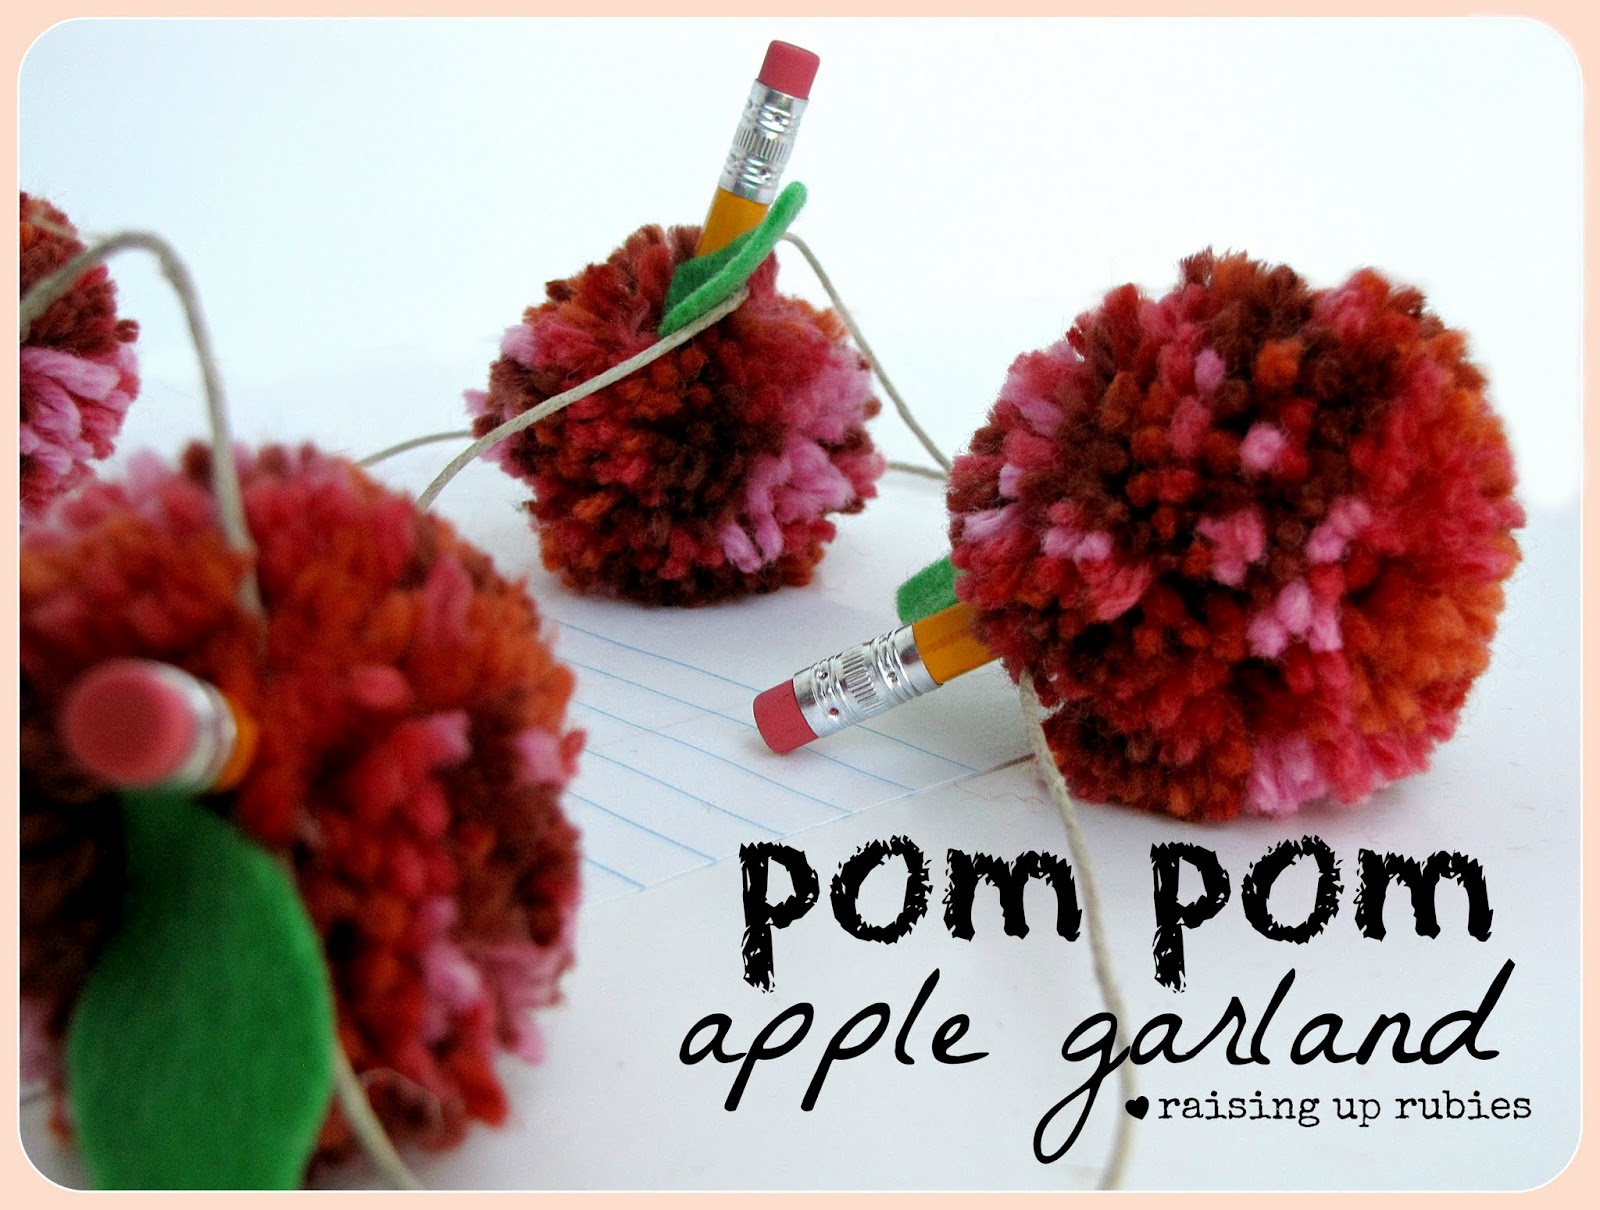
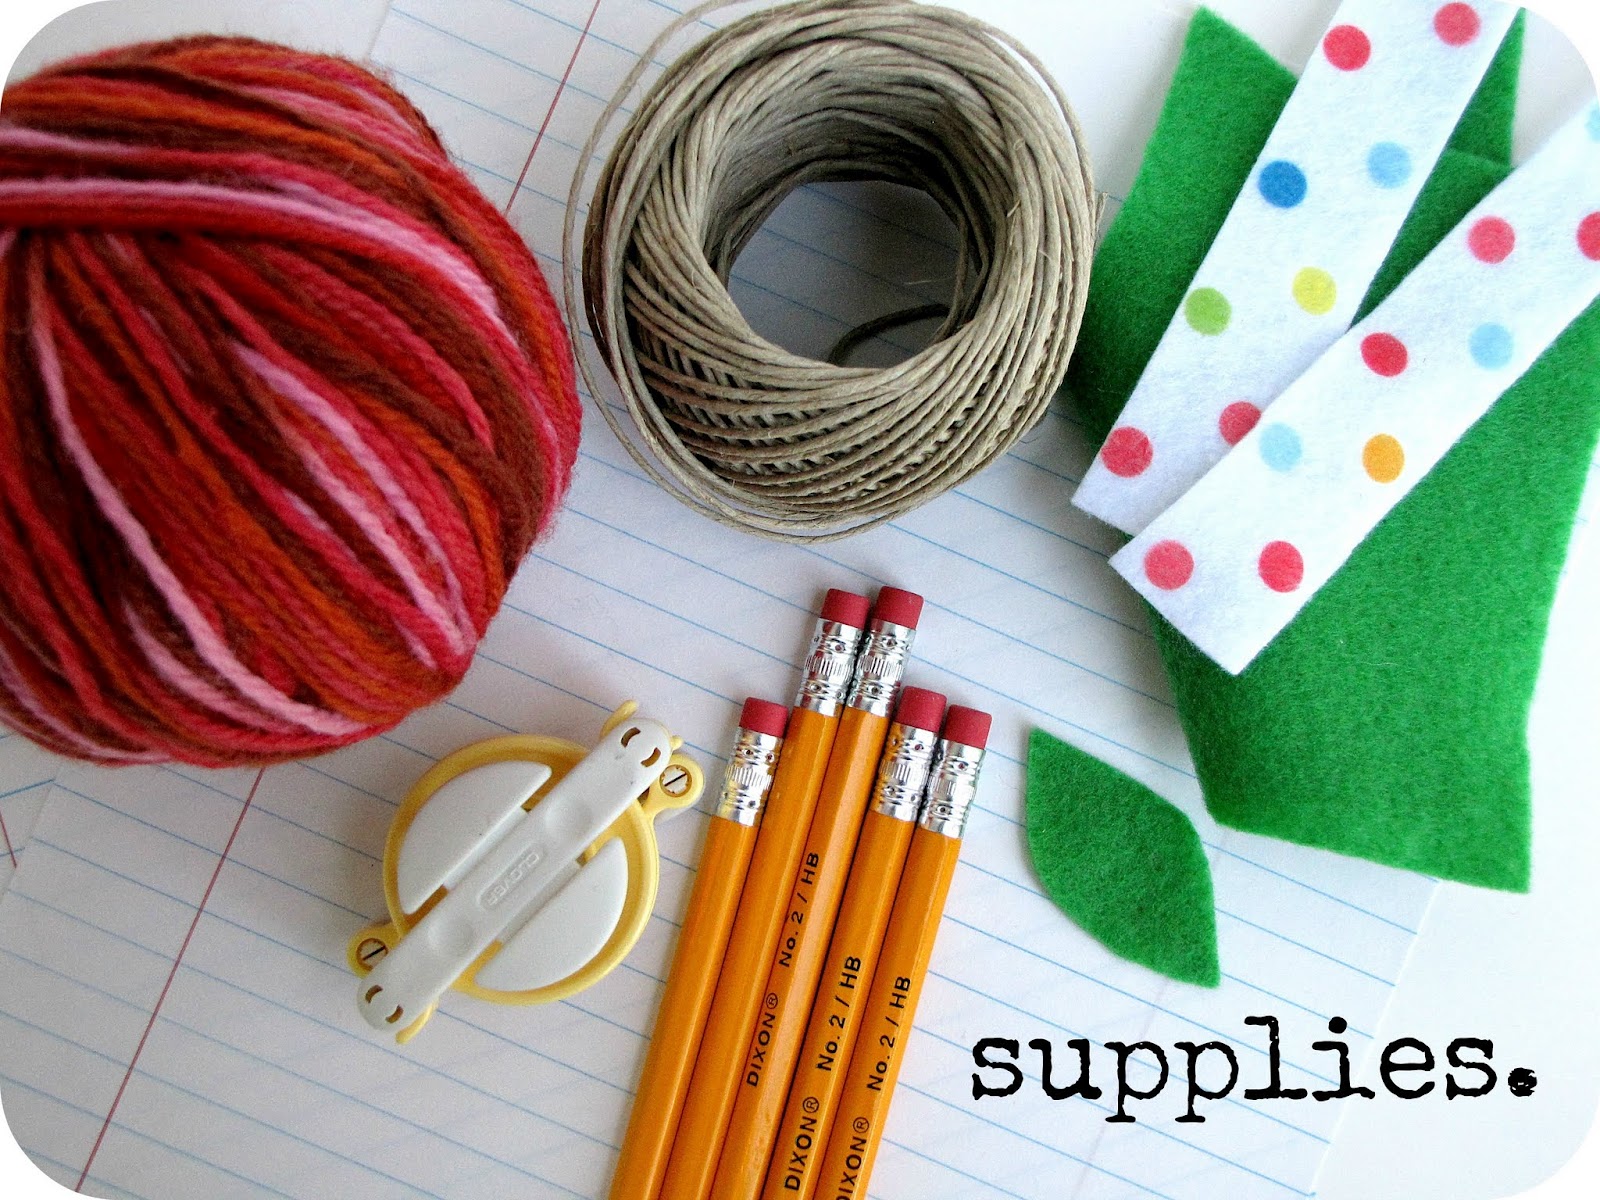
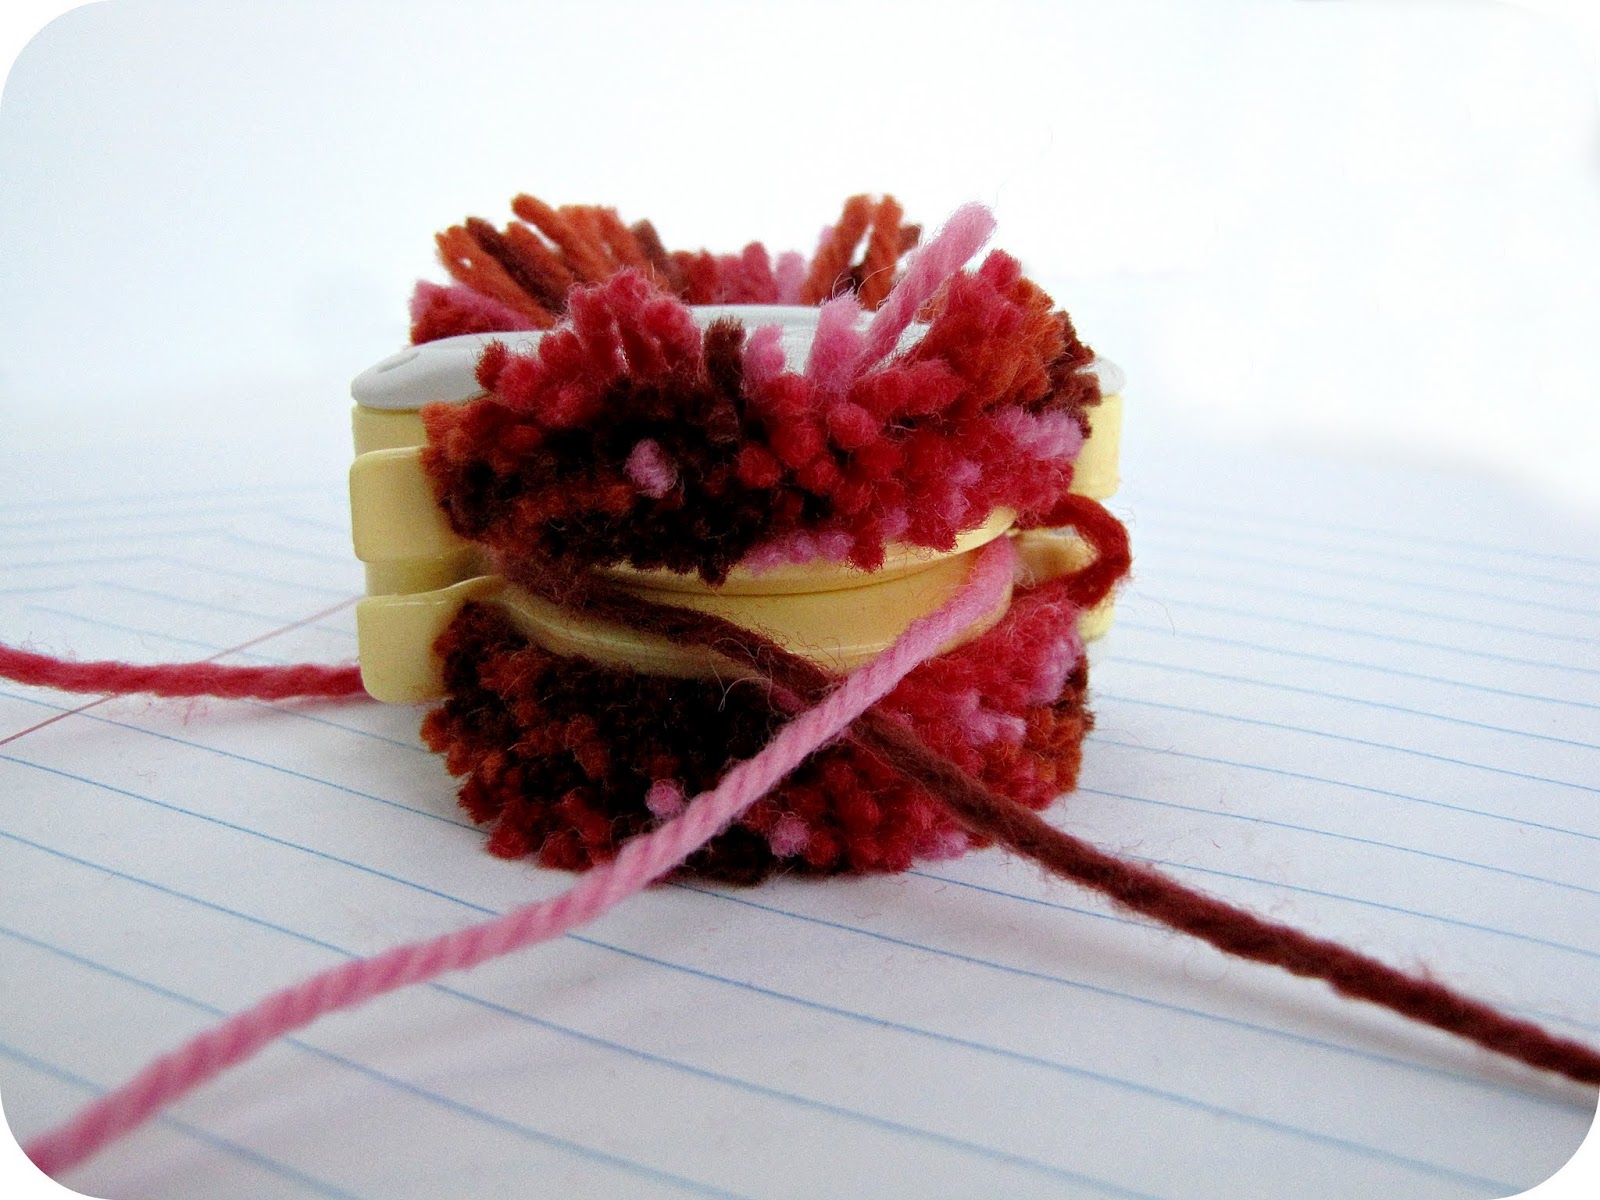
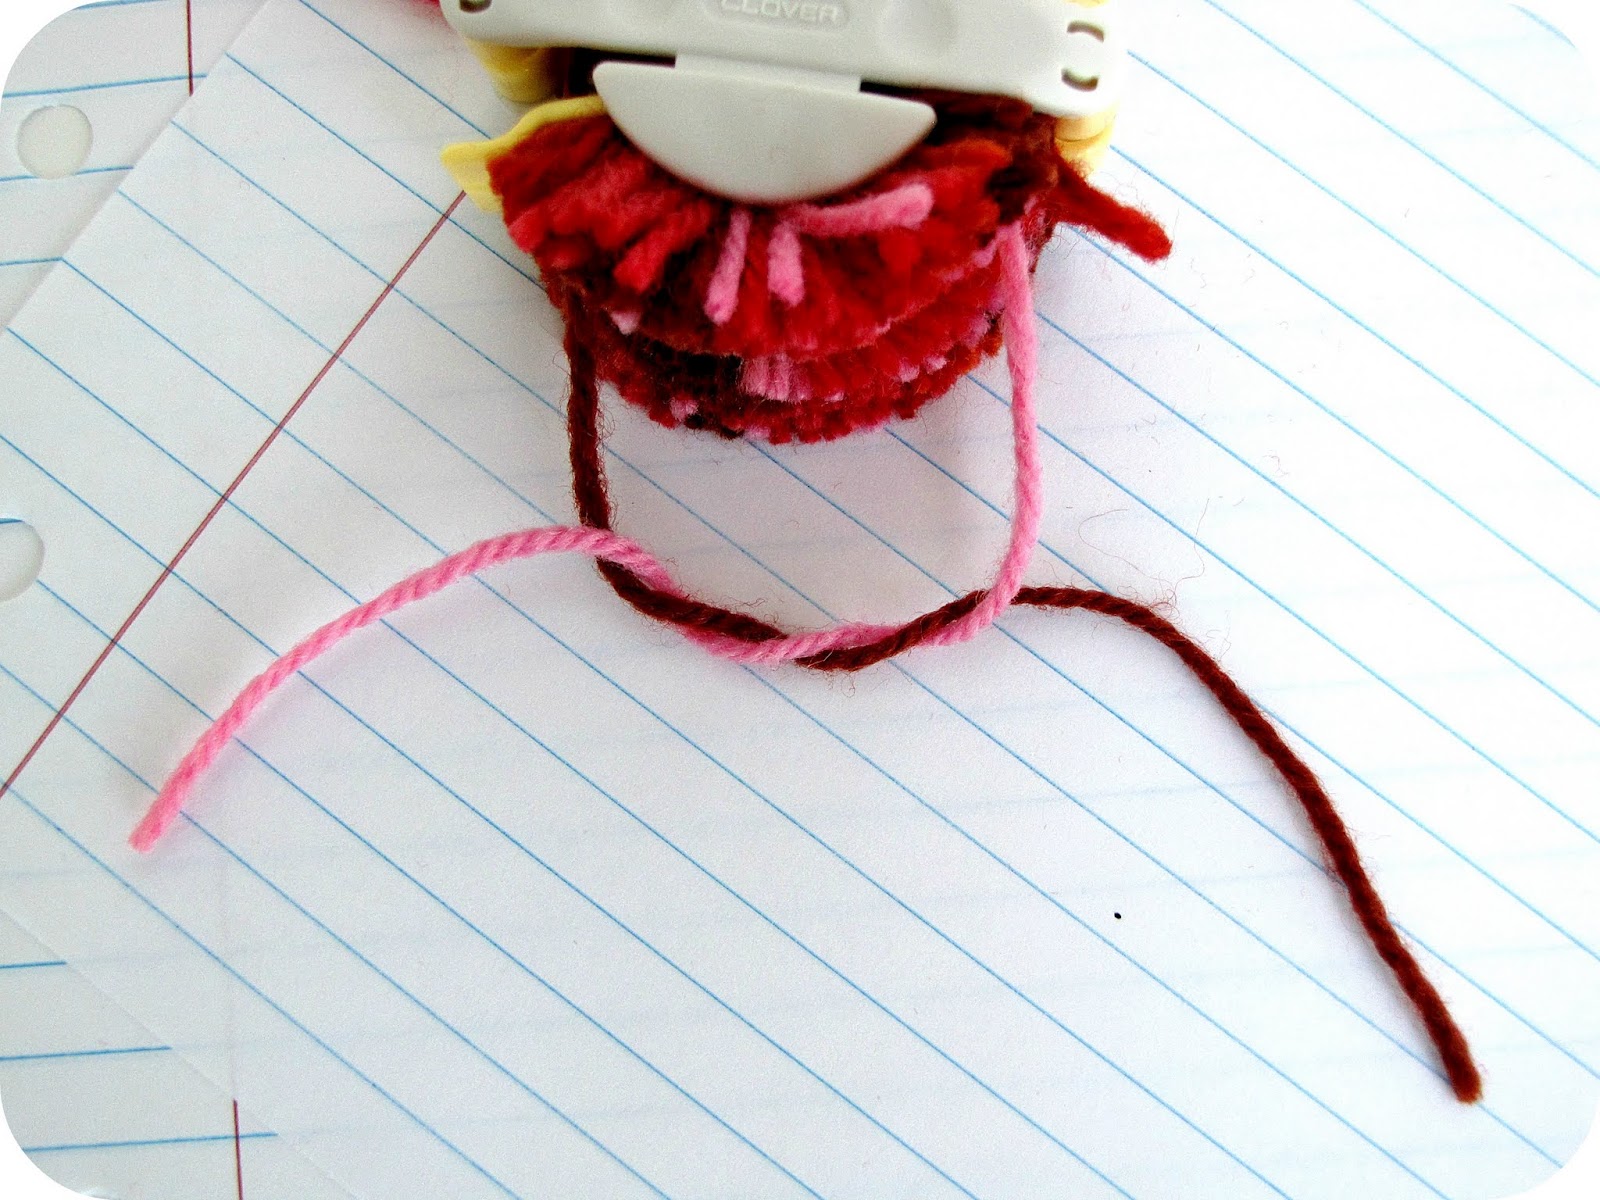
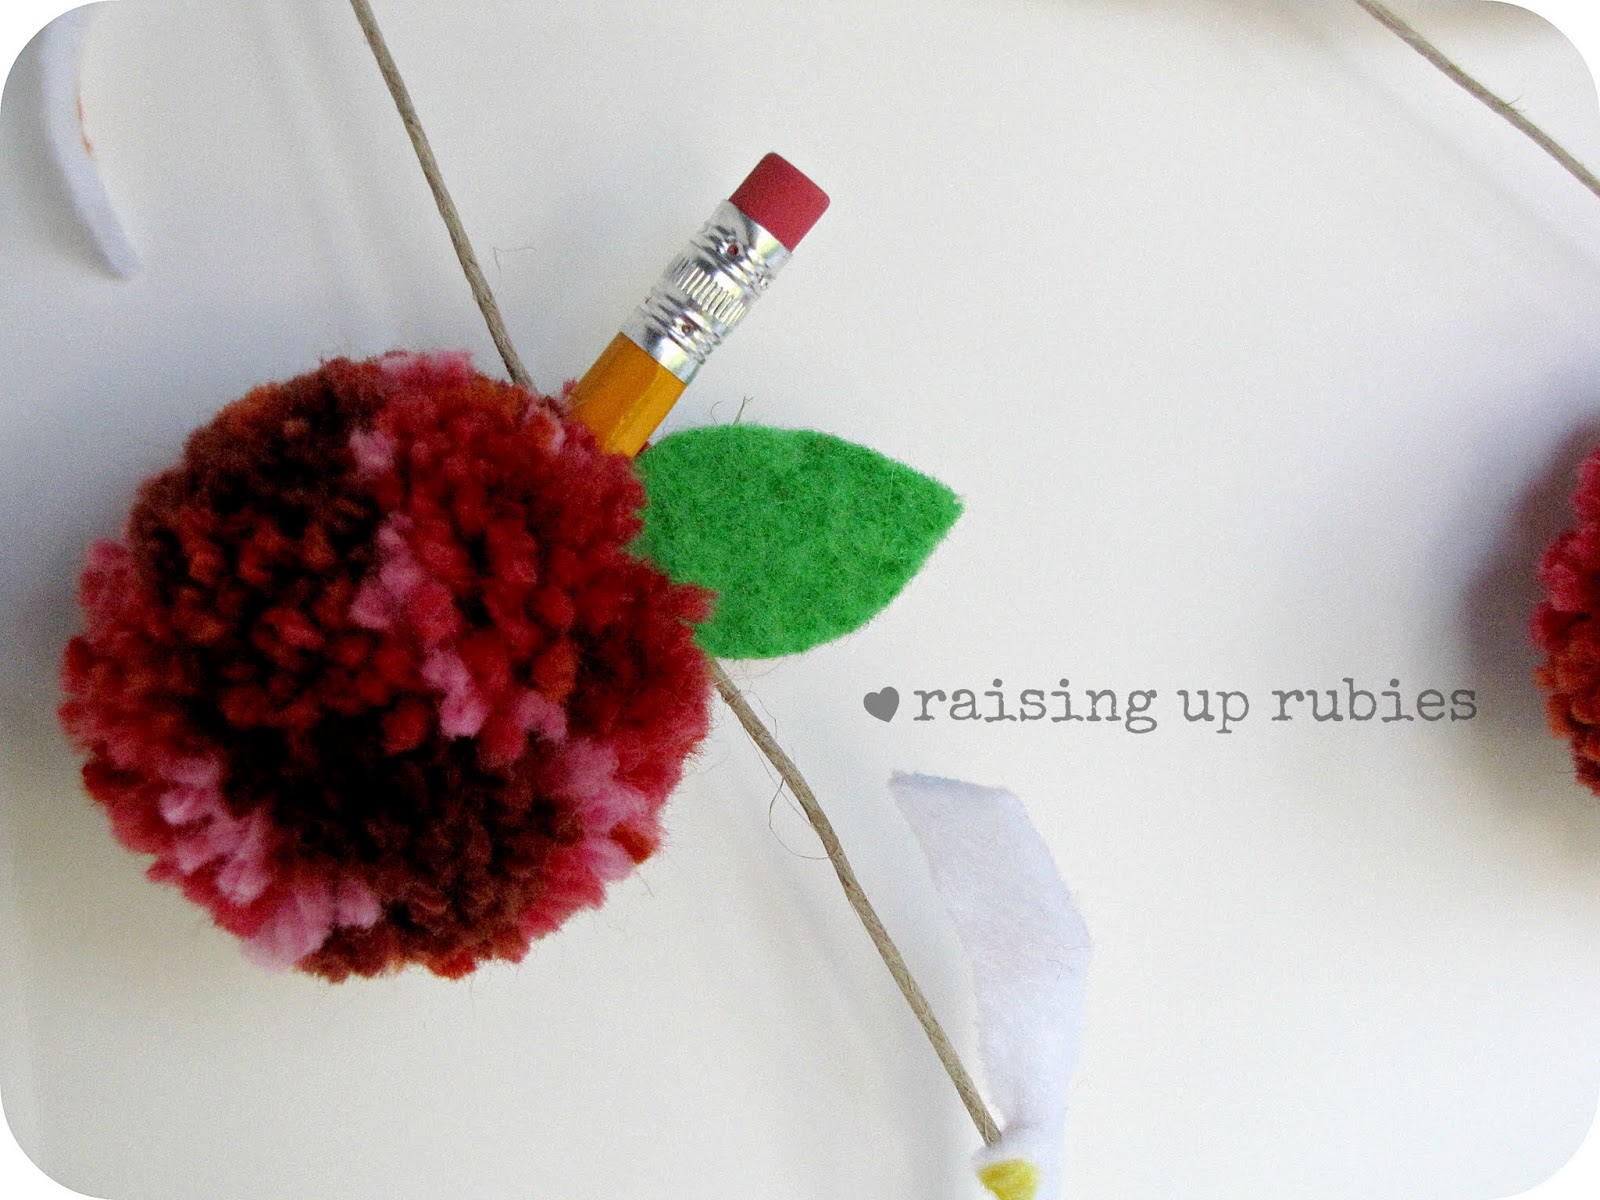
the wreath was easy to make no tutorial necessary
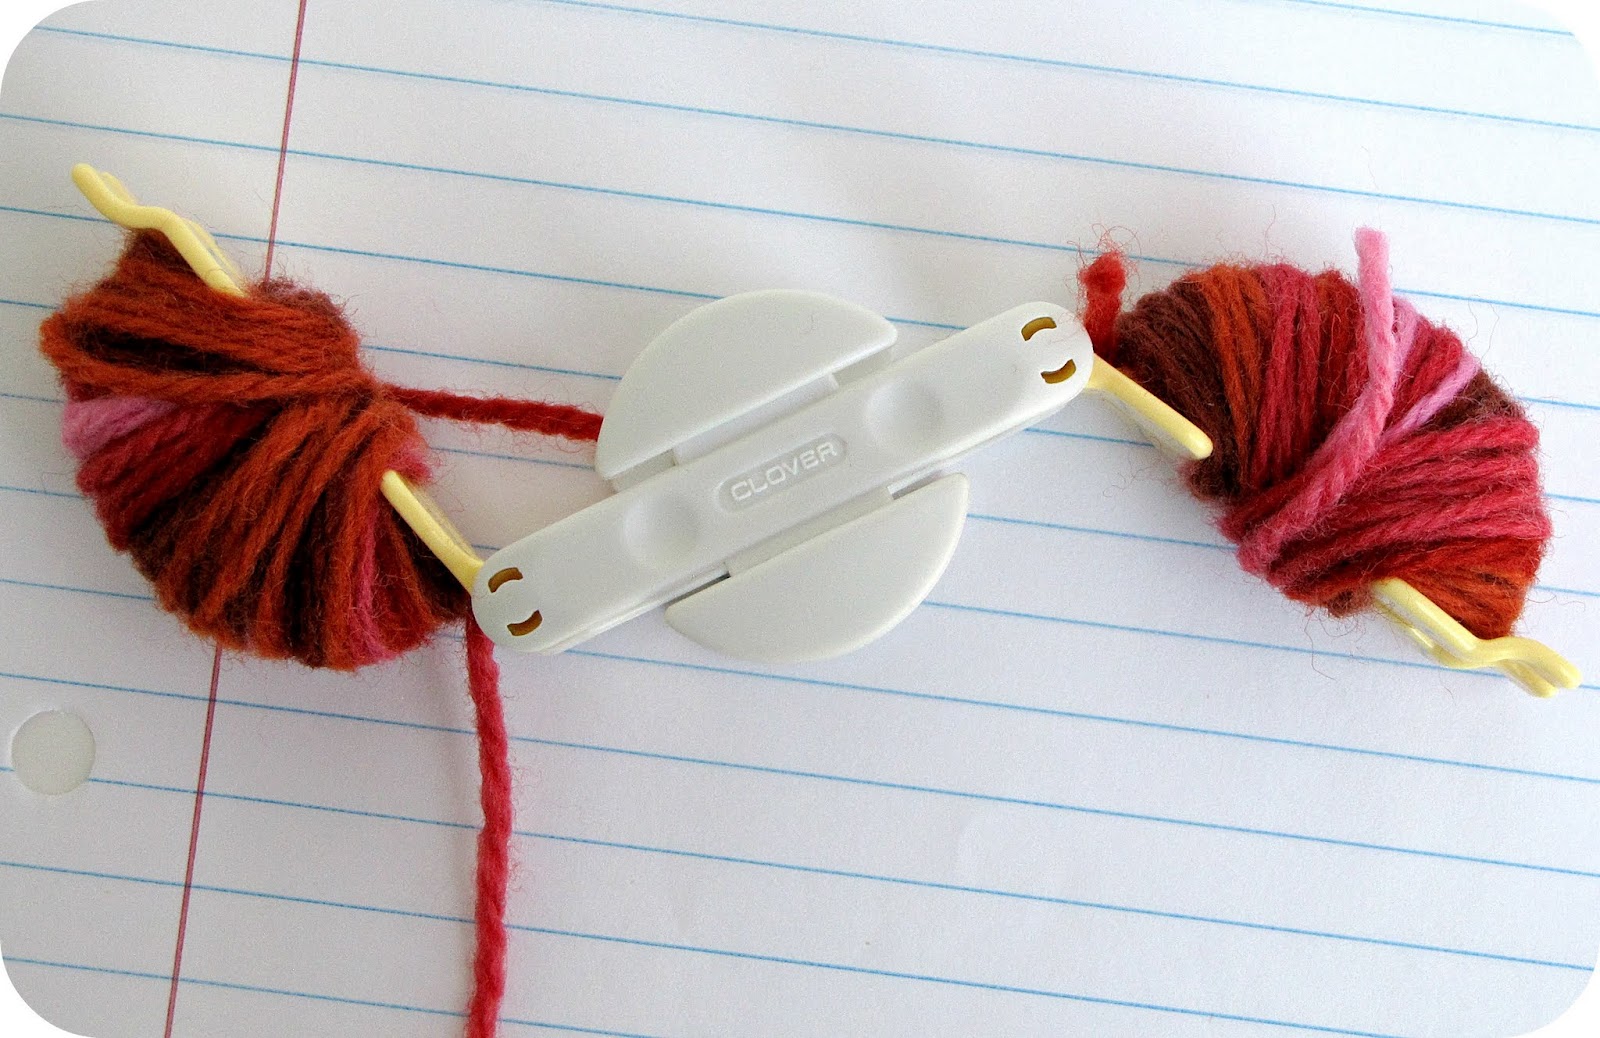
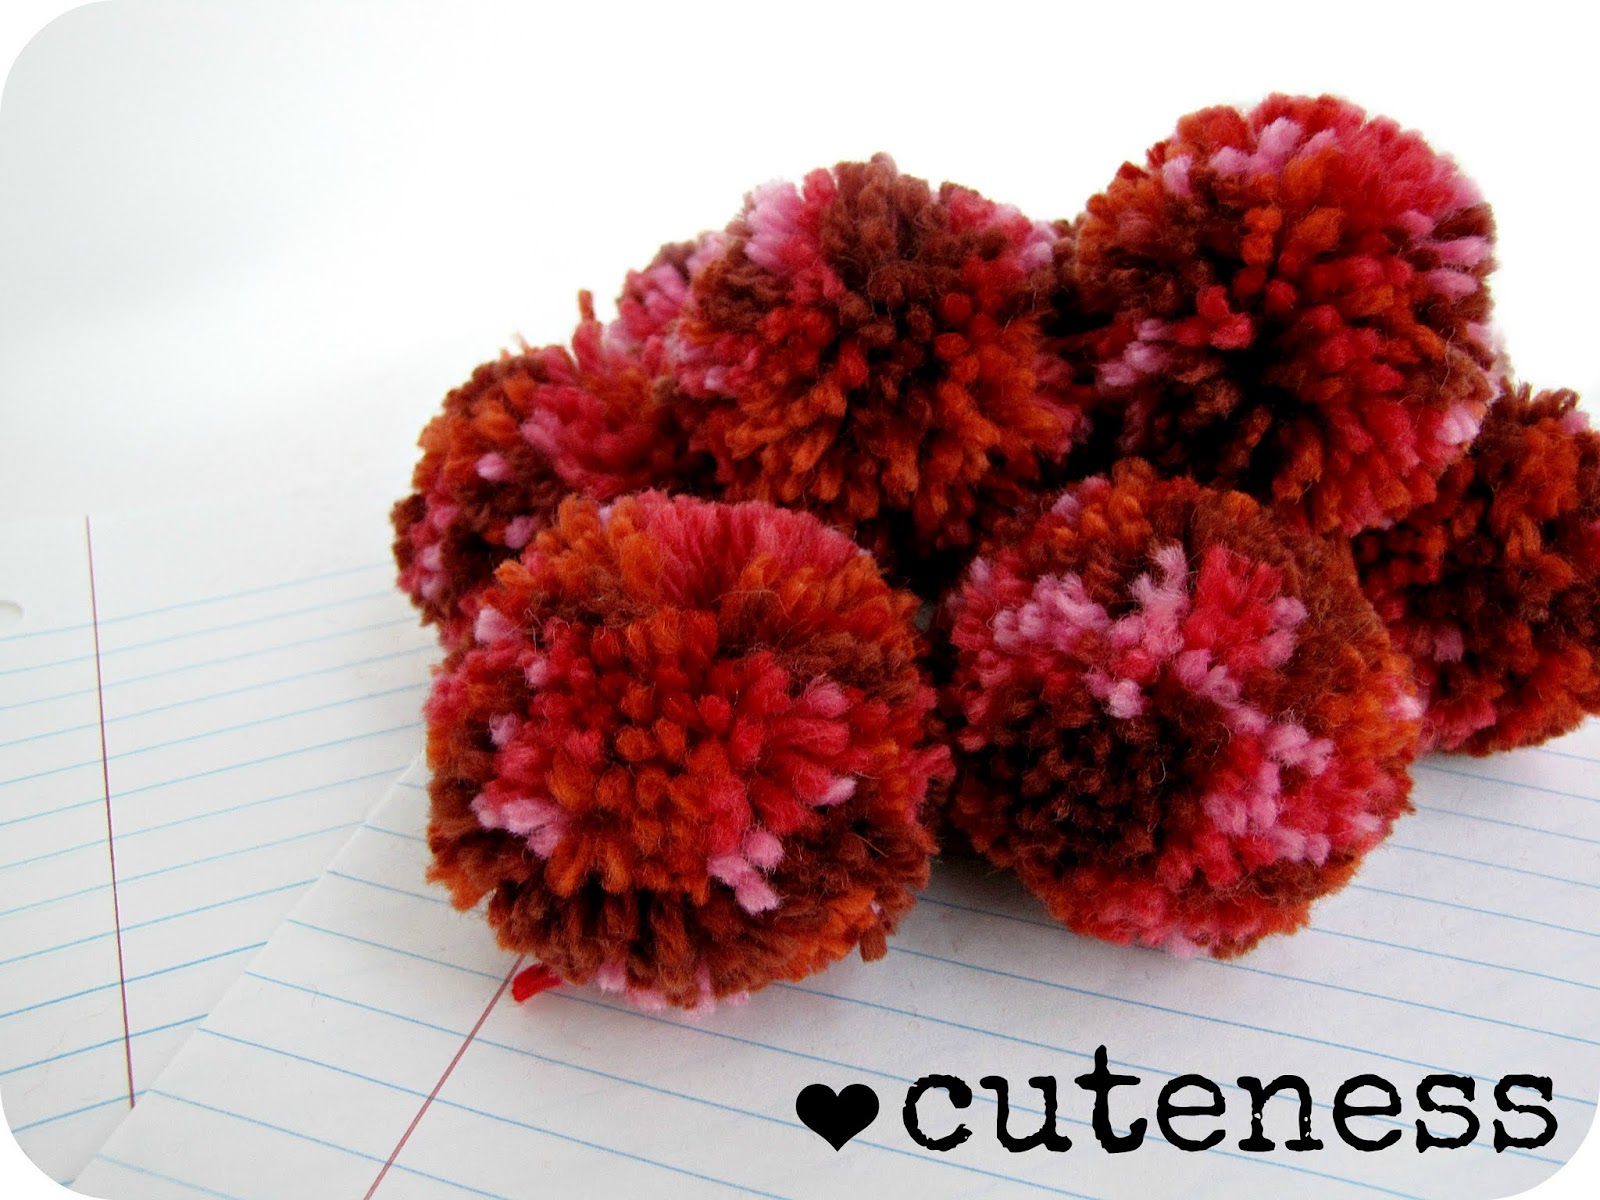
just make a huge boat load of pom poms 
and hot glue them to one of those floral wreath forms 
add some ribbon and hang. that’s all.

i just wanted to pop in to say hello
was thinking about all you guys
and how i’m blessed by you
blessed that you read my little blog
that you follow along here
it means a bunch of bunches to me.


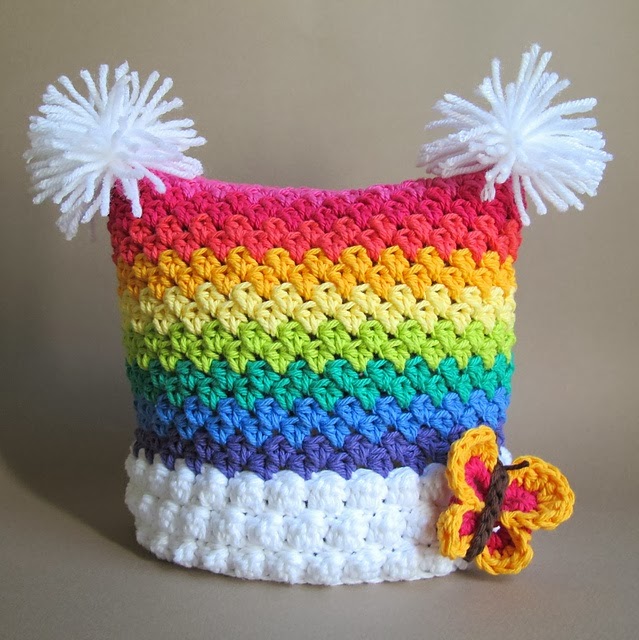
i’m still working on
my crochet mood blanket project
but i really wanted to make this hat for my littlest little …
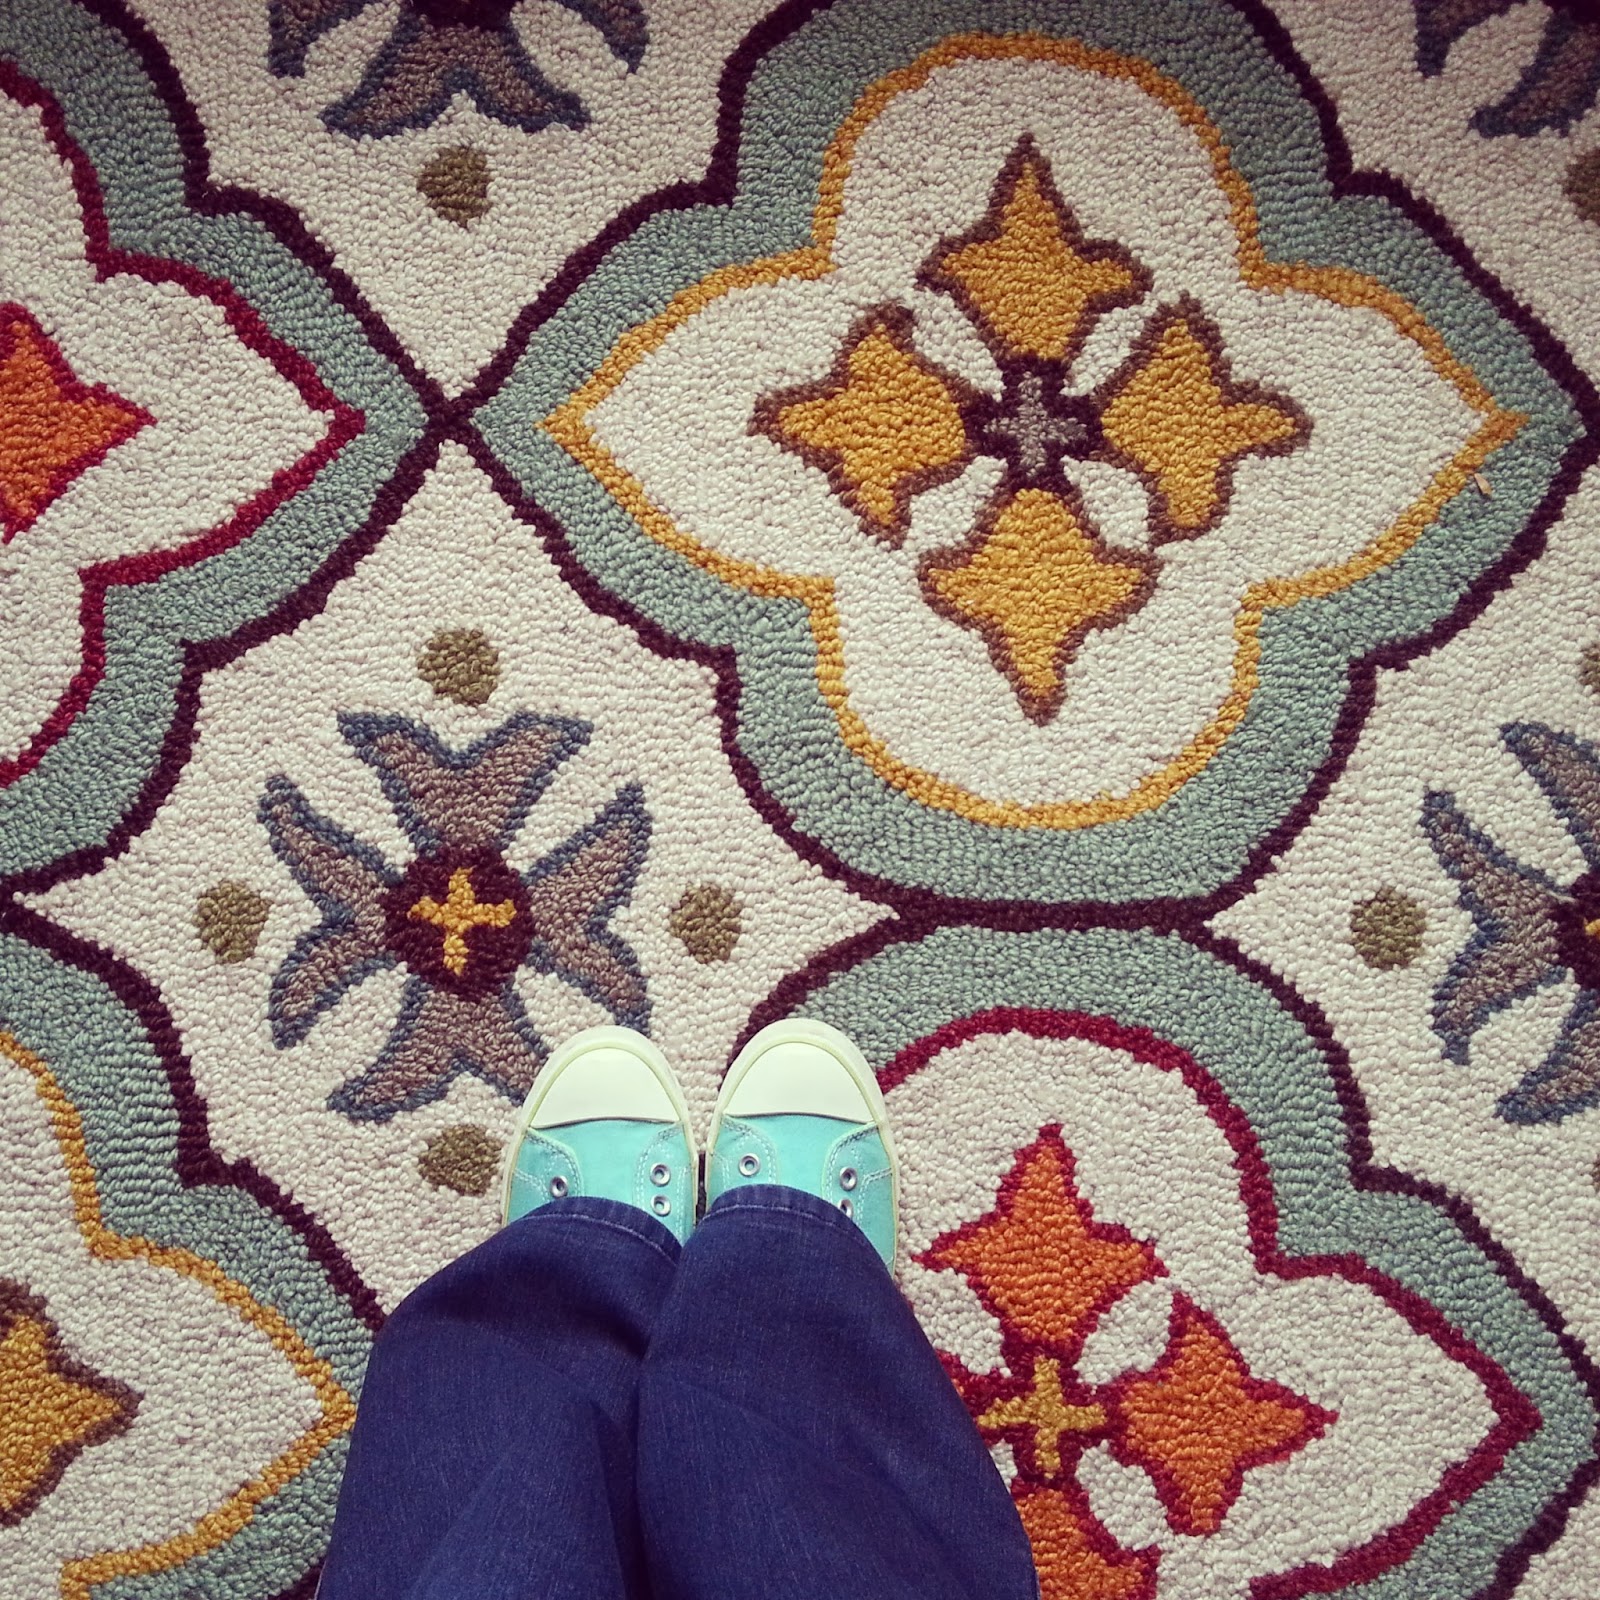


this is a rug
it’s happy
so there CAN be happiness in a rug
oh you agree? yes. thank you.


still goin strong with the diy Bisquick kick
here’s my original post but i’ve modified the recipe a few times
and i need to update that post
here are the ingredients i use now in case you want to try it 🙂

6 c.flour – 1/4 c. baking powder – 2 tbsp. sugar – 1 tsp. salt – 1 c. cold butter
add the dry ingredients in your food processor and pulse until all combined
cut cold butter into chunks and add to the processor 
pulse until butter is in small crumbs and incorporated
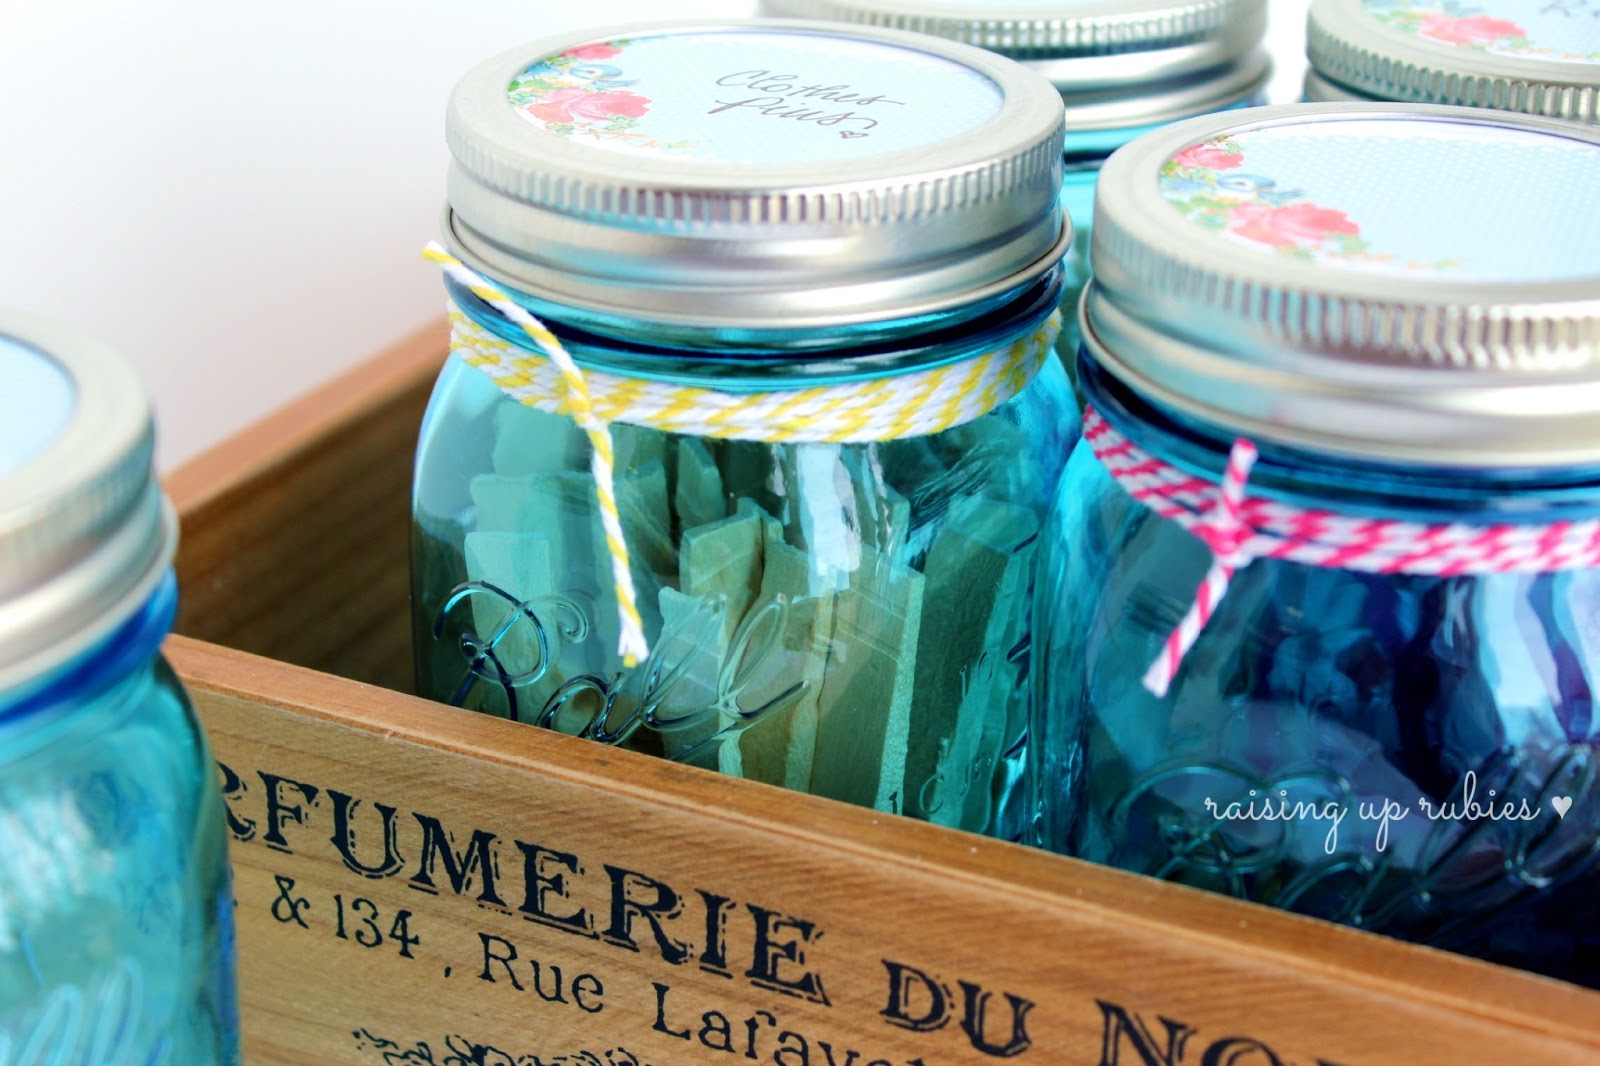
i store ours in a sealed glass jar in the pantry … we use it up so quickly!
my fam loves pancakes & biscuits


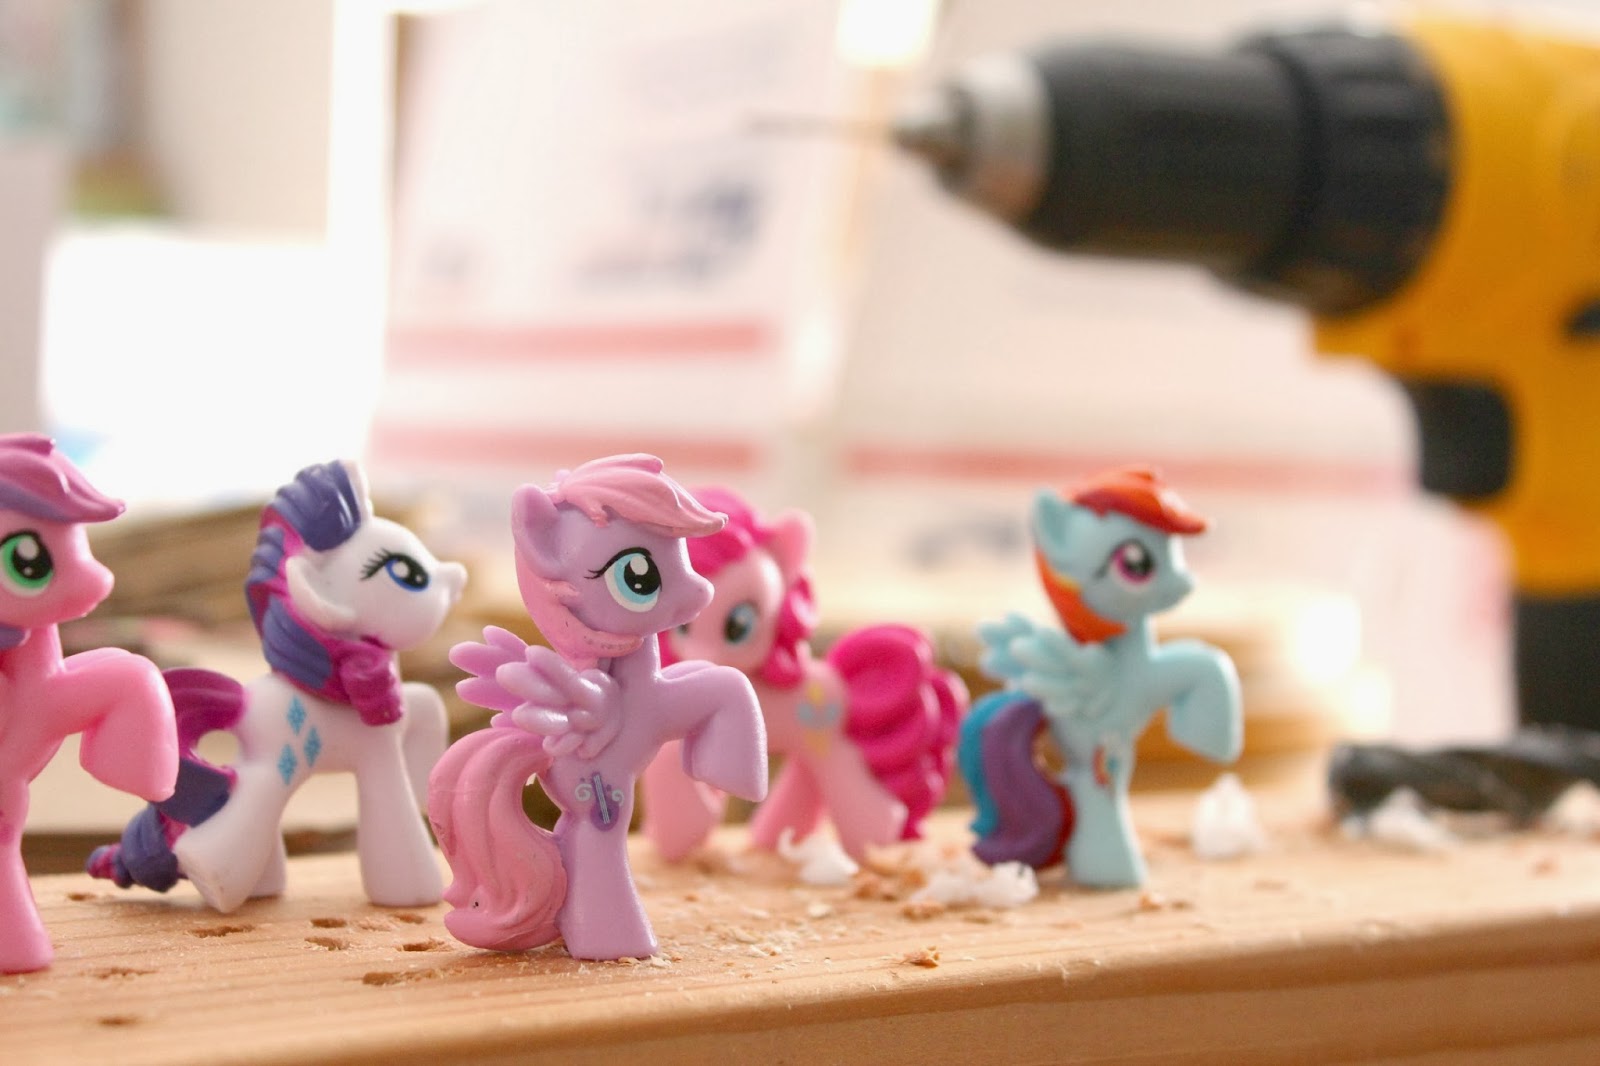
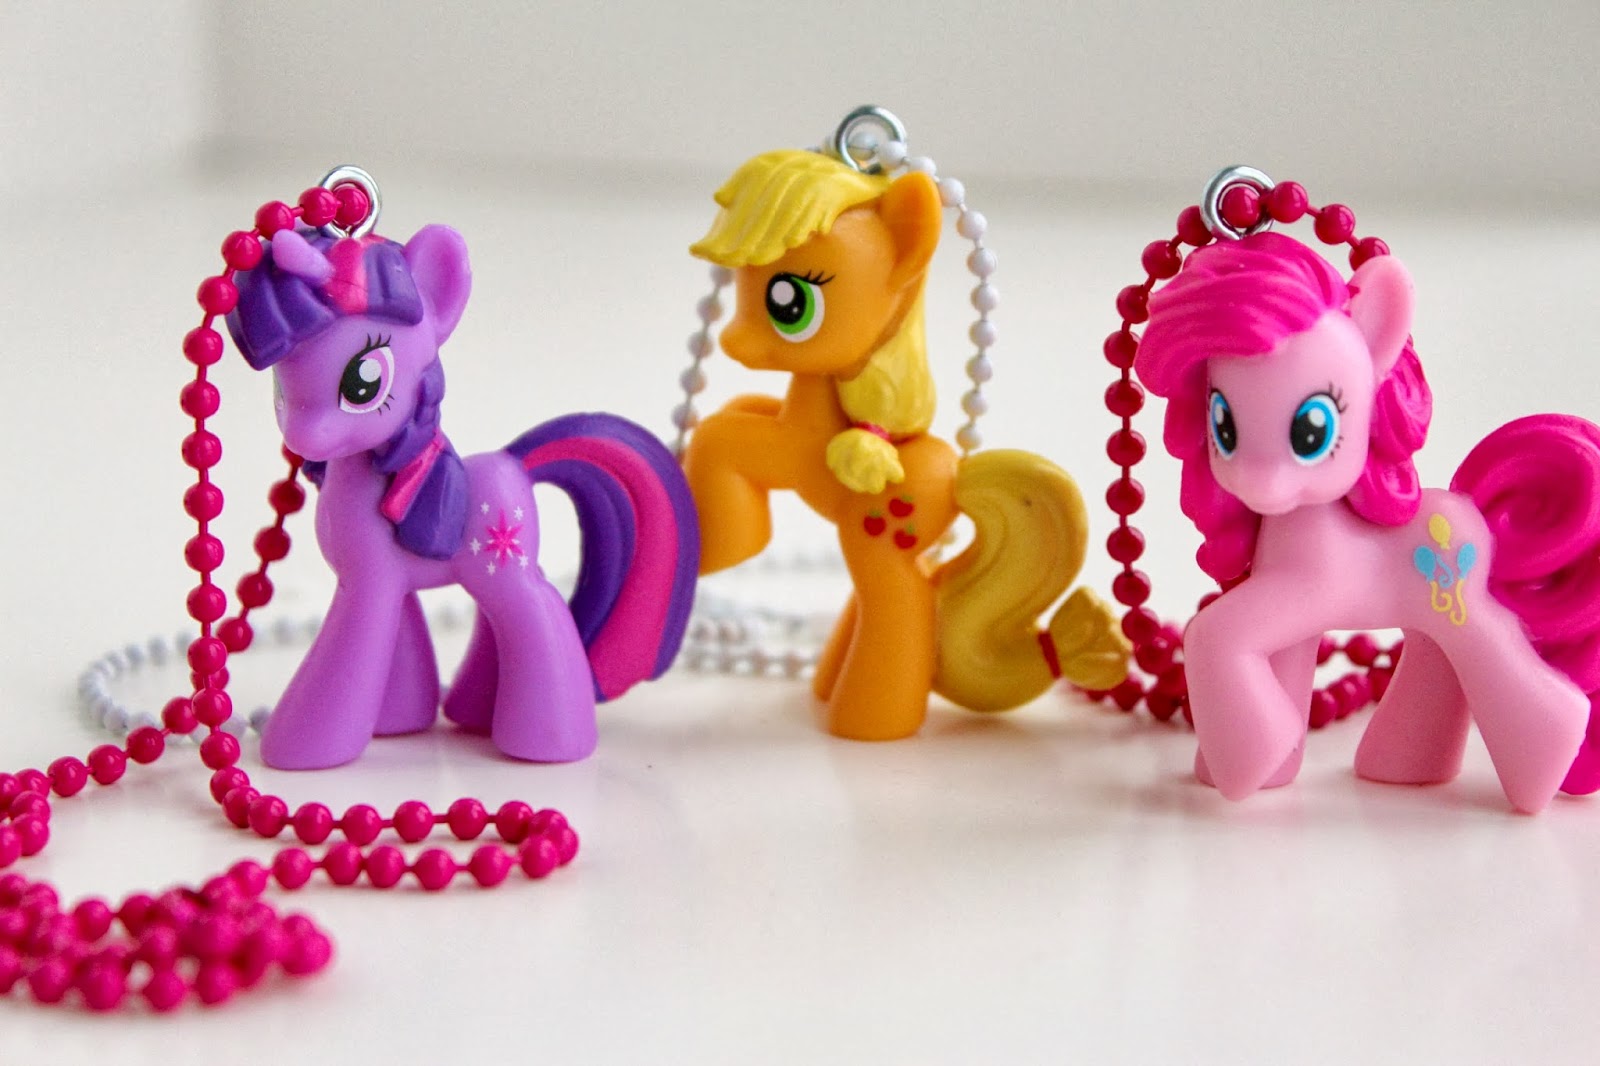
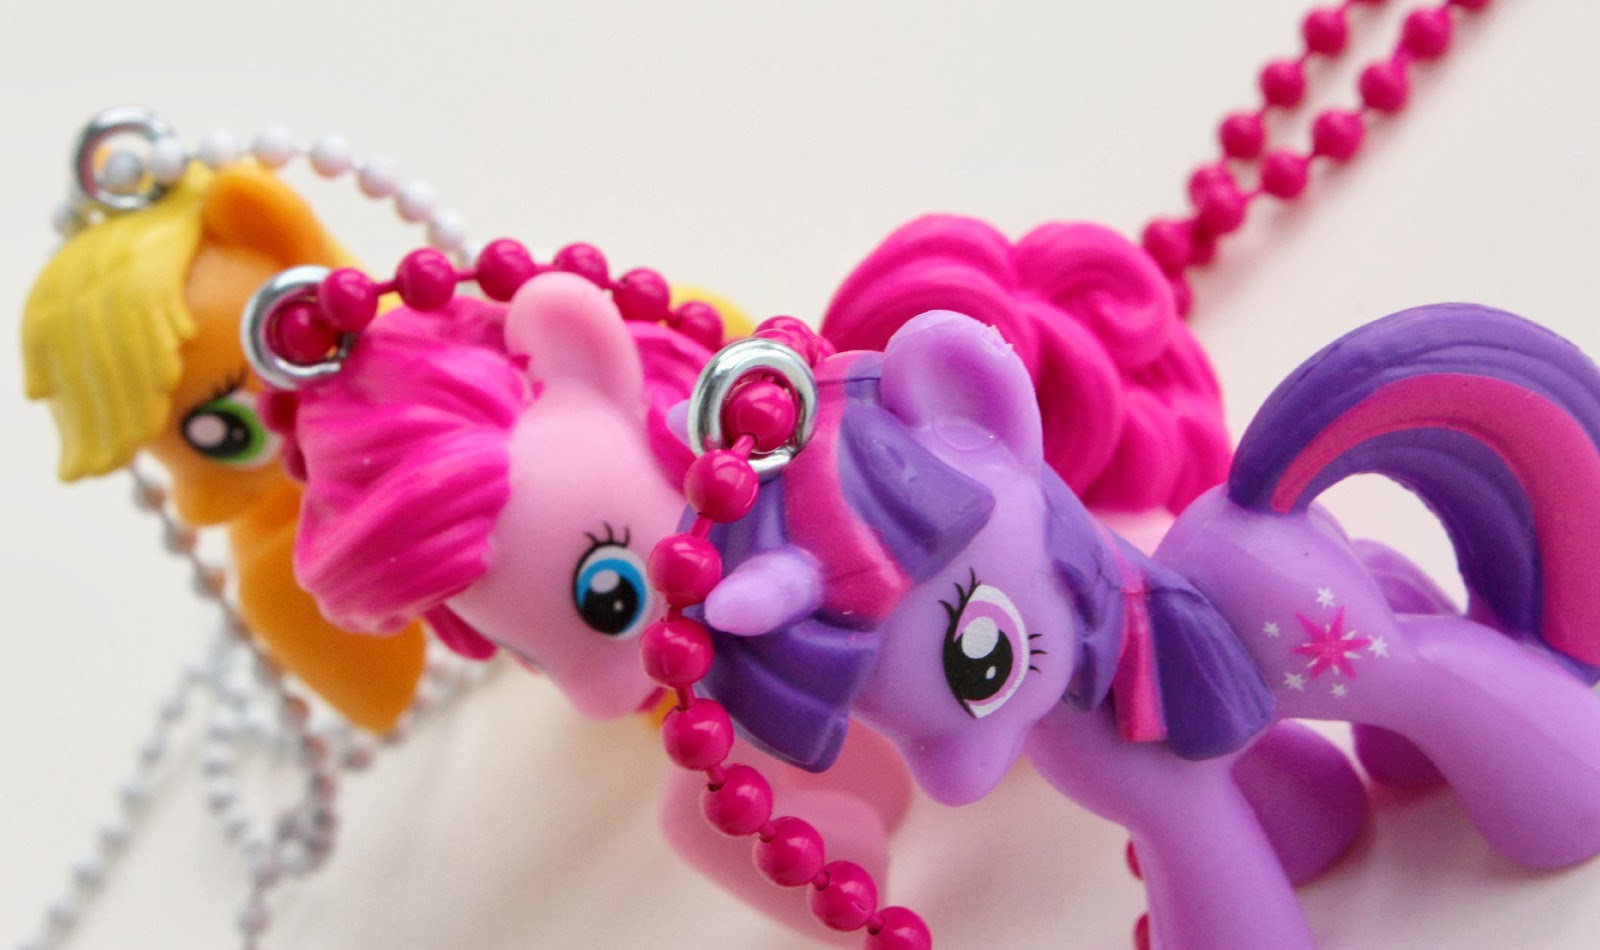
my peeps also love my little ponies
well 2 out of the 3 of my peeps
even though the hubs is so compliant when it comes to our pony obsession 
that i’d consider that a type of pony love. hehe


have you seen?? go look!


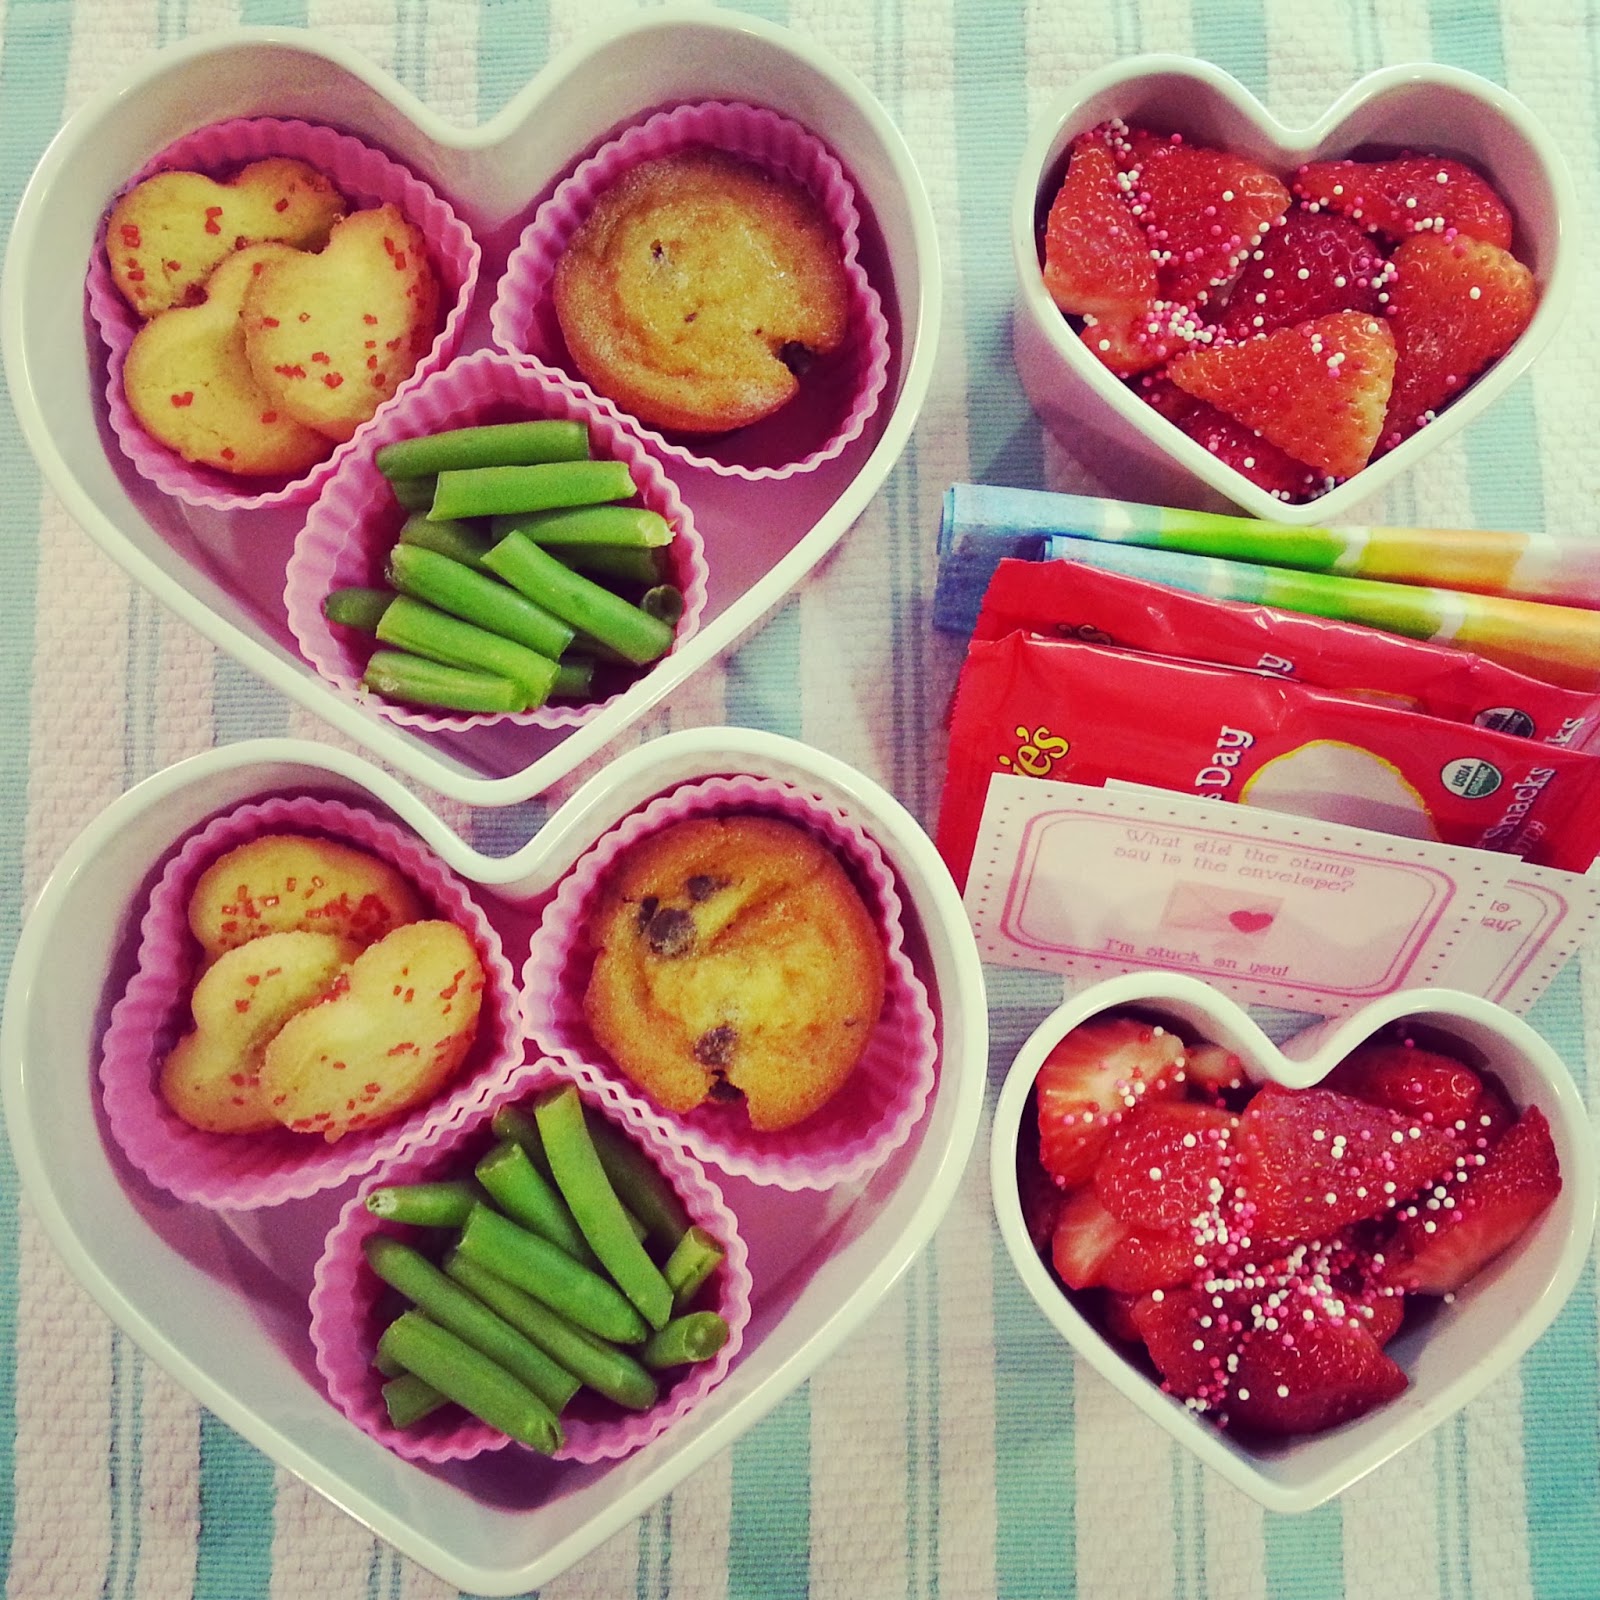
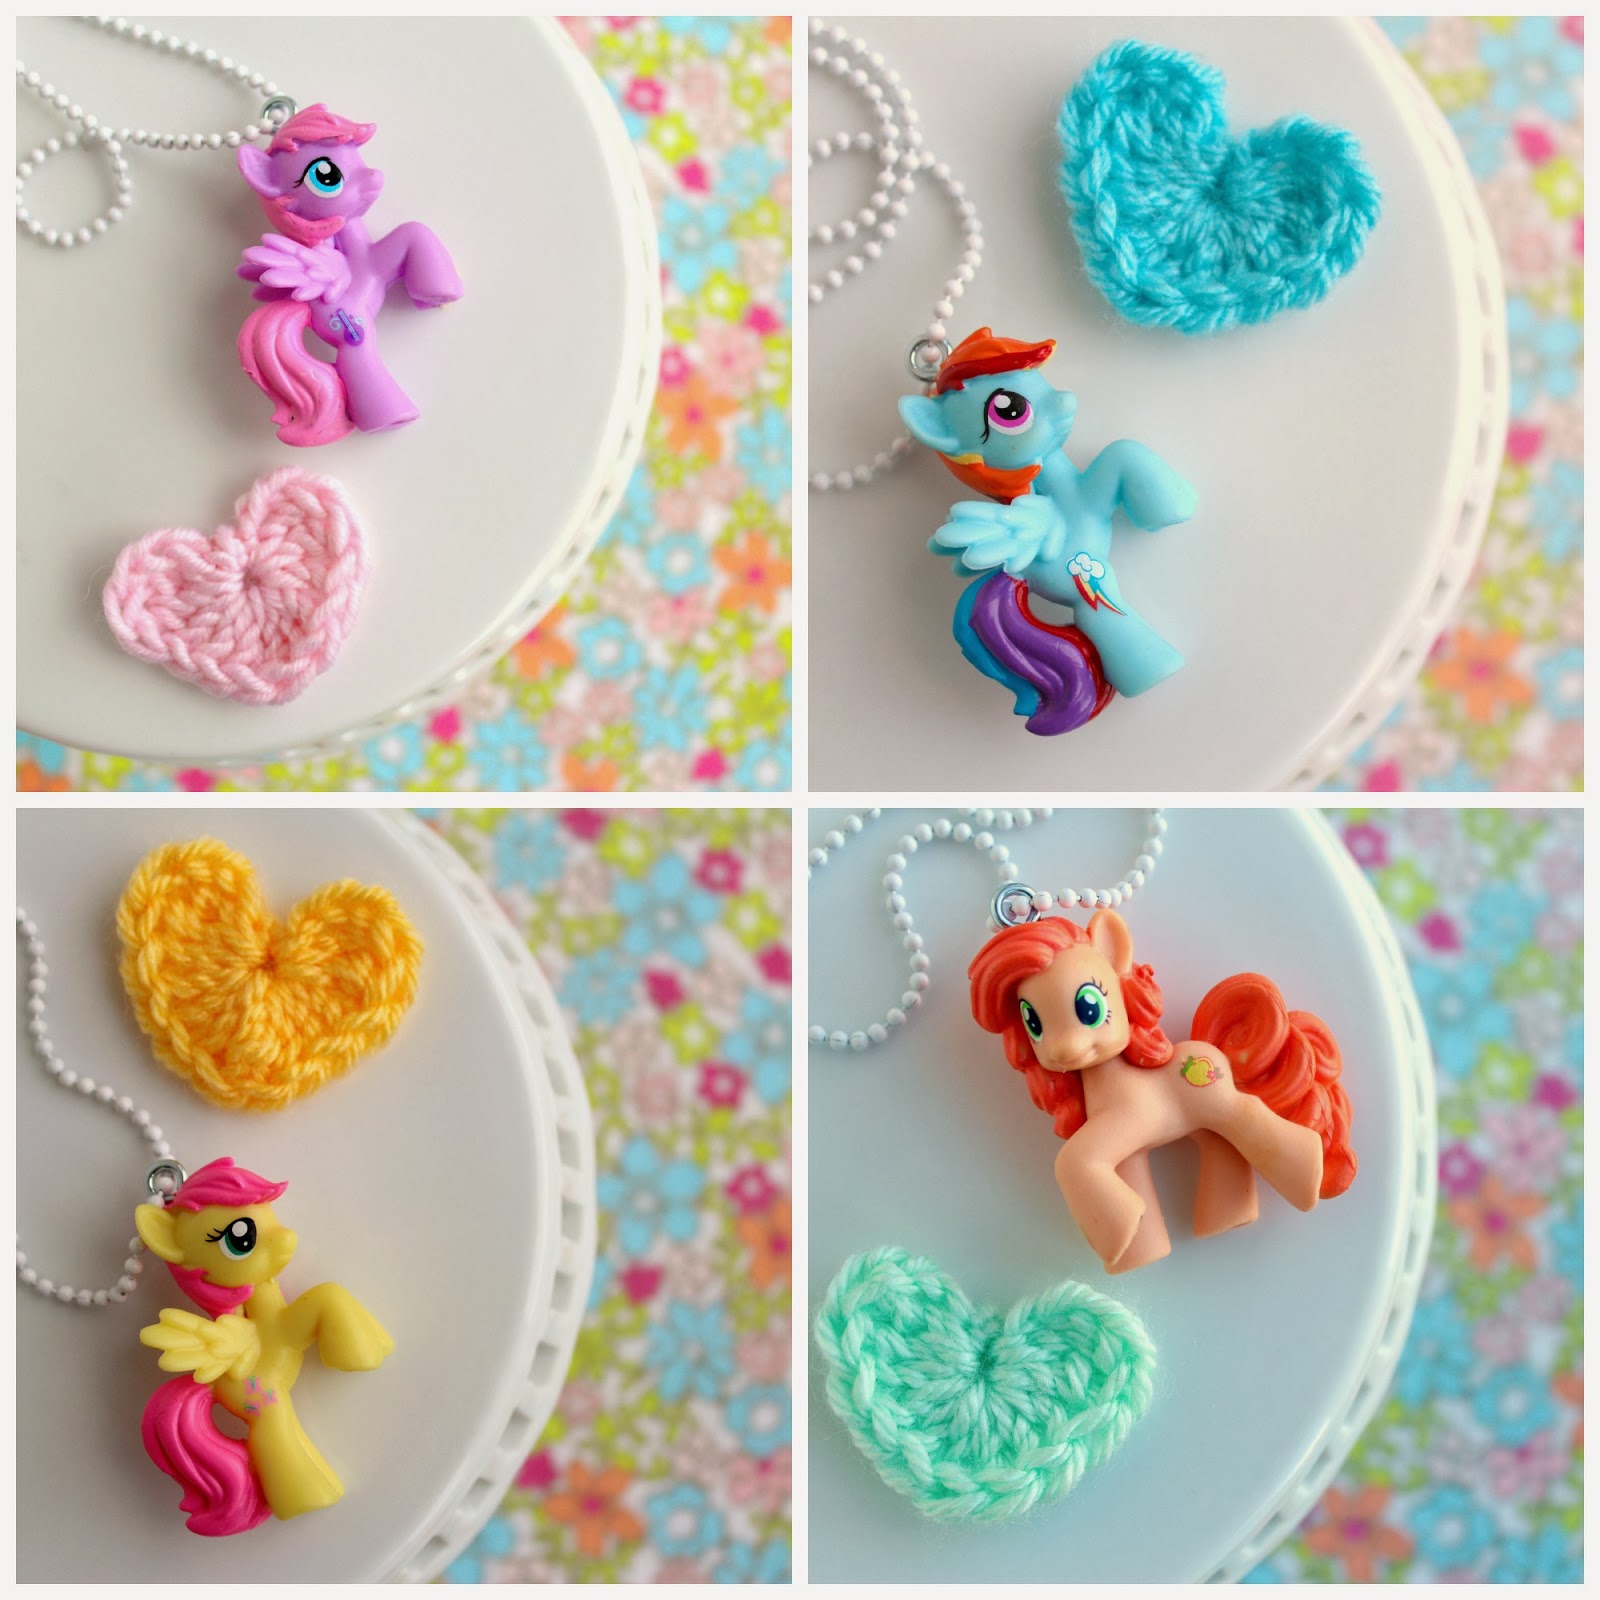
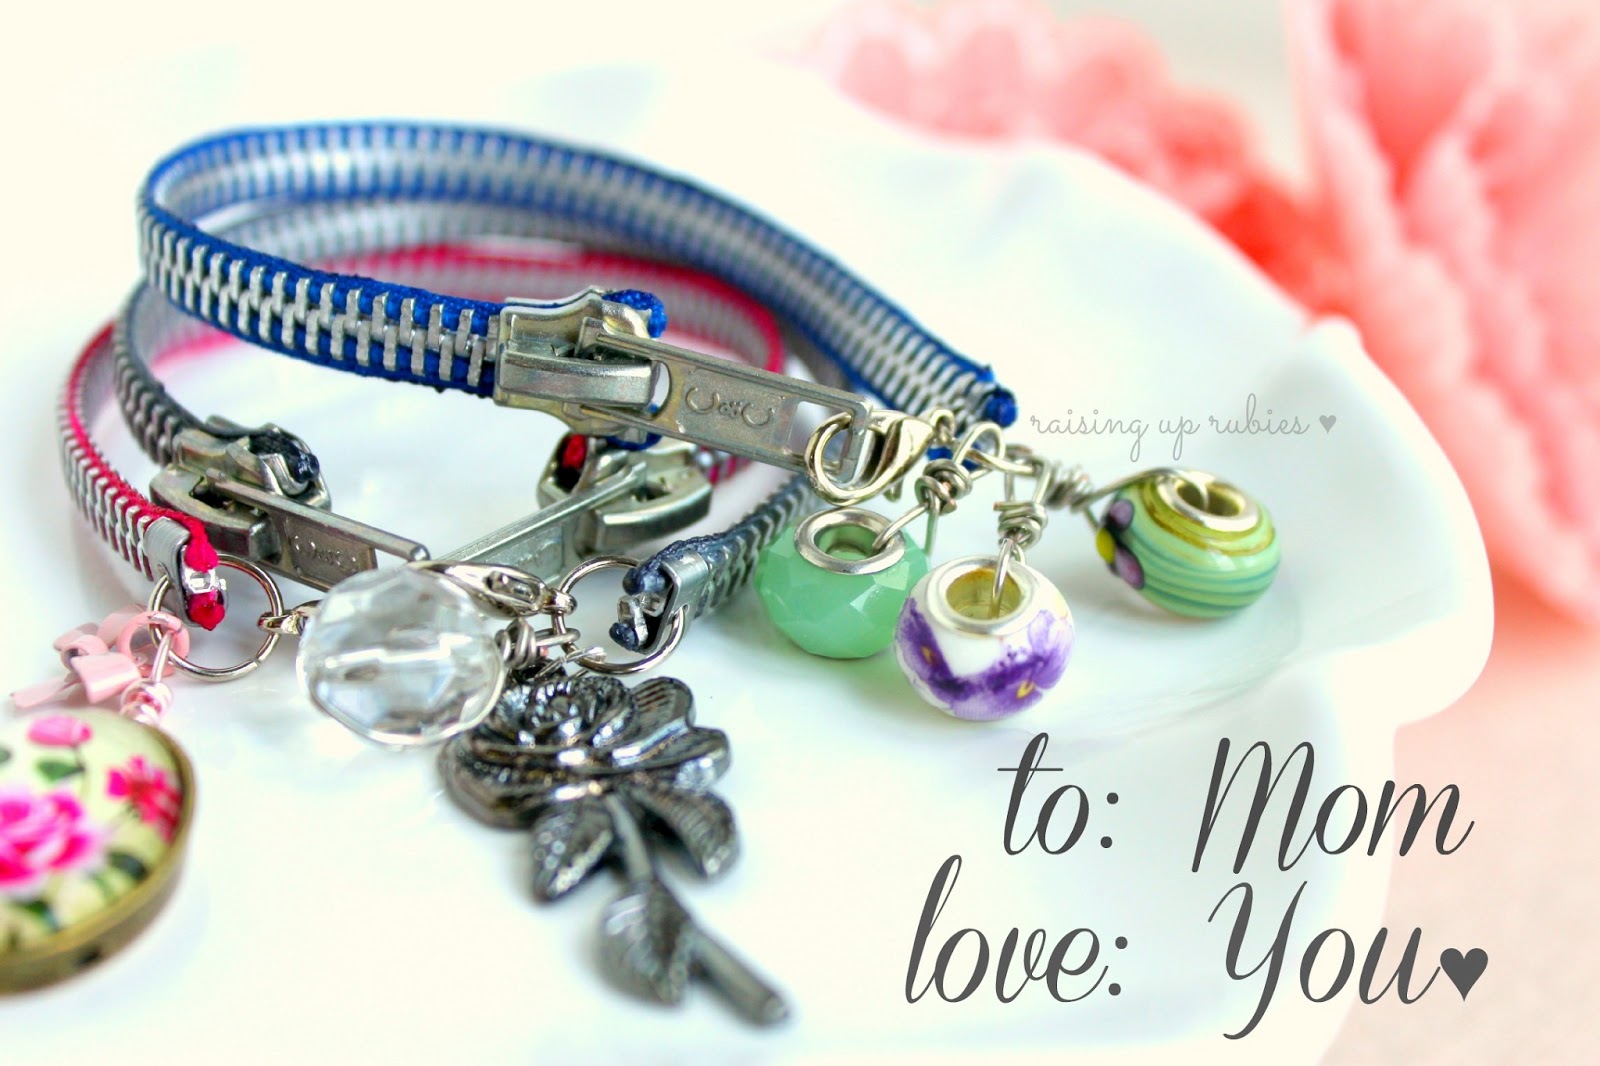
 valentines day is big around here
well i make it big. i love it.
it must be all the hearts or something
i dunno
maybe
not that i like hearts all that much or anything.


heart lunches, heart dishes …
yeah it’s big
made some oatmeal butterscotch cookies for the hubs.
delivered them right to work
with some starbucks on the side
nice.

we made this garland in honor of the olympics starting and it was so so so much fun! 
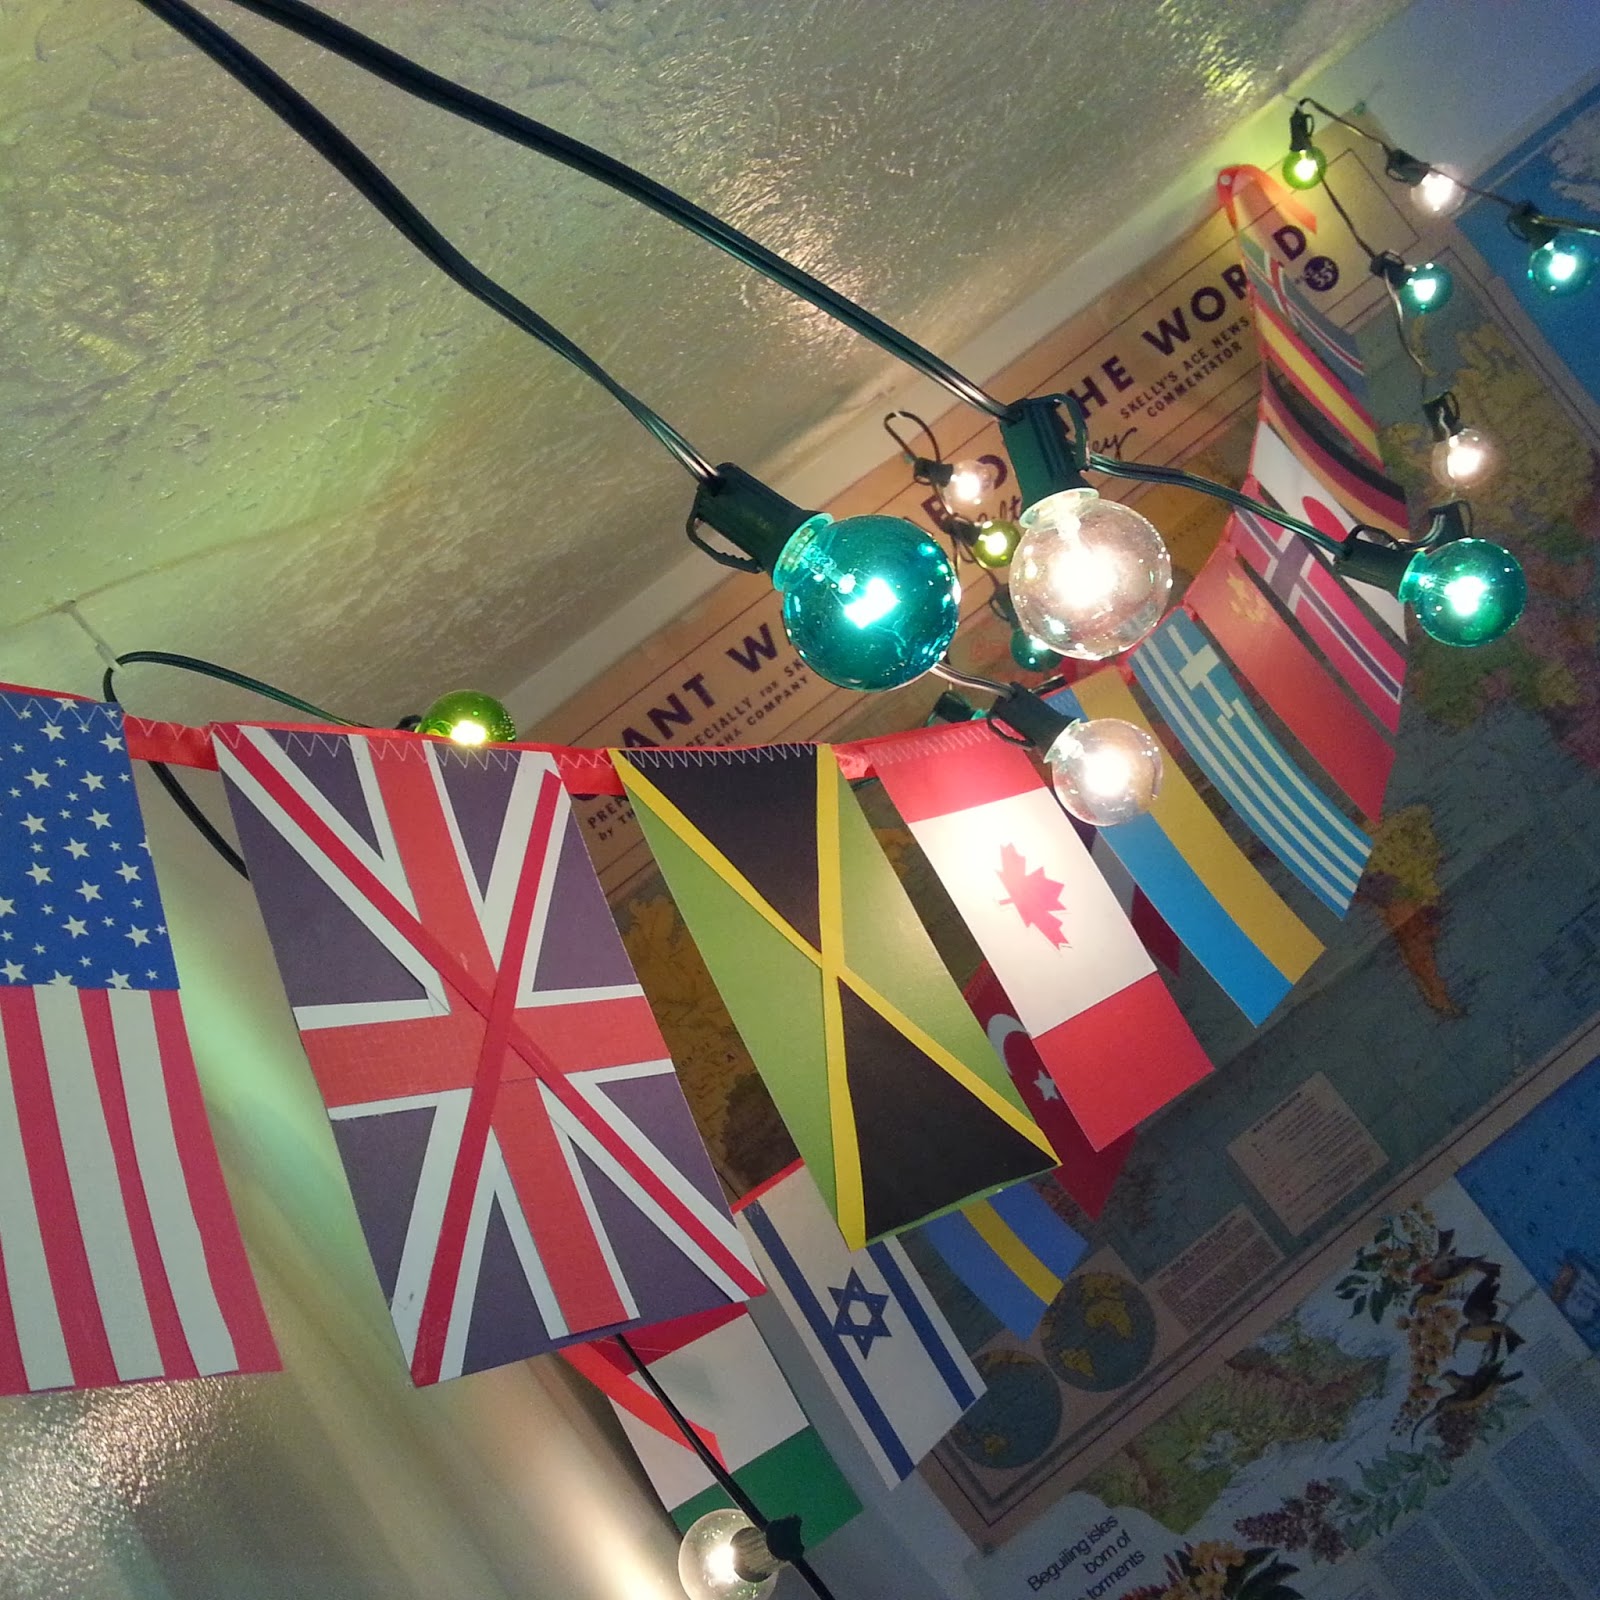
we learned a bunch about which flags belong to which country 
and why they look the way they do … a book from the library (or google)
and some colored paper is all you need!

are you guys lovin the olympics?
the girls love the figure skating
i love the half pipe snowboarder girls
the ones who rock the side braids


kinda like this day
when i was rockin a side braid. aaaaaand the sun was out
whoa.
weird.
the sun never shows up around here


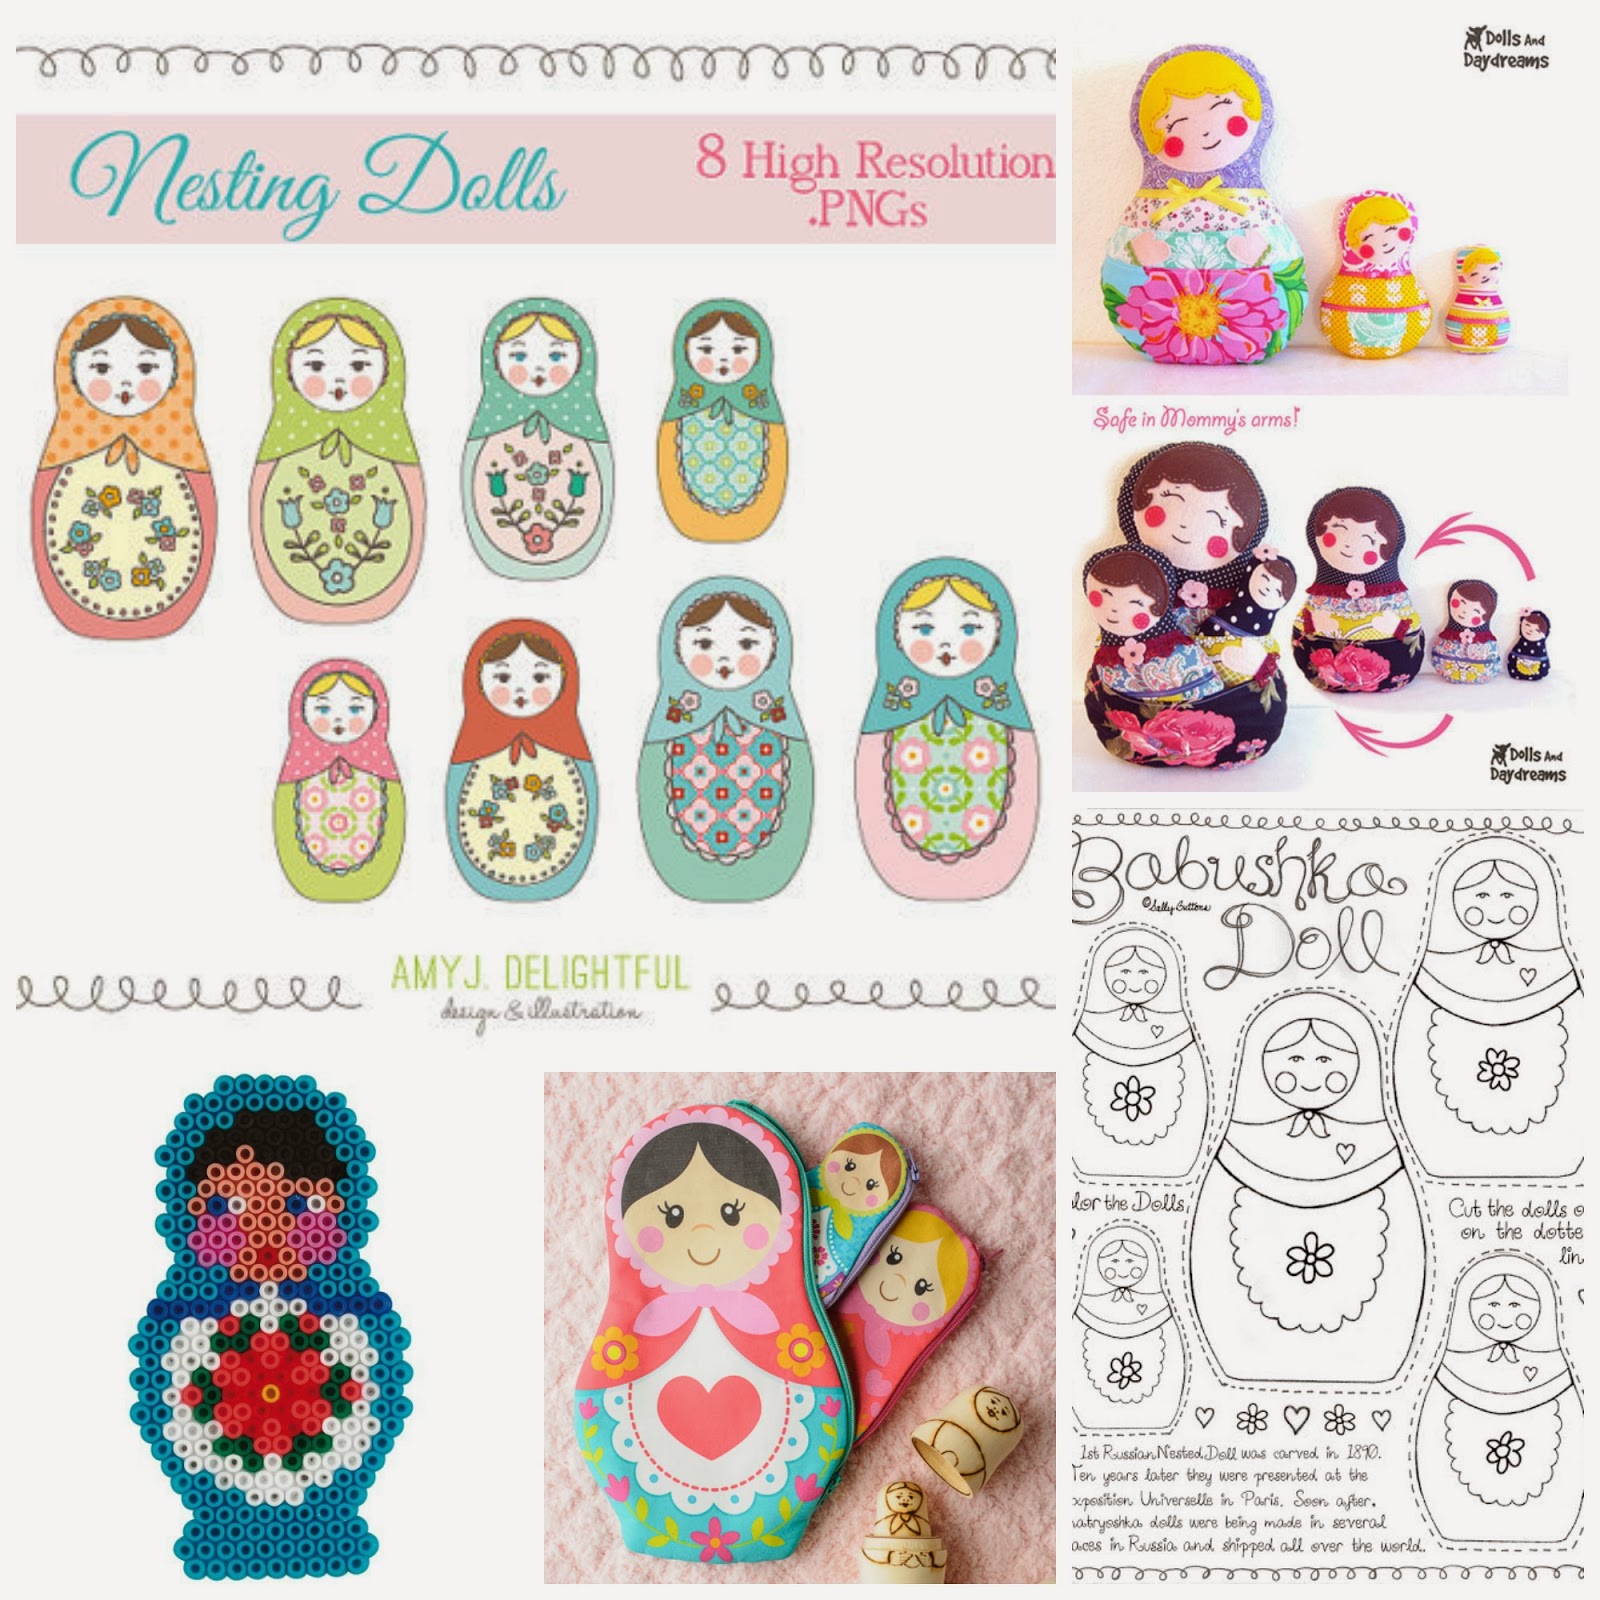
 the other cool thing about the olympics is that they’re in Russia
and nesting dolls are Russian
and there are lotsa cute nesting doll crafts
all over Pinterest
yup.
 see how i just made the olympics crafty like that?

made these crocheted dolls a few years ago the pattern is from here

here’s a few things i still want to make in honor of the olympics
(they’re almost over? that doesn’t matter) (shush.)


some days have been so so good
some days have been so raw
and hard.
this past week i was really struggling with self-worth
 believing i am worthy
worthy to be pursued
no one likes to feel un-pursued
decided the pursuing needed to start with me taking action
instead of wallowing in my unmet expectations
which i find myself so often doing.
a victim of my own miserable unmet expectations 
i set myself up.
everytime
and it sucks.
the Lord specifically spoke quietly to my heart 
(at 2am when i could not find rest or sleep at all which is so unlike me)
that He will meet all my needs & expectations
once i place those into His care & trust
i’ll no longer place that unattainable burden on my husband
but it’s so hard to do
cause he’s here. present. in front of me. the physical.
and i love him so very much
but my Savior is seen and felt by faith 
by trust
it’s the spiritual. the non-tangible part of me that i so often don’t want to tap into 
for that feeling of worthiness
but that’s the true source. it won’t come from anywhere or anyone else
why is this so hard… i struggle
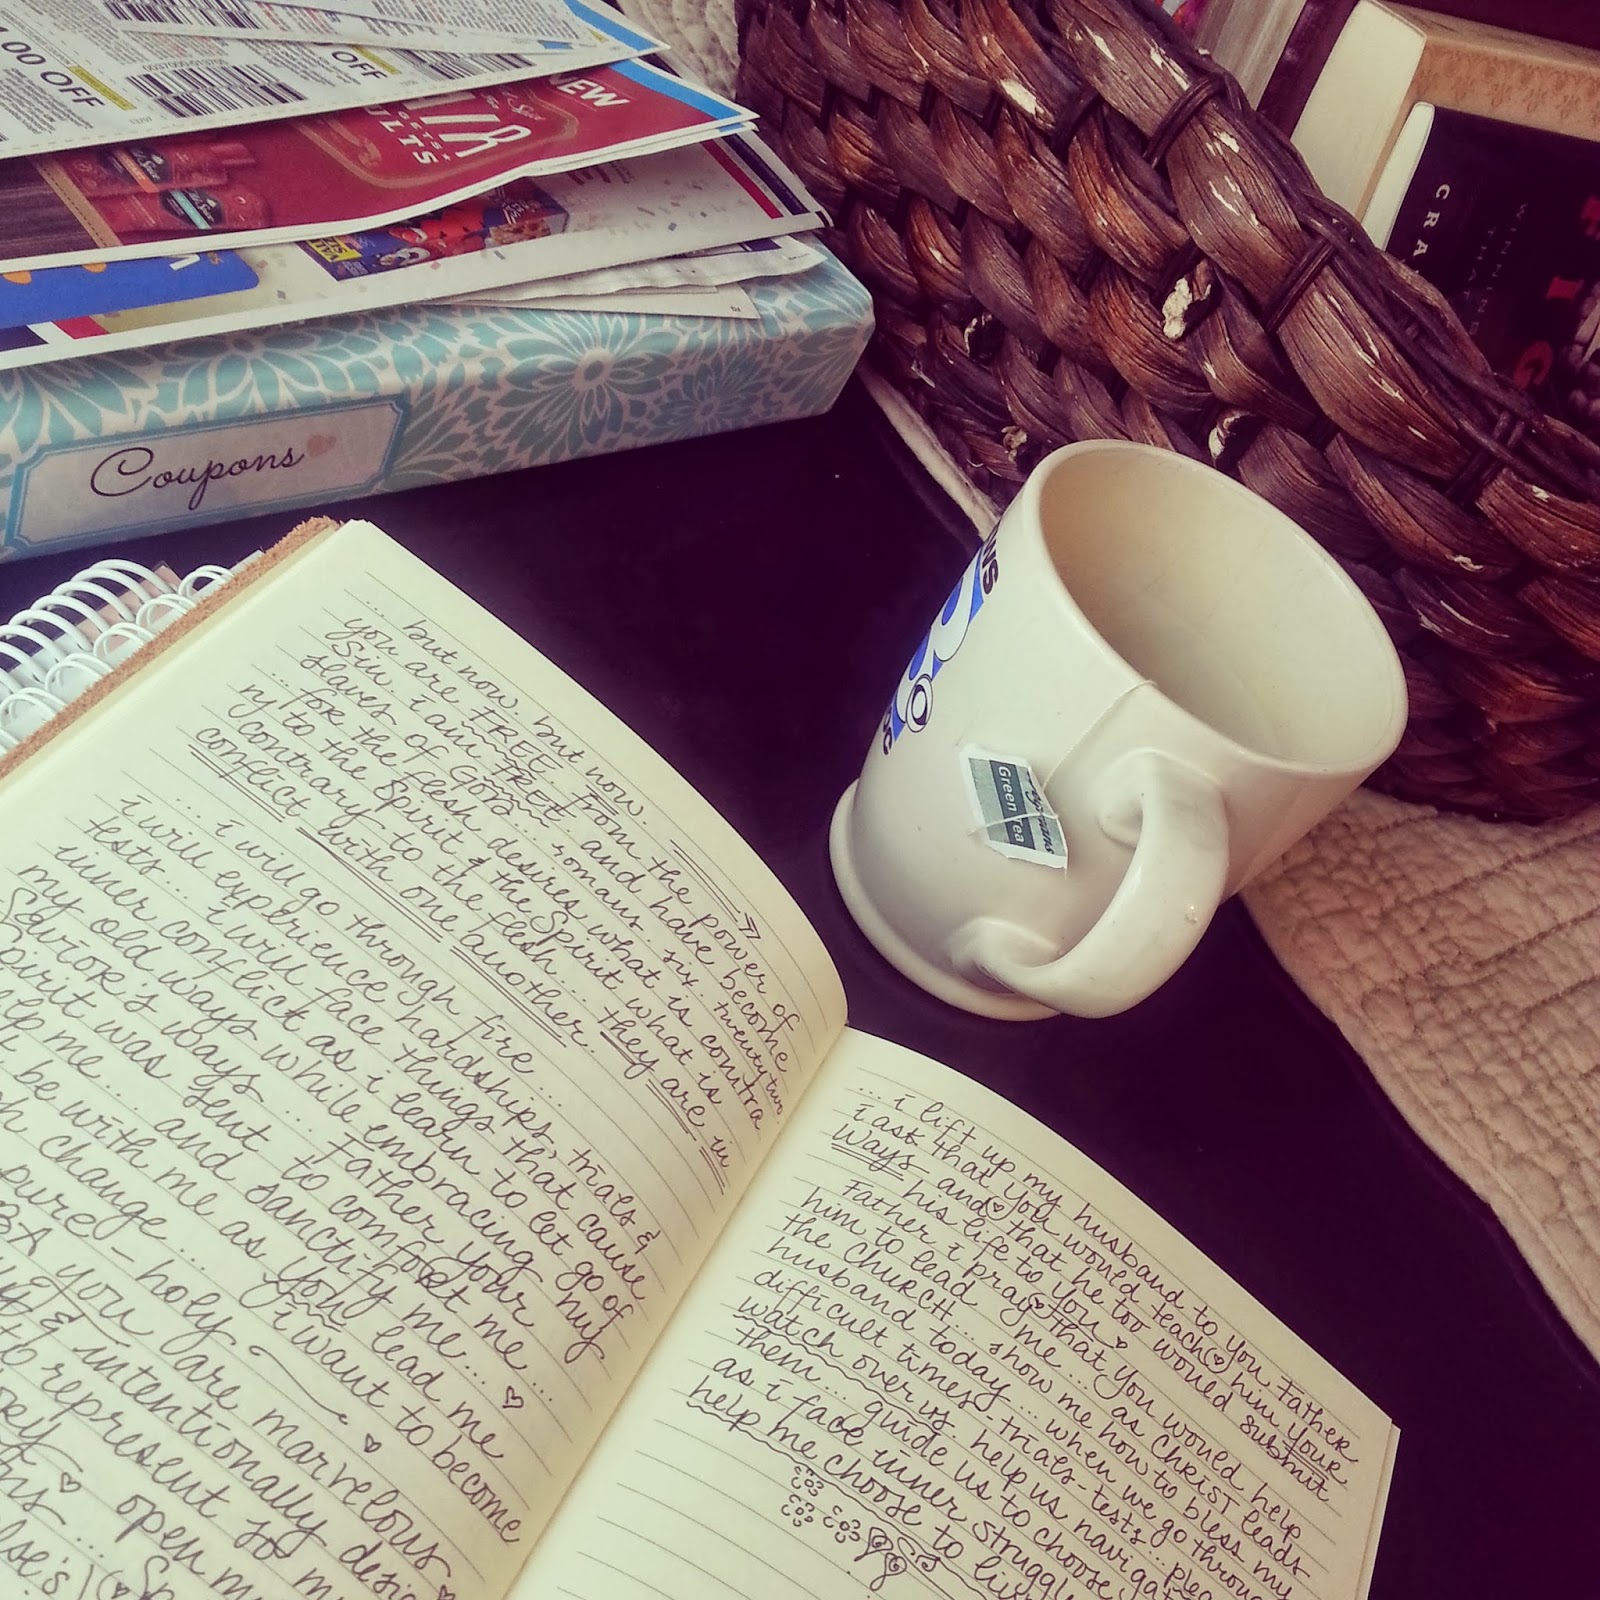
but then there’s this

psalm 139.
it tells me that He made all the delicate, inner parts of my body

    and knit me together … He saw me before I was born.


    Every day of my life was recorded in His book.


Every moment was laid out


    before a single day had passed.

How precious are your thoughts about me O God 
wow.
that’s all.


my first ever craft show!
and it was so so fun! i have a whole bunch of pictures to show
that’ll be for a separate post soon
but that is my hottie back there behind the table 🙂 he helped me set up
manned the cash box and was so supportive of the whole day.
he’s so supportive of anything i dream up really.
and i really love him


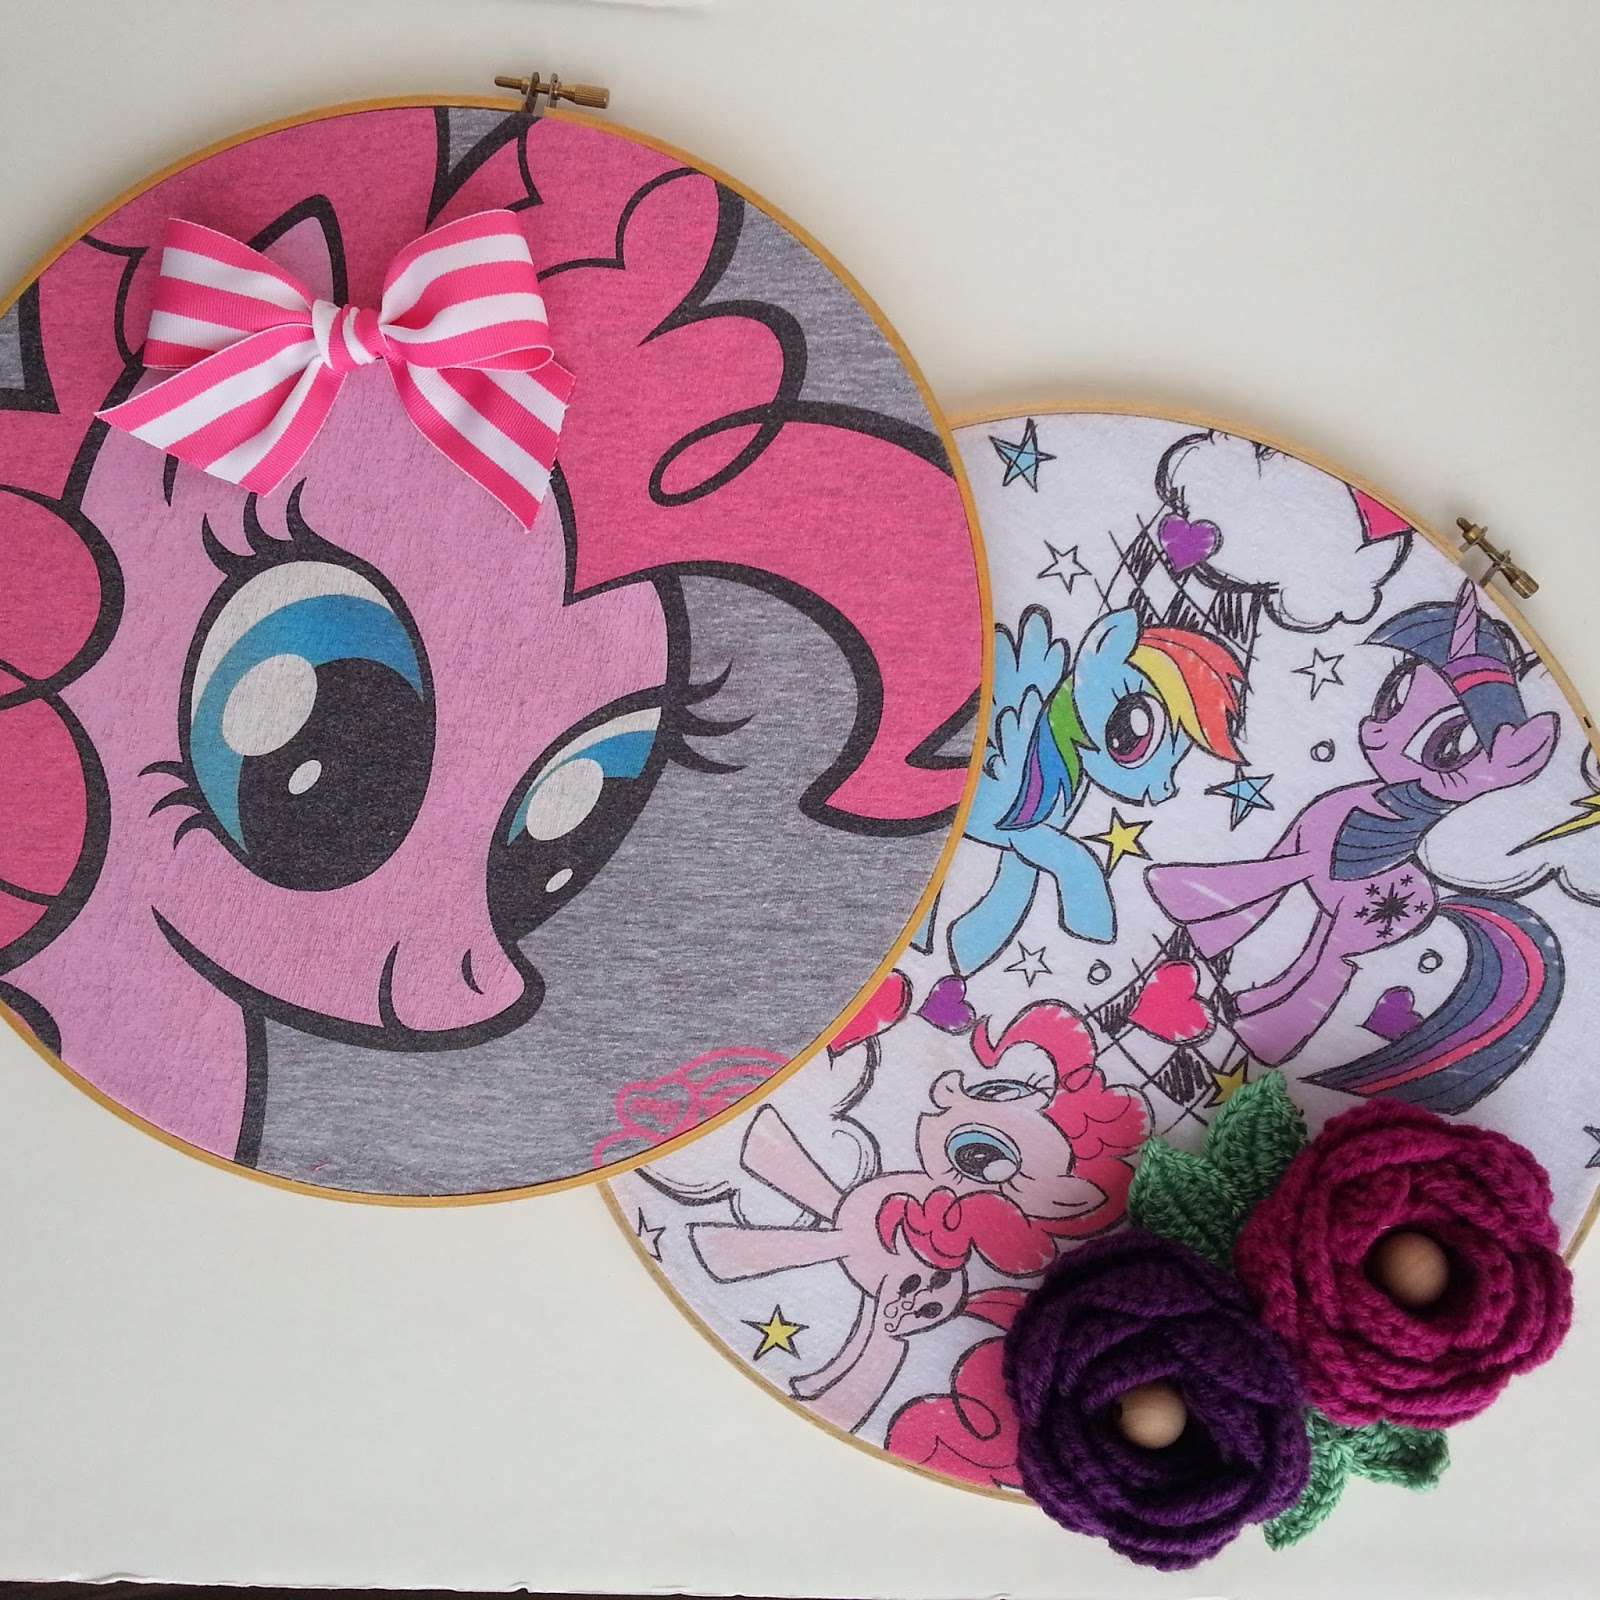
out-grown my little pony shirts turned hoop art 🙂
thinkin of taking some custom orders for this kind of thing
just trying to figure out logistics for it … hmmm


everything’s better in a heart. even marshmallows


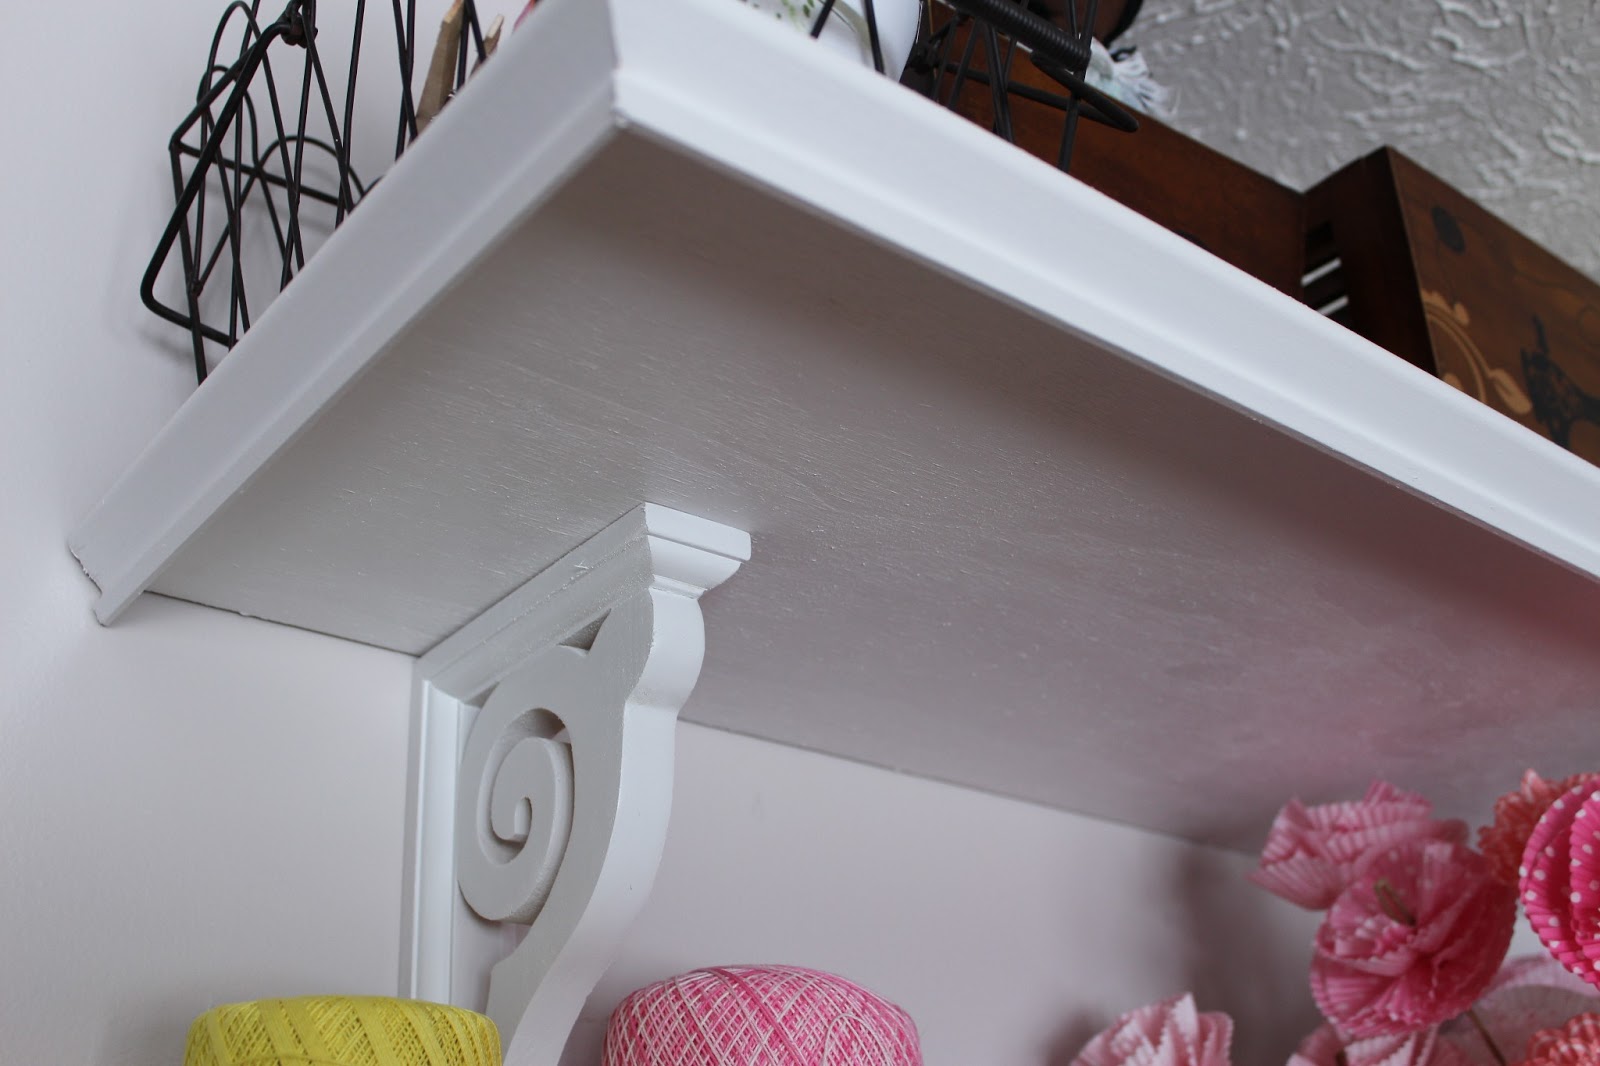
 my studio was all cleaned and ready for craft night. it’s never clean.
like really never.


more wife after God & cute hearts from here


so back to the wreath…
it’s super fun
and it’s winter-ish
but maybe i need to put a spring-ish wreath up now
go away winter.
we’re all set with all your snow n everything
no really. i insist
we’re good

happy weekend guys
linking up here ♥


Uncategorized

diy ♥ my little pony necklaces


yay it’s friday ♥
and it’s almost the weekend
which means we need to make stuff … and valentines day will be here before you know it!
you NEED to put some of these together for all the little girls you happen to know 🙂

i made these last month, 
when i had a little bit of time the week before Christmas to make a few gifts
and my craft night besties and i, have an annual cookie exchange/craft night 
where we exchange not only cookies 🙂 but gifts for each other and for our daughters 
(comin up with crafty gifts for boys seems harder right?)


and to make things a little easier most of our girls are really into my little ponies right now
and um … (clearing throat) so are the mamas. 
(and one dad) (yeah you know who you are one dad) 
loved how simple these necklaces were to put together!
what you’ll need:

– drill
– very tiny drill bit
– 1/2 inch screw eyes
(found these in that isle at Lowes 
where all the washers & screws are in those little drawers)

– ball chains
(from hobby lobby – these were 18 inches)

– and some miniature my little ponies 
(found these at toys r us)


the only thing that you really need to figure out is where to drill the hole for the eye screw
we stood the ponies up since they all have different heights & stances
then drilled a hole on the top of the head where we thought
 they would hang best from the chain without being crooked
make sense?


screw the eye into your hole and that’s it!
it should look like this …


all the little girls loved them!
seriously i’ve considered wearing some … they make me so happy
they’d even be cute layered on top of each other if you make a bunch


twilight sparkle, pinkie pie and applejack
i just love how colorful they all are


and did you know pinkie & AJ are cousins?? yes they are. so my littlest little tells me
helloooo. mom. don’t you know this? it’s important stuff
mmkay.


there a few of these  in my etsy shop too!
 if you’d rather scoop one up
without all the intimidation from the power tool 
🙂


take a peek at this cute pony house project i made last year too while you’re here 🙂


happy making stuff!
linking up ♥
Uncategorized

laundry canvas hoop art… ♥


was just hangin out on pinterest a few weeks ago
just for a minute 
ya know
in doggie years. not the human kind
so i stumbled upon this wonderful blog & shop 
and found this really cute printable that was an instant download
i love it! how whimsical it is …
i instantly had big plans for this little laundry printable


i went to staples and had the 12×12 size printed onto canvas … 
it was super cheap! like five bucks i think. i was surprised it was that reasonable…
and i scored a huge box of huge embroidery hoops at a huge estate sale over the summer
so with some gray chev, a huge hoop & a cute printable i set to work.
should i say huge again?


i cut & fit the fabric to size with the hoop
did a quick zig zag stitch around the canvas with my machine, 
then lined that baby up in the hoop and stretched it to fit… done!
i did hot glue all around the edges in the back to keep it nice and tight too
i thought some pom pom yarn back & forth across the front would be fun
used hot glue on the ends for that as well (around the side and then glued to the back)


our laundry area is on the landing at the top of the stairs
and there’s no light up there at all, except from what comes in the bedroom windows
so it’s a challenge to get good shots up there


i did get some fun pictures though!
i’ll be back next week to show you the rest of that space
it’s little, but it’s fun … and a lot goes on up there


happy weekend!
Uncategorized

an oldie but goodie … back to school pom pom garland ♥


i’ve gotten a bunch of questions about this apple pompom garland
mainly about where it is on the blog … well it’s here… again 🙂
just in time for the back to school hustle bustle that will fill our days & weeks ahead
i posted this last year, and still love this project … 
i have ideas to change it up to suit other seasons as well 
enjoy! … again!

a few things you need …


pom pom makers are the funnest (not a word i know) things to have
oh i know you don’t need them to make pom poms 
but they make it a little easier 🙂
the medium size was used for these pom poms
they’re made by Clover and we got ours at Joanns and i’ve seen them at Walmart too
they have a few different sizes, one of them is huge
and would make an apple pom pom the size of … well … an apple 🙂
there’s even a heart shaped pom pom maker! can you imagine??
(not ’cause i like hearts or anything)
(♥)

since the instructions on the back of the package are basic
i thought i’d give you a few pictures of the process

first wind the yarn of your choice around both sections of the pom pom device 🙂
don’t worry about the ends, they will blend in when you trim at the end

close both ends together and then cut with sharp pointed scissors 
through the thickness of the yarn
take a separate piece of yarn and wrap it around the groove that is now exposed
loop the ends through each other a few times to make sure the pom pom doesn’t get loose
open both ends and open up the pom pom maker
pom poms! make lots now 🙂
they will need some trimming to give them a round shape
don’t worry, it’s hard to mess this up 
(unless you’re blind folded 🙂
all done … fun! now let’s make garland

to make the stems use wire snips to cut the pencils
(you can still use the bottom of the pencils
you just can’t make any mistakes when you write with them 🙂

cut some leaves out of green felt
hot glue the pencil tops & the leaves inside the pom pom 
pressing the yarn around it to hide the base
to string them, i used jute that was a more on the stiff side 
(from the jewlery section at the craft store)
just so the apples wouldn’t be top heavy and slouch over
hot glue the jute onto the backside of the pencil more towards the base
you want the apple to hang from the pencil not the pom pom
you can cut strips of felt or material to tie between the apples
these polka dot scraps were leftover from the pony houses i made here 🙂

hang it somewhere and enjoy the cuteness ♥

linking up here ♥ :

linking up here:
Uncategorized

paperclip & pompom bookmarks … ♥


happy friday guys!
just wanted to pop in with this project that i shared a few weeks ago as a guest post
here’s the full post for you, just in time for back to school book-reading 
… or maybe even teacher gifts?!

if you’re new around these parts, you might not know my girls love to craft with me
and summertime is prime craftin’ time at our casa… 
the girls have recently put their pompom makers to good use!
meaning we have pompoms kinda layin around everywhere.  
to see a little tutorial on how to make your own with the clover pompom maker 
click over here real quick 🙂  
it’s a great way to use up itty bitty balls of scrap yarn too!


with pompoms a plenty we decided to do something crazy & wild … 
and make bookmarks. ok, not so crazy, 
but perfect for summer, when books & kids go hand in hand.
once the poms are finished, you’ll end up with a tail of yarn, 
just right for tying onto paperclips.  
we got all rainbow crazy and matched our colors up.


Just make sure you’re tying the yarn to the right end of the clip 
and then go ahead and double tie … maybe even triple tie.  
The pom will slide on the paperclip but won’t be goin’ anywhere.


now the super fun part … make tons.  
and they are addicting, so watch out! maybe even put them in a little jar, 
with a stack of yard sale books for a birthday gift idea?
now that would be awesome.

now what teacher wouldn’t love a stack of books just like this
with pompoms sticking out of the tops? so so fun 🙂

here’s another fun back to school craft we did last year…

i personally am still stuck in summer mode … 
hey, we’re just breaking the half-way mark around these parts
Happy Crafting!

linking up here:
Uncategorized

dress up dolly kit … ♥


my littlest little had a birthday party to go to last week
this is our favorite go-to gift for a little girl (or even an older girl)
both my girls have a lot of fun when they get out the scrap bin in my craft room 
and start dressing up these dolls (there is a boy doll and a poodle… and a kitty too 🙂


print out the paper dolls from here
so gracious of her to share with everyone! love that … thank you 🙂
she already had the idea to put the dolls printed out in a little suitcase
with some supplies for gifting


we went to joanns and found this stack-able three-compartment tote
perfect for what we wanted to put in it


the three sections come apart and then snap back together
we put markers for coloring, scissors and glue in the top section


itty bitty yarn skeins (also from joanns) felt & ribbon scraps
and a couple little baggies filled with buttons & pompoms ♥


the bottom section had the dolls (which we cut down so they would fit)
and all the fabric remnants for making their clothes


my daughter made an “example dolly” to stick in there too 
so her buddy would know what to do 🙂


every-time they make one of these kits, they usually spend the next few days 
going back to the bin and making another batch of their own 🙂


summer is officially here …
we’re craftin – watchin tv – playing outside 
and roastin marshmallows over daddy’s new fire pit 🙂
wish summer could stay forever. ♥
(the little dress tags can be found in my shop … right here 🙂
linking up here:

Uncategorized

a zipper bracelet tutorial … ♥

Mother’s Day always sneaks up on me 🙂
it’s almost here, and i have a great handmade gift idea to share with you!

all week long, myself & the nine other bloggers, are sharing handmade gift ideas
that will make your mom, or any mom, feel super special ♥
yesterday Megan from the Remodeled Life shared the how-to 
for a pretty silhouette necklace …
and i want to show you how to make one of these funky fun zipper bracelets
kay? let’s make stuff!


you’ll need: 
7 inch separating zippers ~ charms – beads
20 gauge jewelry wire ~ lobster clasps
and some jewelry pliers
this is really the only tricky part …
using a drill with a small bit attached,
drill a hole through the clamp at the base of the zipper
(slowly & carefully 🙂

using the pliers, i separated the jump ring,
added the lobster clasp and attached it to the the base of the zipper
(where we drilled the hole 🙂
with scissors, trim down both sides of the zipper close to the teeth, 
while leaving a bit of the colored edge
to keep the edges from fraying i used the flame from a small candle 
to heat & seal the edges of the zipper 
(it will also burn off any stray pieces that are left after cutting)
now time to embellish!
i added a few charms and beads to the same ring that holds the clasp 
i really don’t make jewlery all that often, so i just went with it! 
and tried different things until i found a combination i liked…
it’s fun to experiment
🙂
once all the pieces are attached … wrap it up in a pretty box and it’s all set for mom!
(then maybe make one for yourself too 🙂
will be sharing another project tomorrow
be sure to hop on over and pay her a visit!
 happy crafting!

linking up here:
Uncategorized

vintage bluebird mason jar labels … ♥


it’s a brand new week ♥
let’s start it off with something vintage and something blue
(oh and let’s not forget the cute part 🙂

has been cranking out these super cute digital images lately 
… these bluebird labels come in pink & in blue! 
she sells them here in her shop


just mason jars & magnetic sheets is what you’ll need to have fun with these
(or even printing on paper would work well) 
these blue jars are the revived vintage edition from Ball
i spotted them at my local grocery store
i’m not sure how long they’ll be around!


follow the directions for printing
cut them out…


then pop them into the lids … i like the magnetic sheets 
because they stick to the top of the lid when it’s opened 🙂


i used a skinny Sharpie to write on the labels


add some bakers twine, and this becomes a great gift idea!
how fun would it be to receive a wooden crate with these inside 
filled with craft supplies?!


thanks Keren for all the pretty pictures you make for us!
happy crafting ♥
linking up to some sweet parties…

Uncategorized

crocheted edging pattern … ♥


hope you’re all having a wonderful week so far 🙂
i’ve been all over the house these past few weeks
the basement, master bed and my craft room
(still working on my kitchen too!)

my craft space got a little outta hand over the holidays
when creating & packing product for the shop was a priority
now, the aftermath of that has been lingering 
so things are getting moved around, sorted into different bins
or just plain thrown out.


i’ve also been wanting to add a little somthin’ somethin’ to the shelves over the sewing desk
and as you can see there is a little bit of an overhang, 
perfect for two-way tape, thumb tacks and something cute ♥


i thought i’d share the pattern with you
it requires basic crochet stitches (so if you’re a newbie, you can do this!)


To start your foundation chain, measure the length of your shelves 
(or whatever else you want to apply this to! 🙂
Crochet Edging Pattern

using a G hook


and some of Martha Stewart’s Extra Soft Wool Blend yarn in Buttermilk


Chain the length of your measurement, then turn.


♥ Row 1

dc in second chain from hook

*repeat to the end of the row*

♥ Row 2 

ch 3, turn

skip first stitch (from previous row)
dc in next stitch
ch 1

*repeat to the end of the row*

♥ Row 3  

ch 1, turn

hdc in second chain from hook

dc in next stitch

3 trbl (together) in next stitch

dc in next stitch

hdc in next stitch

slip stitch in next stitch

*repeat to the end of the row*

tie off  & weave in loose ends


here are some close-up’s!
i really like how it turned out
i used some double sided adhesive to hang the trim on the inside of the rim


the next morning i came downstairs to find the edging all over the floor…
two-way tape is good, but not good enough
just pop a few flat thumb tacks along the inside every few inches or so
(or hot glue for something a little more permanent)


just a simple little thing can make a big difference
isn’t she purdy?? :):)


this is the best room to organize & clean
everything is so bright & colorful, it’s hard not to get excited about making stuff!

as you can see though …
this room was anything but clean at the time of these pictures 🙂


now go ahead and make some trim!
for a window, a little table or desk… maybe even a lampshade!
oooh, the possibilities 🙂


happy crafting ♥
sweet parties here: