Uncategorized

friendship pins


summer is coming to a close around here and we’re soaking up the last of it
we spent alot of time in the kitchen baking goodies & making crafts this summer
these friendship pins were probably one of our favorite projects


you can make your own with some seed beads and a few different sizes of safety pins
we purchased both at Joanns & Michaels


with a quick search on pinterest, we found a bunch of pin “patterns”
flags, animals and lots of other things! 
you can find my “summer” board here where i pinned a bunch of them


 it’s a little bit of trial & error, but once you start making them it’s addicting!


my younger daughter ended up finding an empty bead box in my craft room and started to use some of her spending money on more supplies ha! 


her box ended up filling up pretty fast and her little fingers were working even faster!


some of the bigger beads were surplus from my supplies (mostly found on etsy) 
& she had some of the character charms in her rainbow loom stash.


we found these canvas sneakers at five below for only $5 
and she added puff paint polka dots to the front of the sneakers 


for the hanging pin designs like the flag one – we found out how to slide the hanging pins through the loop of the main pin – just think of it like a key ring – use a small pliers or even a thumb tack to open up a little bit of space in the ring to get started – once one pin is in the opening it’s easy to slide the rest through


once all the hanging pins are on the opposite side of the closure side you can pin it to anything you want – shoelaces, jacket lapels or backpacks!


she even made some friendship pin earrings! so fun ♥


if my feet were small enough
 i’d be borrowing these happy rainbow shoes from my daughter’s closet fo sho 🙂


happy crafting!
Uncategorized

yarn wrapped fall wreath ♥

i love fall in upstate
it’s so pretty here
and the donuts and cider are everyyyyywherrrrre.
yum


i always get an itch to make a new wreath in the fall
and when i accidentally stumbled upon this beaaauuuutifuuul yarn in michaels last week
(i was looking for another type of yarn that i can’t find anywhere)
i knew i had to make something out of it


guys. this yarn is plush
it’s so soft and luxurious
i’m wondering now if there was other variations and i missed them because i was mesmerized with this one. 

i picked up a styrofoam wreath form on the way out in isle 9
(just kidding i’m not really sure which isle the wreath forms were in but nine sounded good)
and wrapped it around and around and around
do this step while Jimmy Fallon is on – doing his Donald Trump impersonations
 it goes faster if you are watching Jimmy Fallon


you can use hot glue to secure the ends onto the styro
in my case i was upstairs on my bed (watching Jimmy Fallon)
and i was too lazy to plug in my glue gun
so sewing pins work great too!


added a little Martha metallic paint to all the tips of a package of white feathers (from michaels too)
(ps i love Martha’s paint. it has the best thickness and THE BEST colors)
(cause well duh. she’s Martha)


i used pins to secure the feathers (or again hot glue would’ve worked great) starting near the bottom and working my way up towards the side
i dug through my ribbon stash and used some navy satin ribbon to wrap a sort of “cuff” around the one side hiding the feather tips that were left showing at the top


and that’s it! are you gonna make one?!
so easy. so fun

wreath. check
mums. check
pumpkins. check

i think my front porch is ready for fall!


Uncategorized

rainbow pinwheel wreath!

hi all!
we’re back from a wonderful vacation, and boy.
it sure is hard to face reality when sleeping in and krispy kreme donuts for breakfast at 12:30 in the afternoon was life for two weeks. yikes.
so we’re trying to settle into a summer routine, it’s been a little tough so far this week but we’re striving for progress not perfection. and not staying in pj’s and watching tv all day is making progress. ha. my shop is closed for the summer leaving me SO much free time to do crafts with my girls, fun projects around the house, bike rides etc.
and project life! i’ve been hoarding PL supplies for about 3 years now and haven’t touched one album.
so i’m going to be working on that this summer too. any PL people out there? any tips for getting started? i want to keep it simple. i’m not a simple person and that’s what keeps me from getting disciplined activites like project life done and kept up with. so i need to make it uncomplicated! 
anyways… back to this wreath 🙂
i found these ginormous rainbow pinwheels last month when we went into 5below and they had my name written all over them. i bought 6 and decided to try making a wreath with them somehow, and it was really simple actually
supplies you’ll need // styrofoam wreath form ( i got the largest one i could find) 
// fabric strips // ribbon for hanging

the little pin the holds the pinwheel together comes apart very easily

and you’re left with just the pin part to push into the styrofoam wreath

i made holes with the pinwheel to kind of get an idea for spacing

i ripped some fabric into a really long strips and wrapped it around the wreath marking with a sharpie where the holes were in the styrofoam

once it’s covered and the holes are marked i snipped little holes in the fabric with really sharp scissors so i could push the pinwheels in easier

that’s it! i put some ribbon around the form and hung it with a command hook
i love our little front porch, my dream home would be in the country (sorta in the country 🙂 it would be white with black shutters with a wrap around front porch, rockers, bunting, lights and all … but this little porch makes me happy.
my hubby found these hanging strawberry plants at wegmans and thought we should try them 
they have been SO AWESOME. we pick berries every few days and have them for breakfast or lunch and they’re sweet!

i really really do love summer. i just love it.

the begonias & succulents on the front porch are doing really well this year.
i think i’ll transplant the succulents into the back yard in the fall since they’re perennials.
the begonias were hanging baskets that i got at the market. i transplanted them into my chalkboard pots that i made at least 3 years ago… they’re holding up pretty good and they got nice and chippy.
i found the rocker on the curb probably 5 years ago. it’s seen a lot of colors and cans of spray paint. i love making something out of old things people just don’t want to bother with anymore.
much love to you and happy beautiful summer days!

Uncategorized

Christmas card caddy ♥


i’m determined to get Christmas cards out this year.
de. ter. mined.

so when i saw this idea while reading one of my favorite blogs
i knew this would be the cute project incentive to get me going and keep me focused on getting those envelopes addressed. sounds so sad i know.


i got the silverware tray at target and the pulls & screws at Lowes (like she did i think)
the instructions are all on Jen’s blog … except i think a glue gun was used to attach the handles… but i had the hubs drill two holes on each end for the drawer pulls and used the screw size pictured to secure them. all screws have different thread sizes, so just make sure you buy the right thread size for whichever drawer pulls you pick out. (the nice man at Lowe’s helped me figure that part out)

i haven’t decided if i want to paint it yet.
(i know my husband will have to pick himself up off the floor after reading that)
(#paintallthethings)

or maybe decorate it? hmmm…


or maybe just leave it alone for pete’s sakes.
just leave something alone for once jaime.


it’s not like there’s tons of cute stuff in it anyways … 
that it would make it overkill or anything 
🙂


are all your decs up already?? only our tree is up … which is not good
i’m very very behind.
and i have a long list of projects, crafts and baking to do
and gifts to buy … sigh. gifts … yes lots of things to do
go to target today and get the stuff to make this caddy
it’ll make you smile.


oh and check out my previous years Christmas projects!
i forgot about some of these! cute!


Uncategorized

a little shop update ♥ stitch the states US map pattern


summer’s officially over here.
sad.
but some happy news!
that pattern i talked about a bunch of weeks ago??
that giant US map pattern??
i finally finished it and it’s listed 
as in as soon as you purchase it, you download it, you print it and you start! 
yay no waiting!


i’ve had a few questions about the pattern and some how-to’s once it’s downloaded …

this pattern is only for the outline of the map and each individual state just like the picture, and it’s to be made as you would make a counted cross-stitch. the actual stitch you are using is called a back stitch 
… it’s really simple.


i recommend making it on 14 count Aida cross-stitch material, that can be purchased at most craft stores. you can make it on smaller or larger count fabrics, but i cannot tell you what the dimensions would be (smaller count would actually make the finished piece bigger – larger count would make it smaller, think opposite) the finished piece on 14 count fabric is approx. 14″ wide x 10″ high and fits nicely into a large oval quilting hoop (that can be found in the quilting section at joanns)

as fas as how to “fill in” the states, that’s completely up to you… get creative!!
i filled them in using a simple straight stitch all the way across from one end to the other over & over until i got to the bottom of each state, that’s it. 

or you could could fill them in with just regular cross-stitch

the floss i used is called variegated pearl cottom floss by DMC that i also found at Joanns.
the DMC website has a color chart and a really cool video on how this specific floss is made in France, it’s pretty cool … but that has nothing to do with the pattern 🙂
just sayin. if you’re bored. an wanna watch it.


the pattern is also very large so it’s easier to see.
it’s spread out over 9 pages of counted cross stitch graph paper. once printed all nine pieces can be pieced together to get an idea of the layout… the arrows on the pattern make it easy to keep stitching when moving onto the next page while working on your canvas.


i think that’s it!
if you think of any other questions please feel free to leave them in the comments below 
and i’ll answer them as best i can! 

find me (@raisinguprubies) on instagram and you can keep up with my progress too!
and be sure to share your ig photos with me by using the #stitchingthestates hashtag!
hurry get started now! can’t wait to see all your work!

Uncategorized

rainbow button bracelet ♥


it’s so sad to see people starting school already!
and i always feel about a month behind in the blogging/social media world during end of school & beginning of school time. we’re still right in the middle of summer! we still have another full month of swimming, crafting, eating, pj’s and sleeping in … 
and really … what else is there?


my older daughter found this project sheet at joanns last week. 
(not cause we’re there a lot or anything) and she was excited to make it.
and you need to make one too … or your daughter does, sister, niece whoever. just make one. 
it’s super cute. and rainbowtized. so you’ll need a few things which are listed on the back of the project sheet but we hit a few little road bumps along the way, so what we ended up buying (a few returns later) is on this list right here…

the project sheet said to buy jewelry chain that you could cut into a bracelet and attach a lobster clasp to, but we just bought a pre-made bracelet in the jewelry section right there next to the chains … if you have a larger or smaller rist you might prefer to buy the chain so you can size it to your specifications … the premade one fit my daughter just fine, and fit me as well.


 … the project sheet said you needed random assorted buttons… but the 10mm jump rings did not fit into any random assorted buttons that i have. and believe me. i have a lot of them. so i headed back to joanns to try to find the buttons that were pictured on the instruction sheet ….  they were these pictured below in little candy store type containers … now the only thing was each container had just one color in it … all different shades, but in one color.
 (and there was no multi-color container option) a sign above me that said “50% off all buttons” caught my eye and i smiled.


a container of each color ended up being only three dollars or so and i think i bought 6 colors.
aaaaaand i had a 20% off your total purchase coupon. 
score. 
all six containers ended up costing $14 and some change … 
regular price would’ve been close to $40 with tax! that’s why i love joanns 🙂
the button container was a must since i knew she would want something to store all the buttons in … 
and i figured she’d make a few more bracelets for some of her friends. 
and really it was just cute. so i bought it.


start by adding the smaller jump rings to the bracelet in whatever color order your little heart desires. use the pliers to open the ring and then close it once it’s on the bracelet.
she spaced her rings into every other link going in rainbow color order.


once you add the small ones, you can add the buttons to the larger jump rings and then attach the larger jump rings to the small jump rings, keeping them all color coordinated


there were no yellow jump rings in the assorted color packages in either size, 
so we used gold for the yellow & orange buttons


once they’re all added that’s it. done!


this girl is so much like me… and in so many ways so different than me
she’s growing up so fast. it feels like two days ago she went to kindergarten. it’s sad in a way … that people always say not to rush, to enjoy your kids because time will fly by. i always laughed and shook my head in agreement when i heard an older person say that. never really thought much about it…. until this past year.
i’m thinking a lot about it…


she loves crafts and baking … and fishing and bugs … oh and cars. 
yeah that’s a thing her and her daddy got goin on. 
cause mommy doesn’t care about cars … or fishing. (or bugs) 


happy middle of the week ♥

linking up here!

Uncategorized

gold striped mason jar caddy ♥


nothing earth-shattering … just a little idea here for ya 
i had this caddy on my kitchen counter, it held four plain glass mason jars with all of our silverware in them.  i think i got it at Walmart last year in the same section as the canning jars but i cannot remember the brand that makes it … sorry!
i’d been wanting to do something fun to the caddy and the jars for a while but just couldn’t decide what.
since there’s lots of color in my kitchen, i wanted to do something different … a little more on the neutral side

i found this project here … and knew what i wanted to do!
especially since i had just brought 2 cans of shiny metallic gold spray paint 
home with me from home depot for a different project.
i gave the jars a quick coat of flat white spray paint first
then taped them off with painter’s tape just like she did.


i couldn’t decide whether to leave them clean & crisp or rough & sanded
a quick poll on instagram still had me undecided … 


but i think most people liked the sanded ones better
and since i’m more into the chippy not perfect look right now i went ahead and gave them a light sand … sprayed the caddy white too, and done! 


our silverware has a pretty new home and my kitchen has a pop of gold
i have a few other little ideas for the kitchen i want to tackle too … 
that might involve gold polka dot burlap of course 🙂


happy new week!
linking up here:

Uncategorized

our front porch and a summer wreath ♥


we’ve had the most beautiful weather here in upstate the past few weeks
mid 70’s and breezy … flowers everywhere. gorgeous.
it sorta almost makes up for the horrible winters we have
including this past never ending one.


i kinda skipped my spring wreath and went right into making one for summer
to make your own you’ll need just a few things…
a styrofoam wreath, some fabric cut or ripped into long 1-2 inch wide strips, 
hot glue and some pretty paper


i followed LollyJane’s tutorial here for the paper pinwheels
wrapped the foam wreath with the fabric, secured with hot glue and added the pinwheels
that’s it!
oh and a few cute buttons 🙂


found these colored mason jar planters at the Christmas tree shoppe
and spruced up the front porch a little bit


Memorial day weekend is usually when the danger of frost here has officially passed
so i was happy to add some color to the front of our home


the wicker rocker was a curb side rescue a few summers ago
it’s been a lot of different colors … last year it got a coat of mint green
i like it still.
thinkin maybe coral next? or maybe white. i love white.


a few coats of spray paint to some old flower pots i found in the garage
were all these pretty plants needed


who doesn’t love daisies?
they’re the cutest.


the sign used to be an old mirror
i sprayed the mirror with chalkboard spray paint from joanns
then taped & covered the chalkboard part and sprayed the frame 


it’s gonna be a beautiful weekend here … what are you guys up to??
crafting? yard work? hot dogs & smores??


yes please. all of the above.
♥ much love

linking up here ♥


Uncategorized

pompom fairy garland … ♥

Last week my littlest little was home sick, so we pulled an all day movie marathon …
a Tinkerbell movie marathon that is.  So after watching Frozen (a million-gazillion times) and seeing the previews for the new Tinkerbell movie, we decided to craft up some cute fairies to hang in her room in anticipation of it’s release in a few weeks.
To make this garland, you’ll need just a few things …

cute yarn for pom poms – wooden peg dolls – felt – craft paint
hot glue – twine, jute or ribbon


So let’s start! First get all your pieces for this craft prepared.
Paint the dolls, make lots of pom poms and cut out the wings.
My hubby used a chop saw to shorten the dolls a bit, but you can use them as is.
Just use some craft paint to paint the bodies & the hair … 
I decided to make her look Tinkerbell-ish, 
but you could use any color paint for the hair or even some yarn.


To make the pom poms i have this handy dandy tool,  that can be found at any craft store.
To see a full tutorial on how to use the pom pom maker click over to this post.
Another way to make pom poms without the tool can be found here.


Next draw some wings onto cardstock, then trace them on the felt and cut.


Then I cut a small piece of twine, and hot glued it between the wings and the peg doll.


That’s it! 
Now grab a yummy snack, put on a movie and make a bunch more!
so. much. fun.

To string them up, cut a long piece of twine 
and pull it through the loops on the back of the fairies and space them out a bit.


I had one happy little girl on my hands … 
we love the way this turned out! Experiment with colors or even different fabrics for the wings 
… and pom poms are so simple to make even little hands can help.


Even Tinkerbell liked it.
I think.


The all-New Tinker Bell Movie, The Pirate Fairy releases April 1st
you can Own It On Blu-ray™ and Digital HD or watch the trailer & pre-order it here 

can’t wait to watch it!
happy crafting!
Uncategorized

a guest post and free printables from AmyJ ♥

hey all!
just taking bit of a break from all the hustle & bustle of life
between being under the weather 
(let’s not even talk about the never-ending winter 
that seems to be sticking around like i don’t know what)
and just wanting to regroup & restart, a breather is doing me some good.

but today is the best day ever.
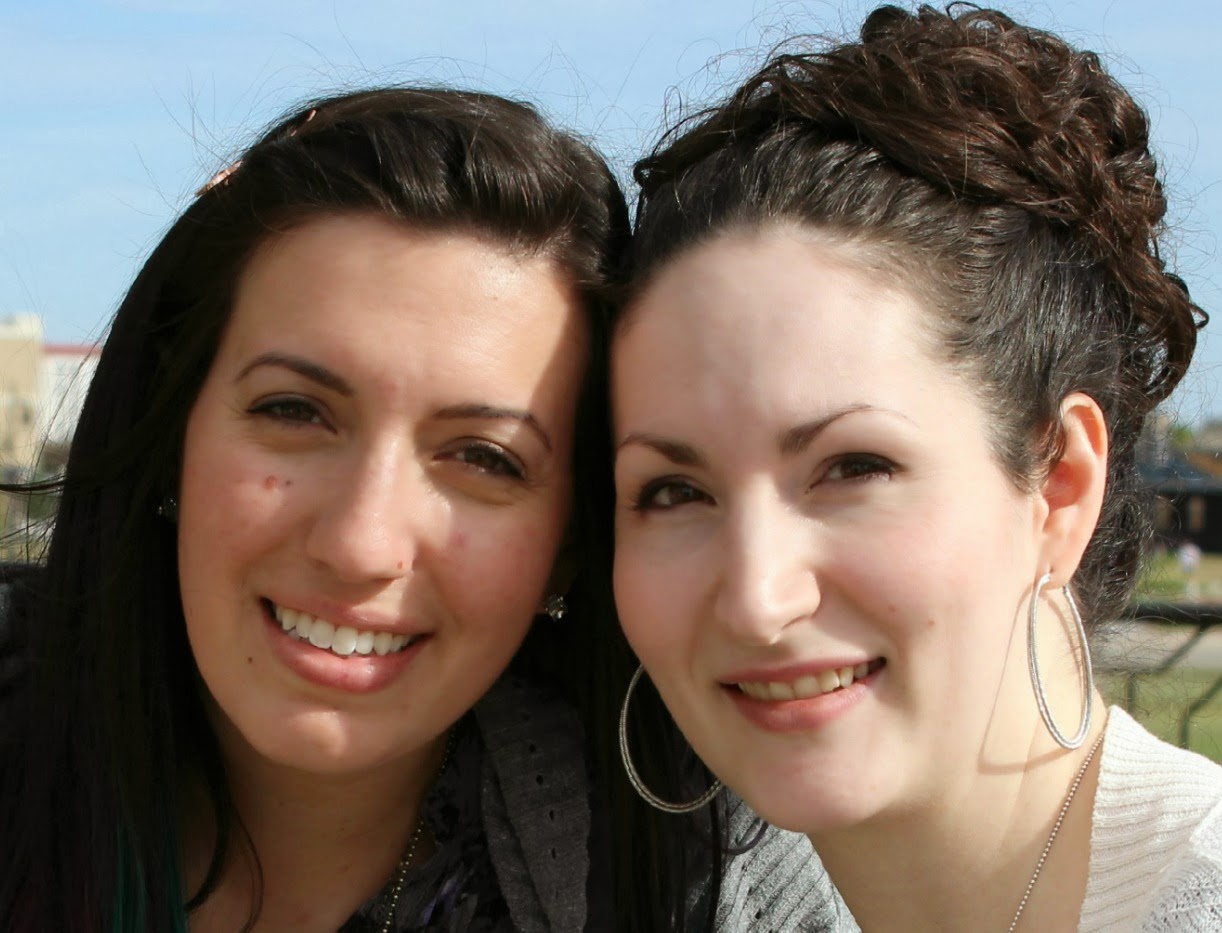
my bloggy (and now real life!) bestie AmyJ. is guest posting here on my little blog.
which is so amazing to me since most of what you see here was designed by her hands
i’m always amazed at how God can take something as little as a blog or instagram or whatever and use it to bond us together with not just people, but kindred spirits.
 that we would have never crossed paths with in the “real” every day of life. 

i’m so blessed by it. i’m so blessed by Amy …
she is open, honest, caring, beautiful (inside & out) and loves Jesus somethin fierce.
 and i’m so excited to show you what she’s been cookin’ up the past few weeks…
when i first read this post i eeeked & squeeeaked the whole way through

grab a cup a somethin and eeek & squeeeak along with me!


Let me introduce myself to you…  I’m wife to a bearded pastor, mamma to 5, illustrator and graphic designer, and Jaime’s bestie!  See Jaime and I share a common creative wavelength… it’s kinda creepy.

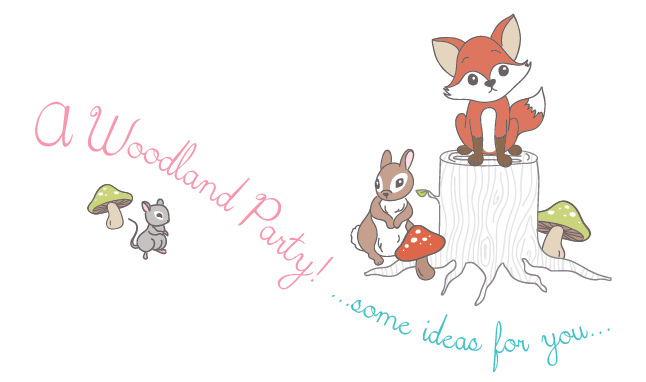
So I wanted to share some party ideas and a couple free printables with you today!

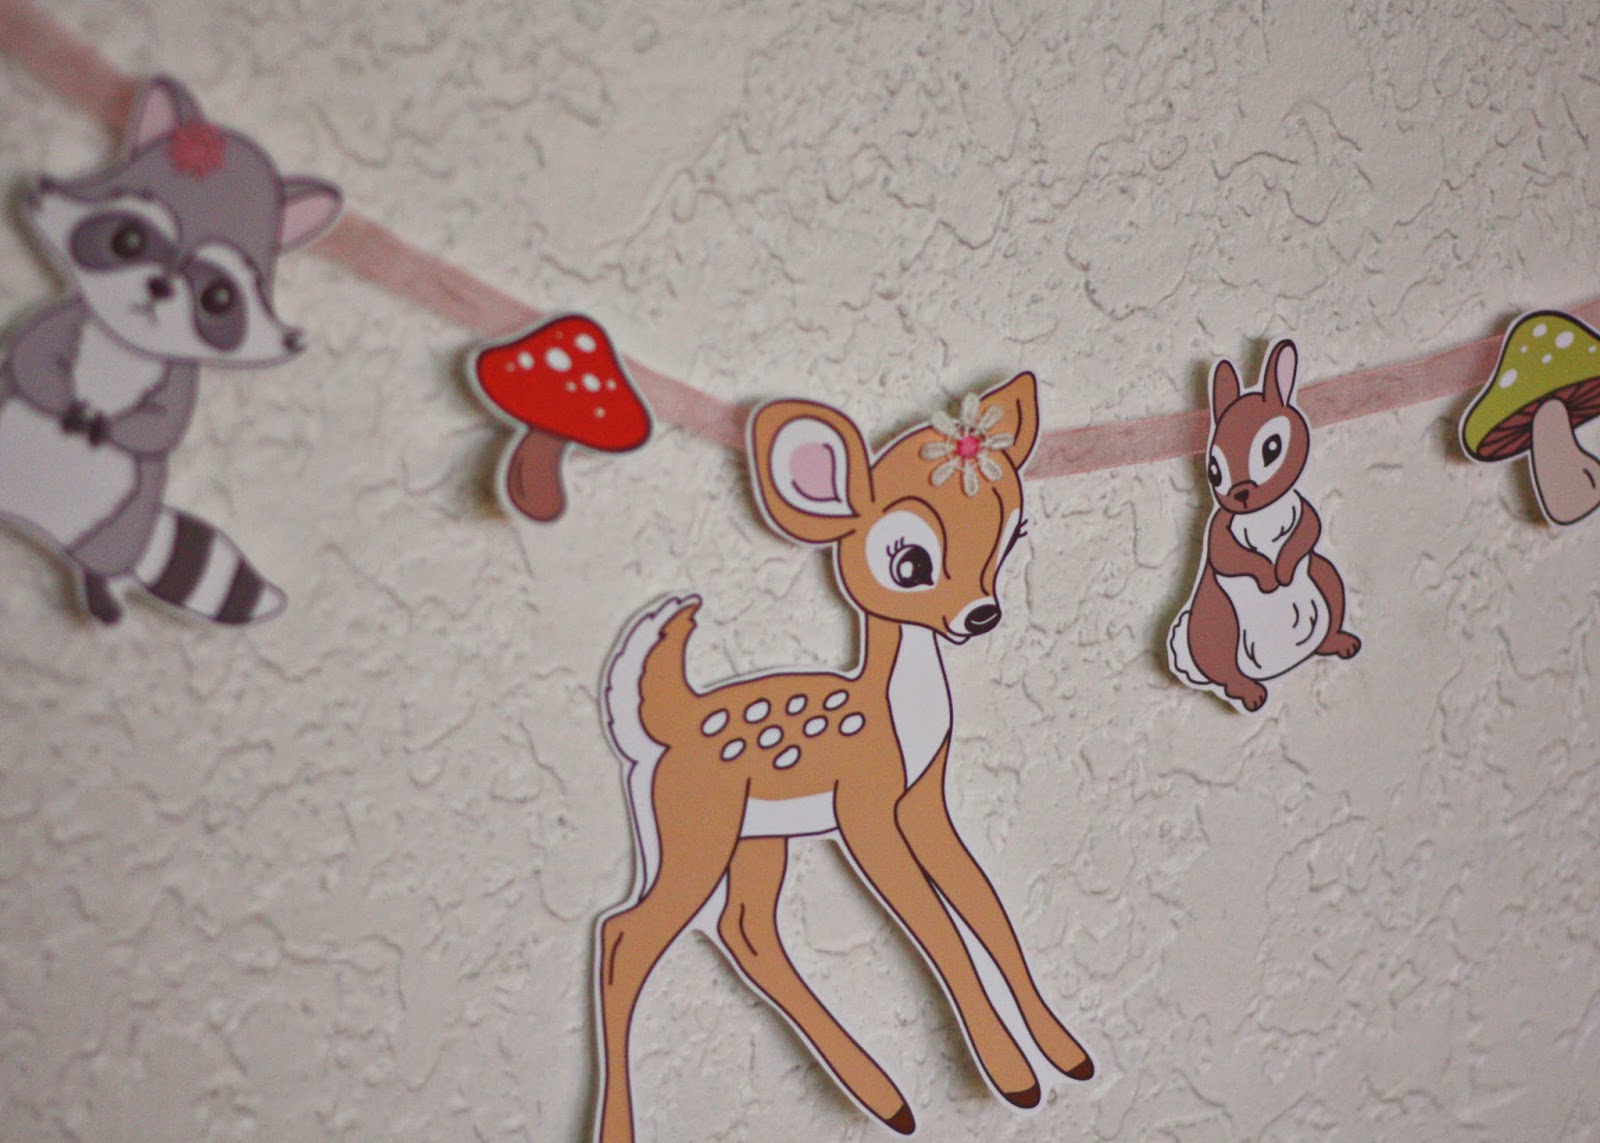
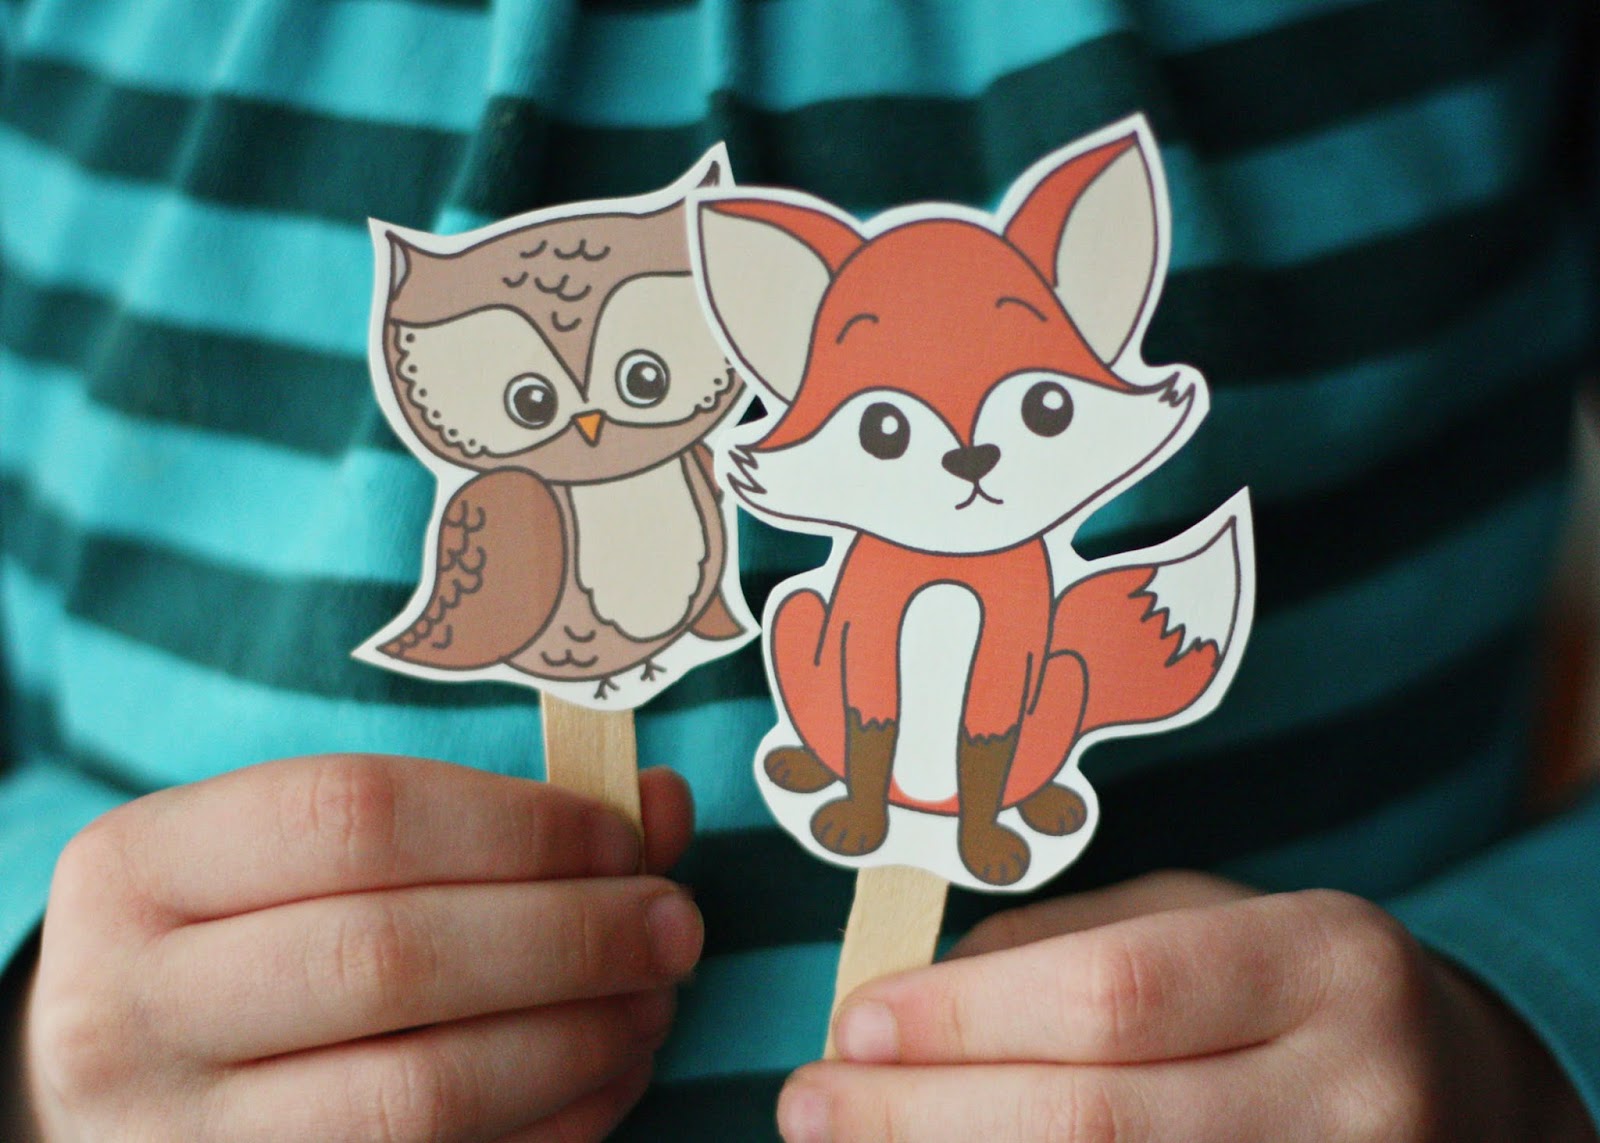
Okay, I have to admit something to you… I was going to show you a garland and some little woodland critter puppets and call it a day.  BUT my hubs was like, “You should do a woodland party! And make cupcakes!”  (I think he just wanted cupcakes.)  And then it kind of exploded.  So some how I ended up doing a full out mock version of a party we are apparently going to have for real in a month for two of my girls.  oy.  But hey!  It was fun and now I don’t have to do all the work in a month!

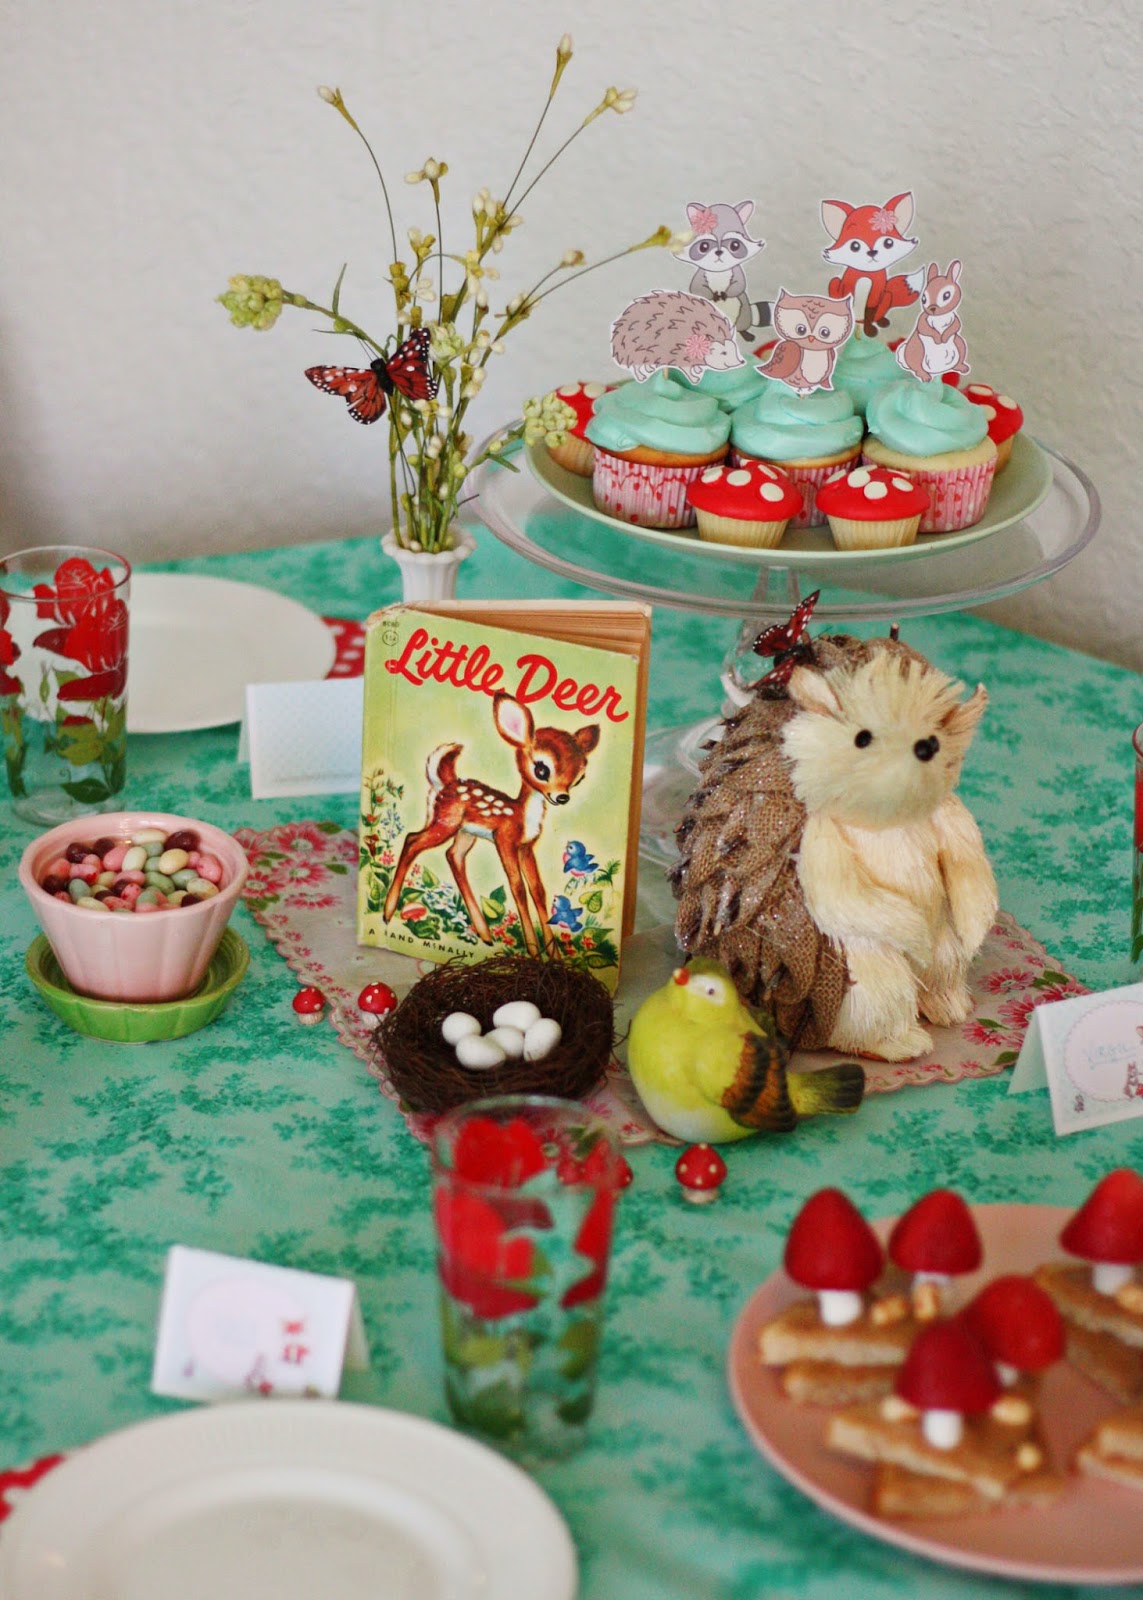
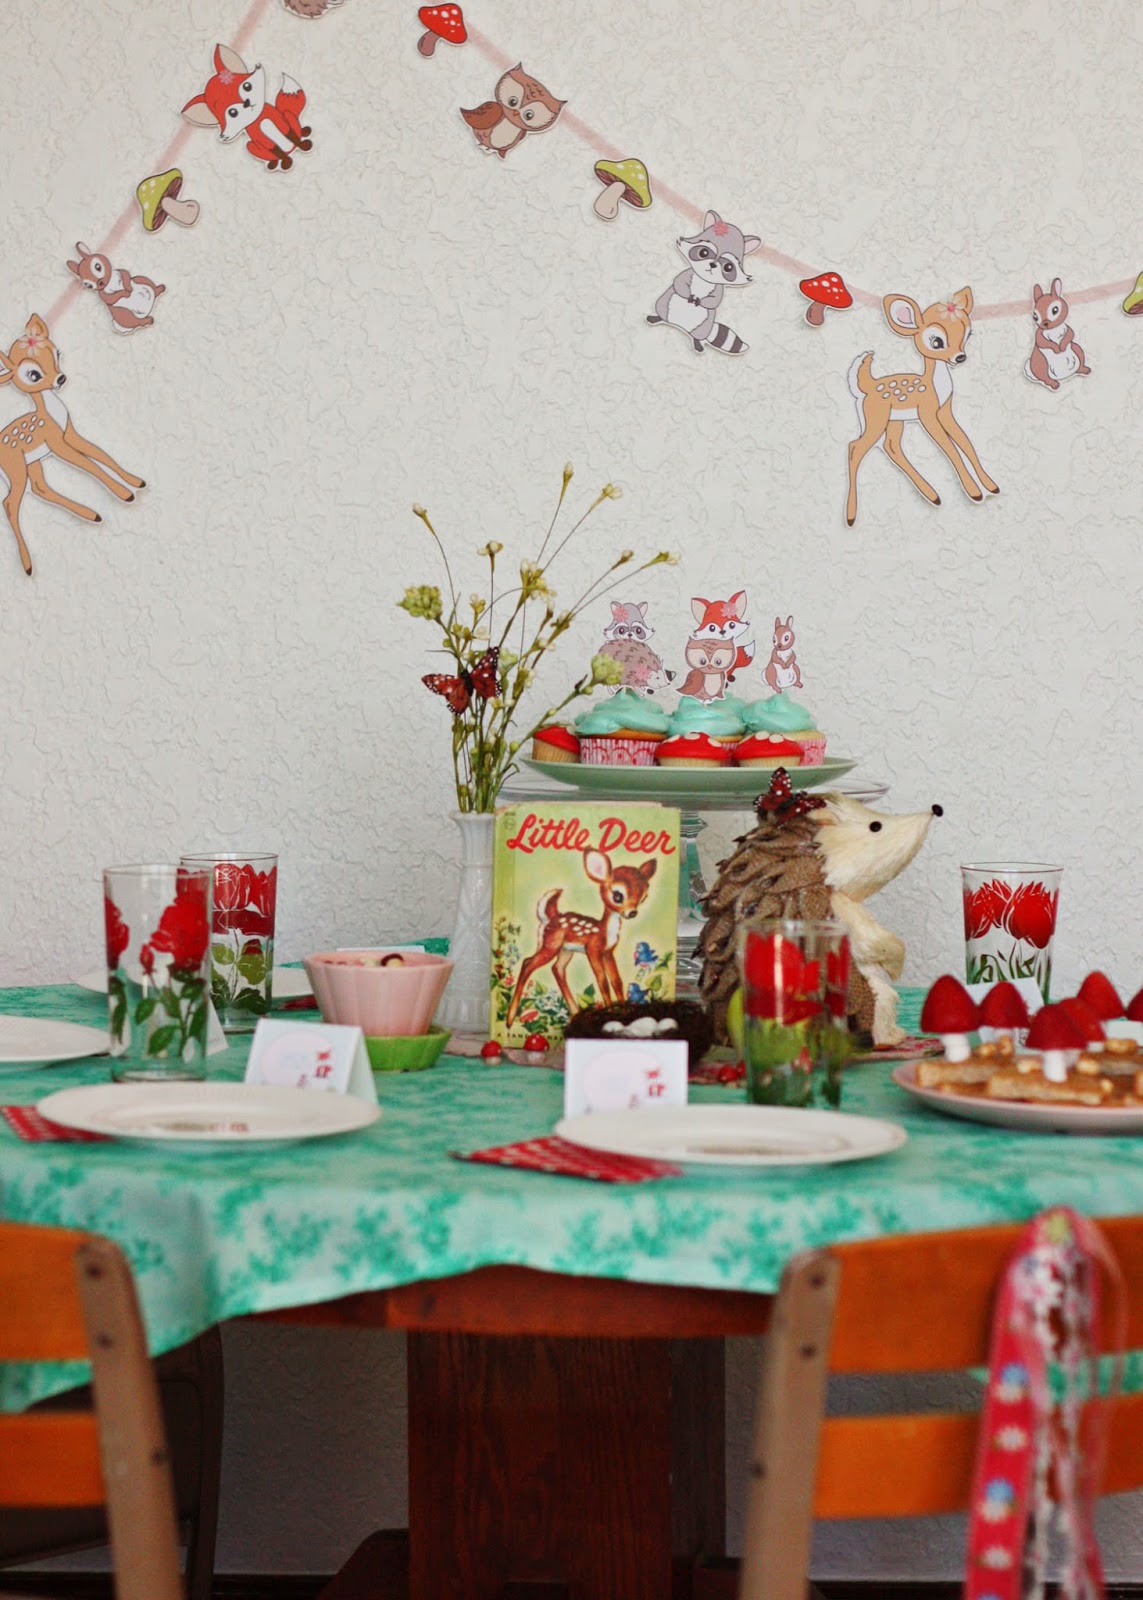
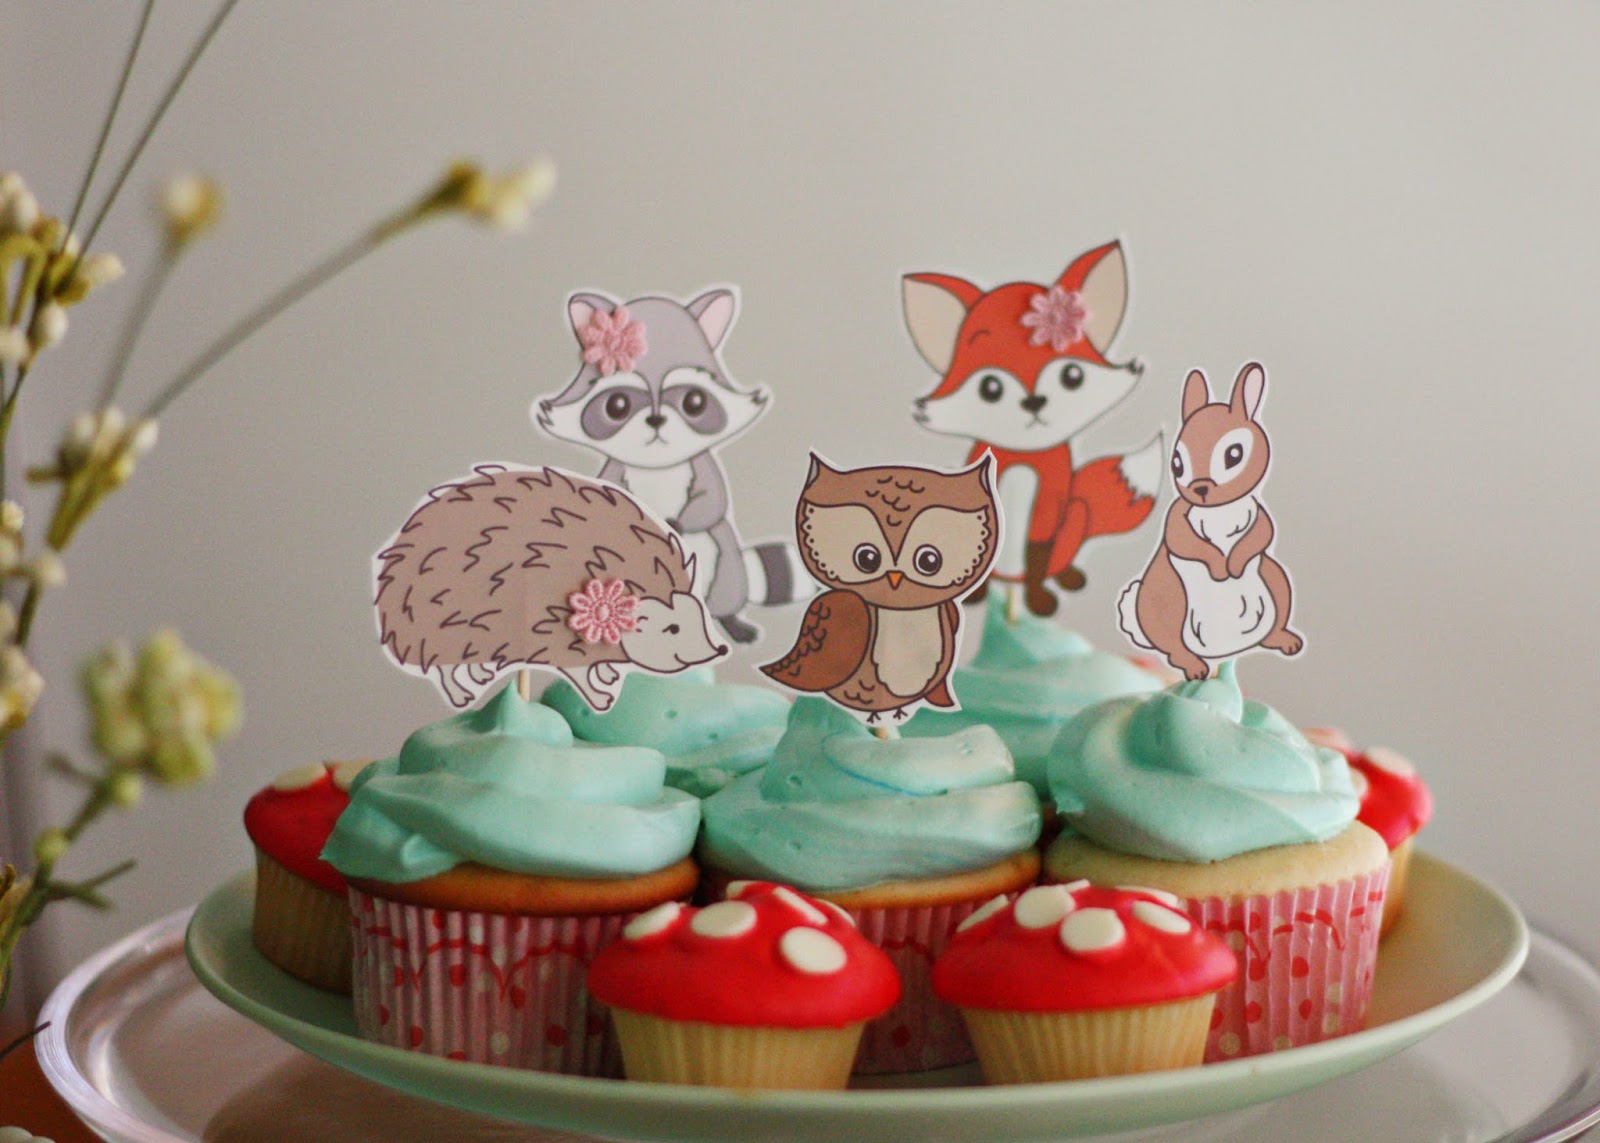
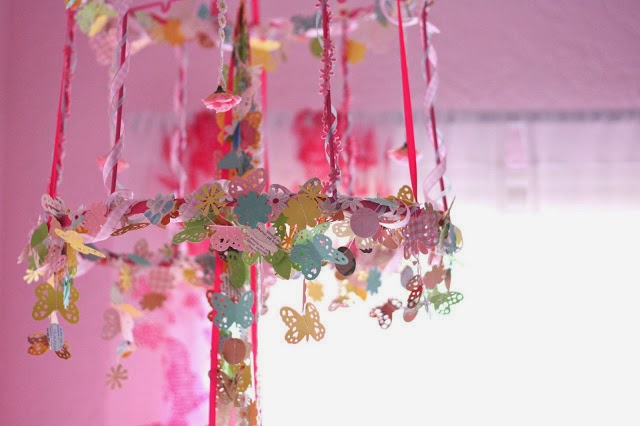
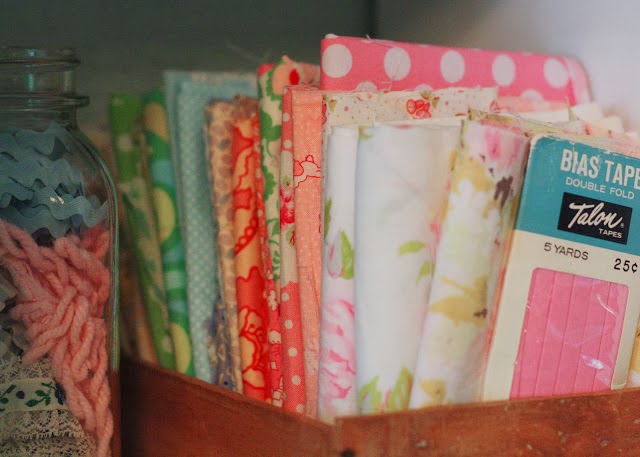
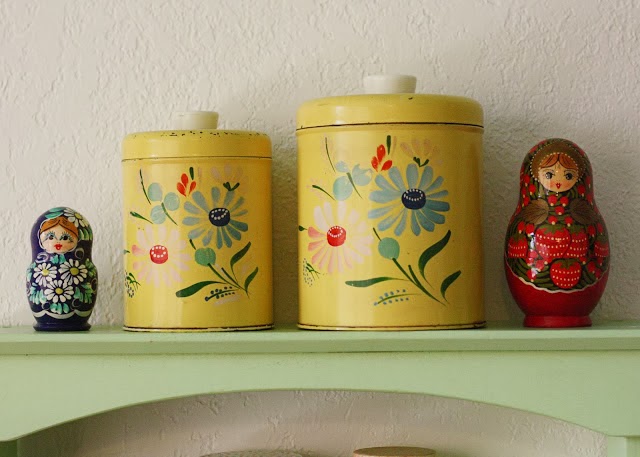
THE DECOR… girly, vintage, woodland style!


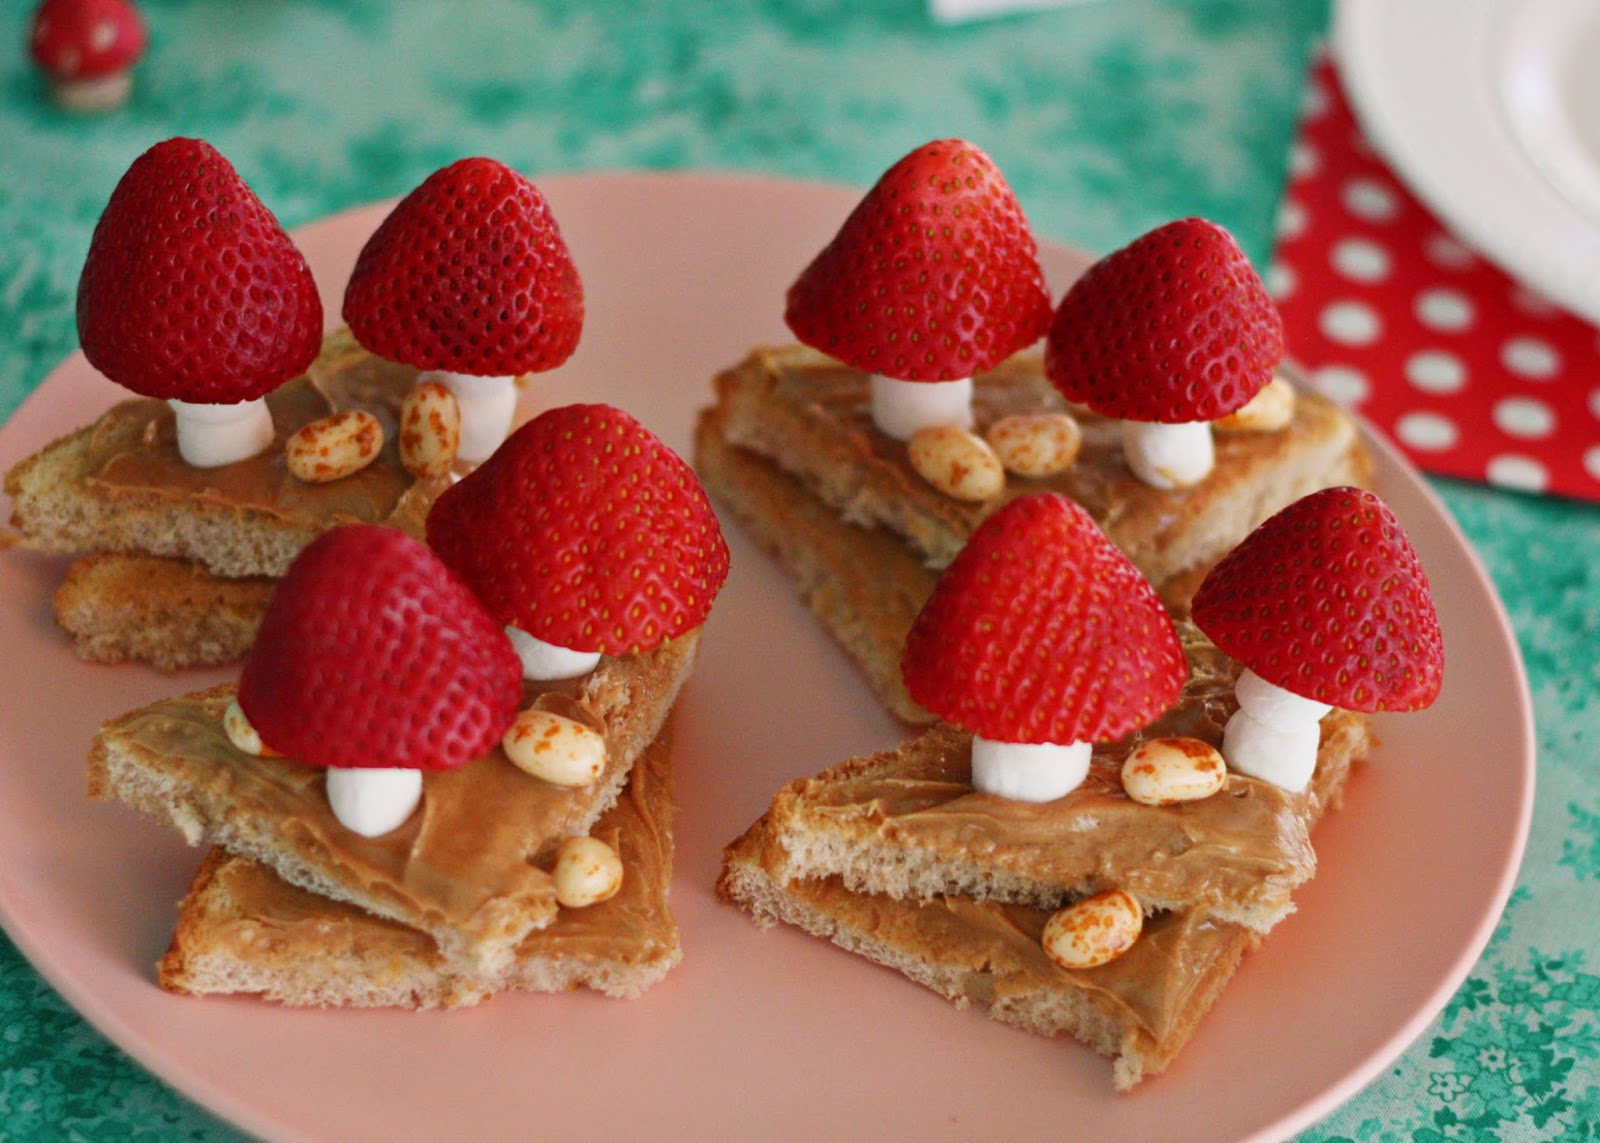
THE FOOD…cupcakes and strawberry marshmallow mushrooms!


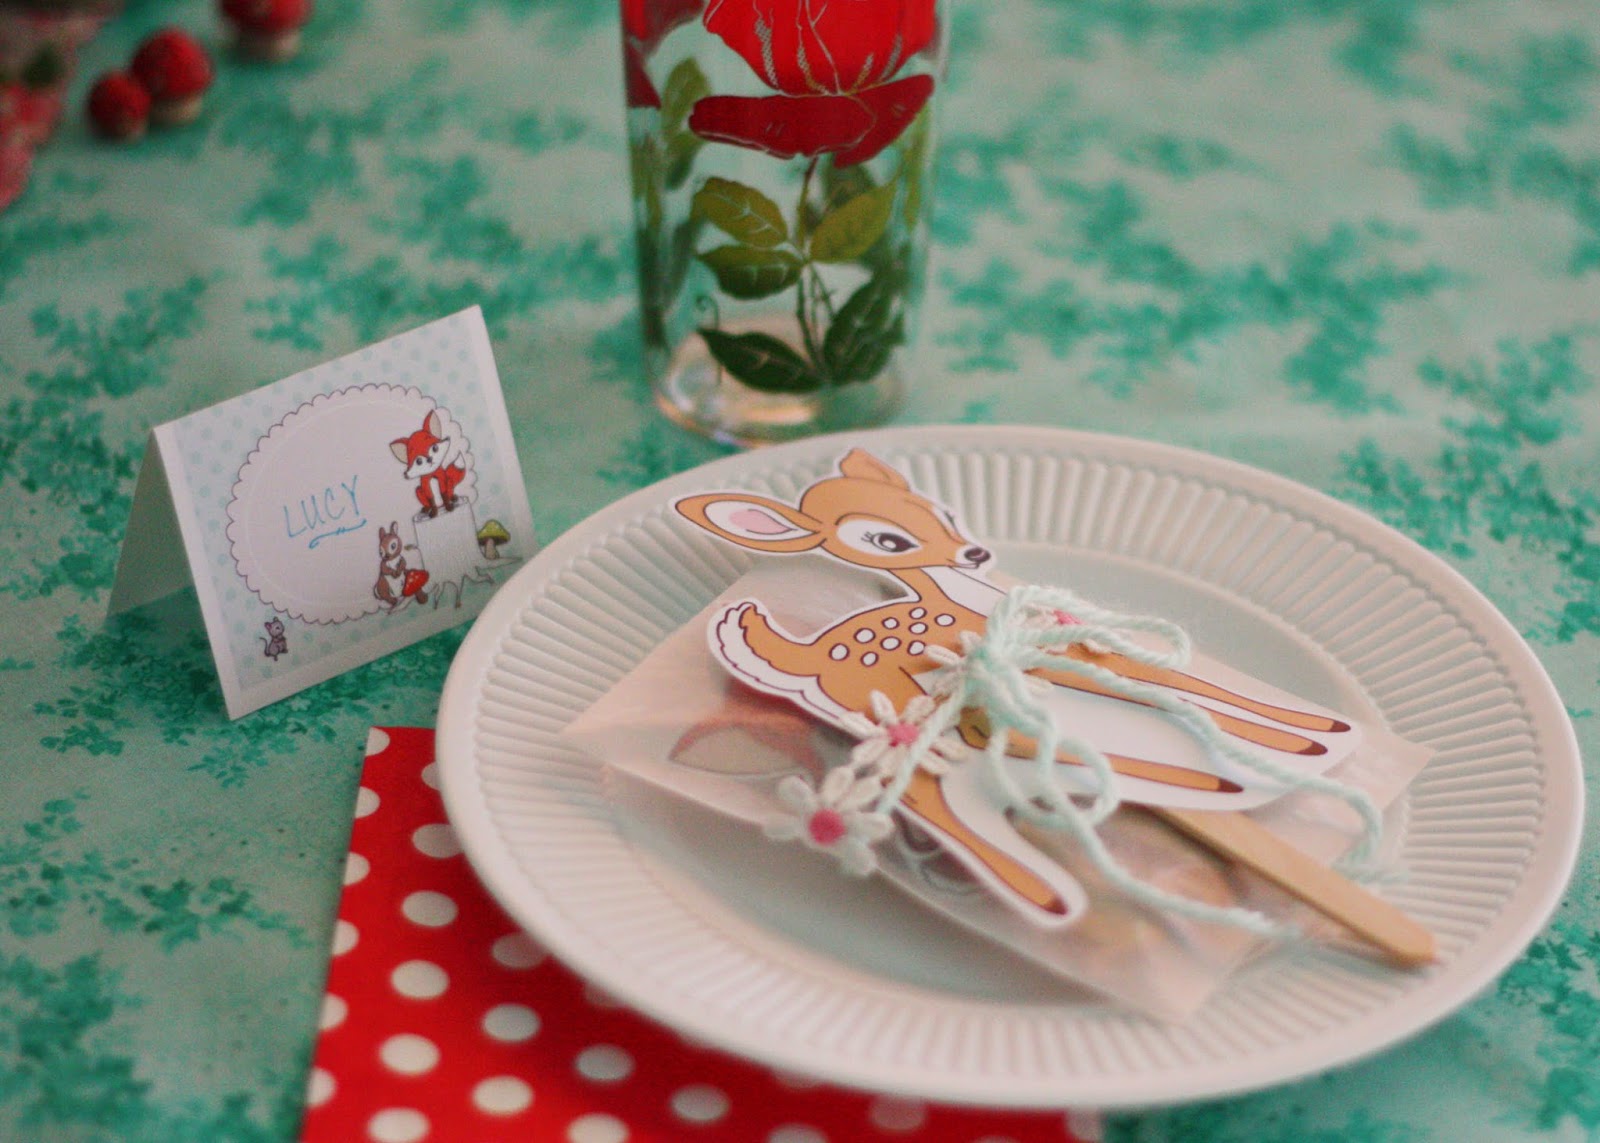
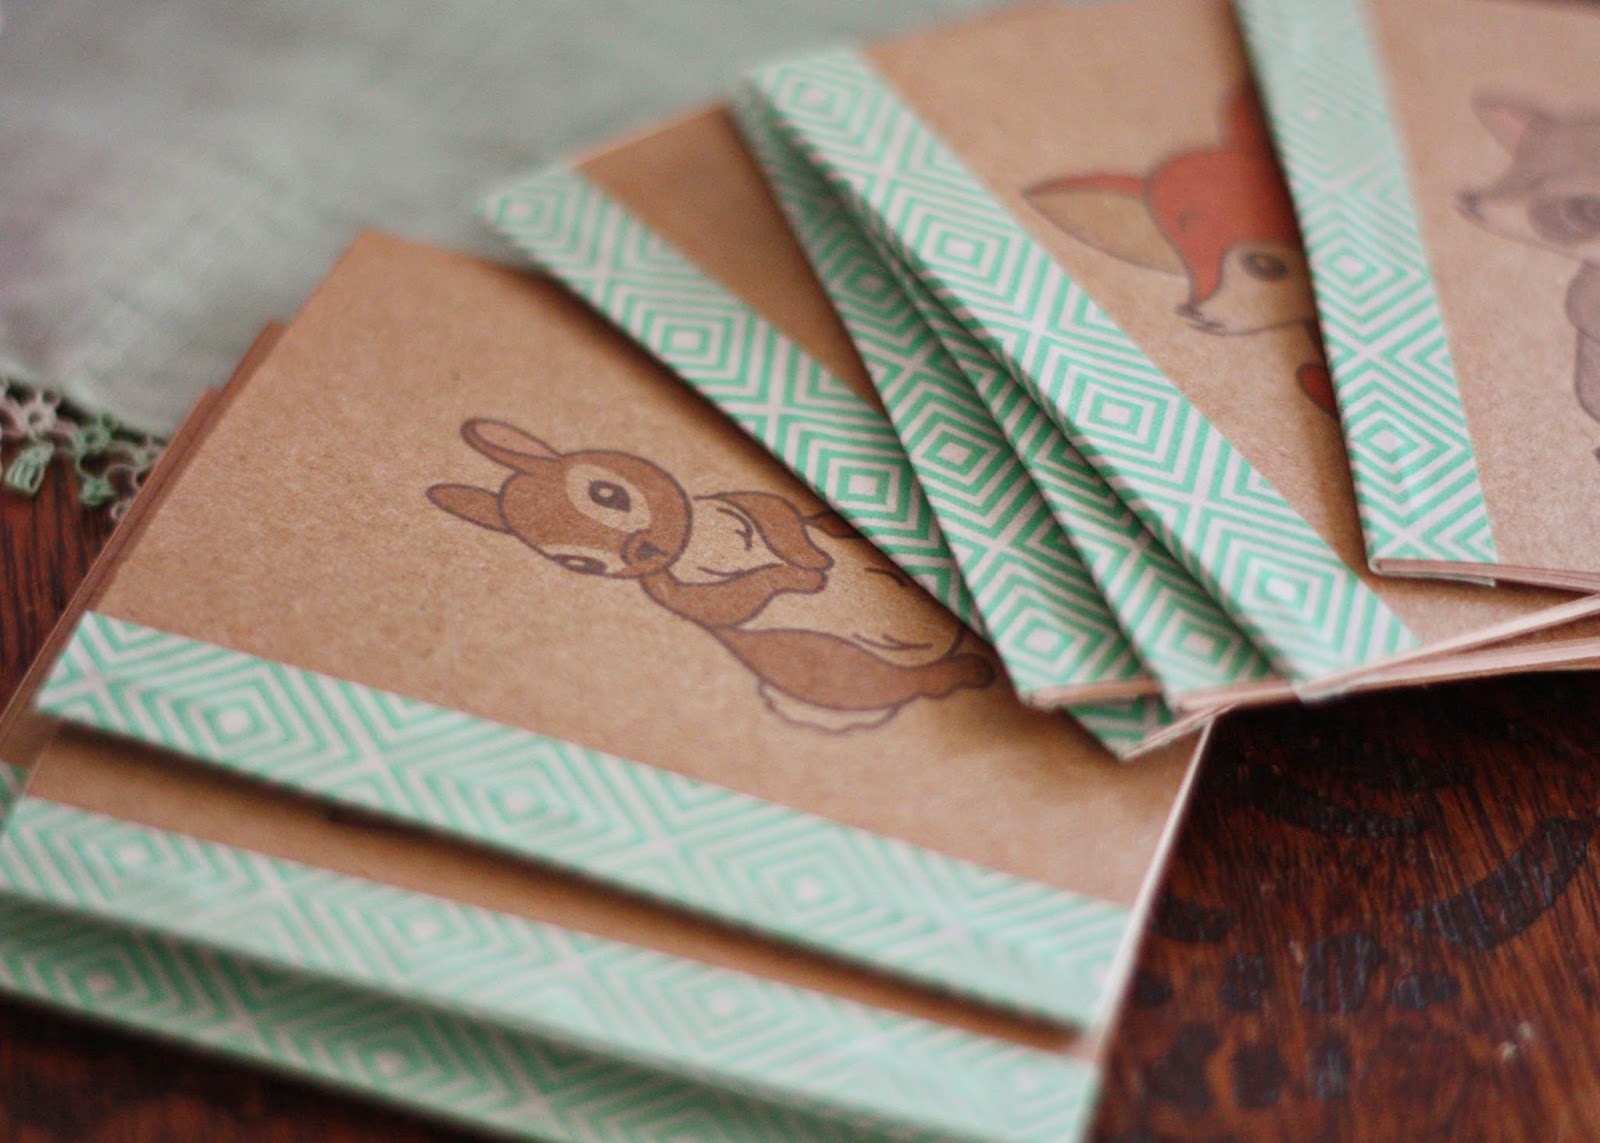
THE FAVORS… woodland critter puppets and mini notebooks!


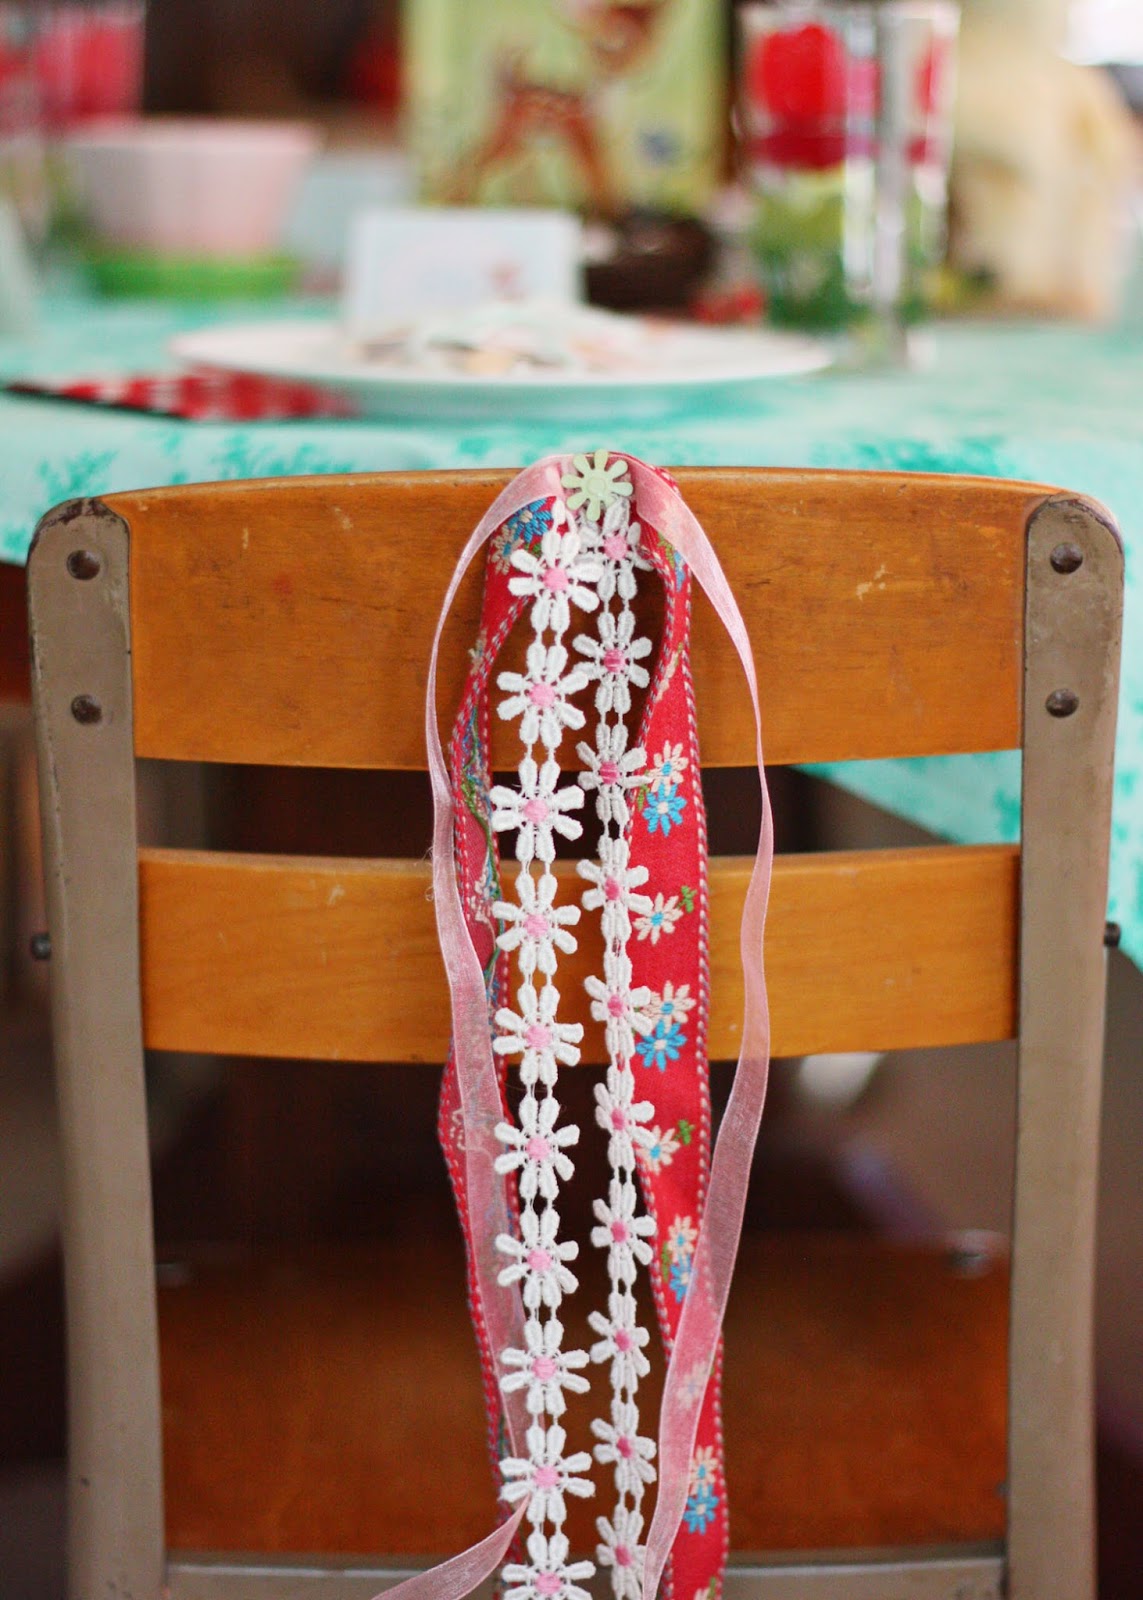
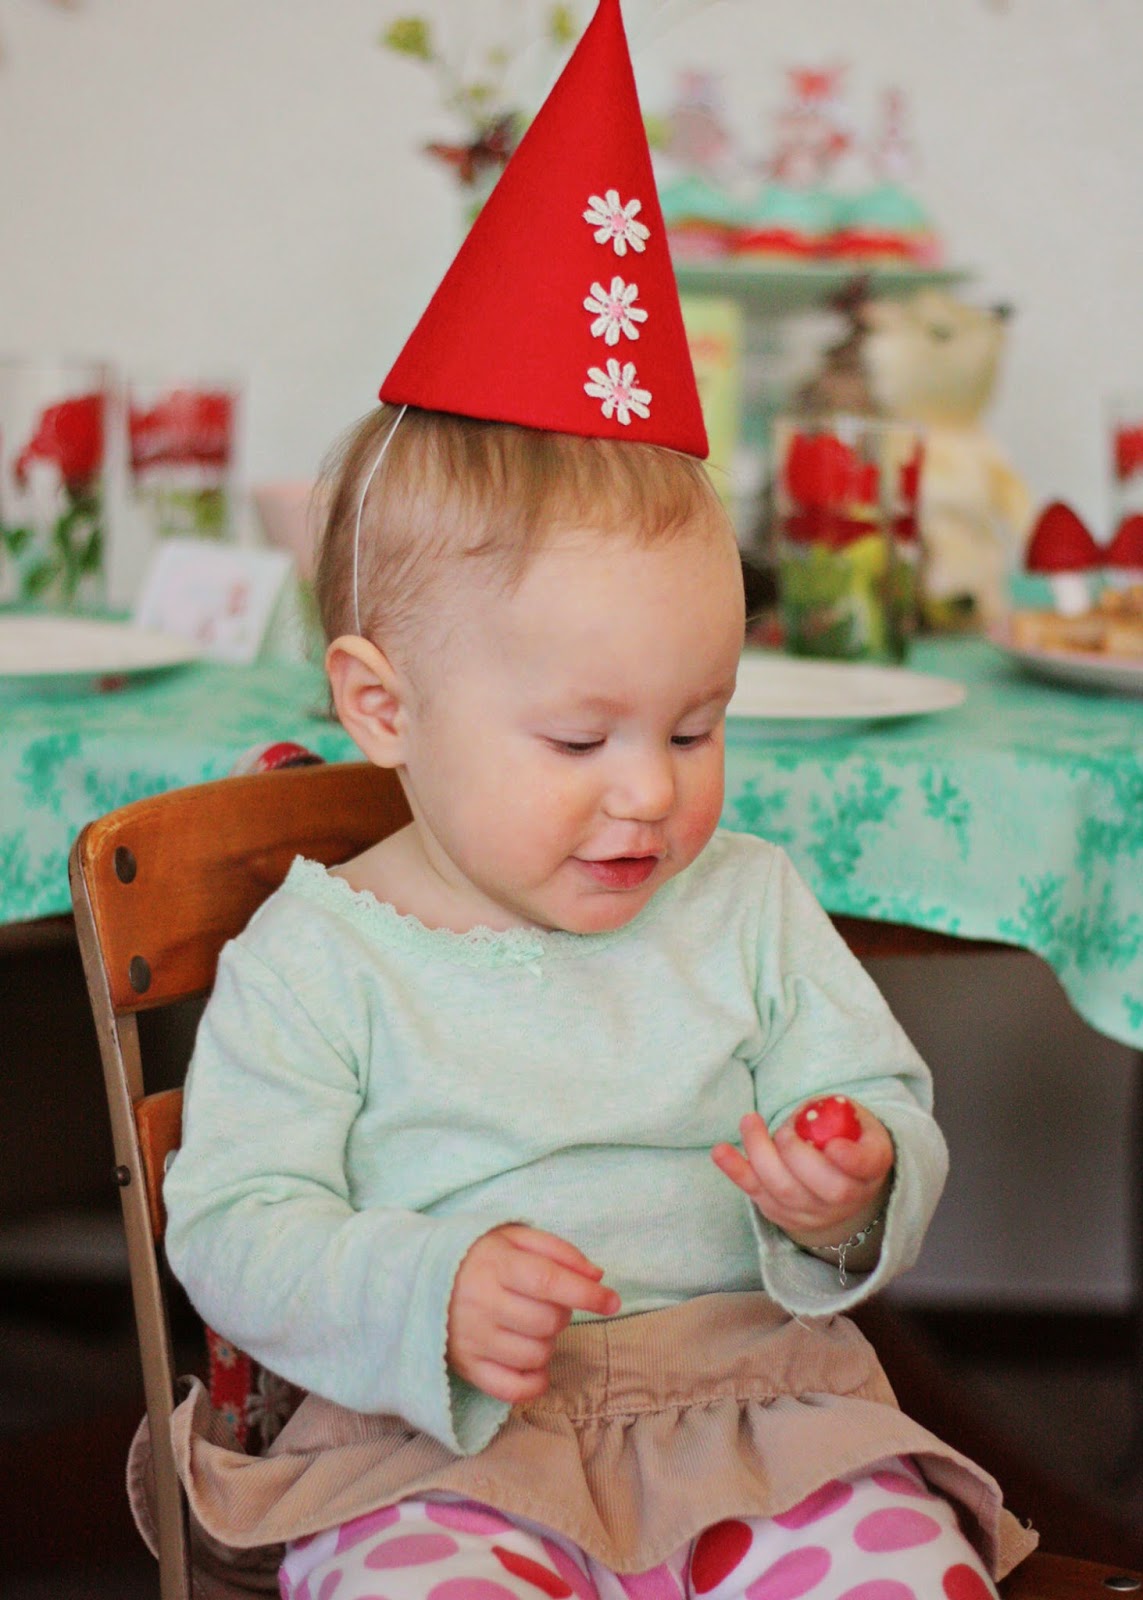
THE CUTE (soon-to-be) BIRTHDAY GIRL! … Lucy Lou… yes, that’s a gnome hat. he, he.


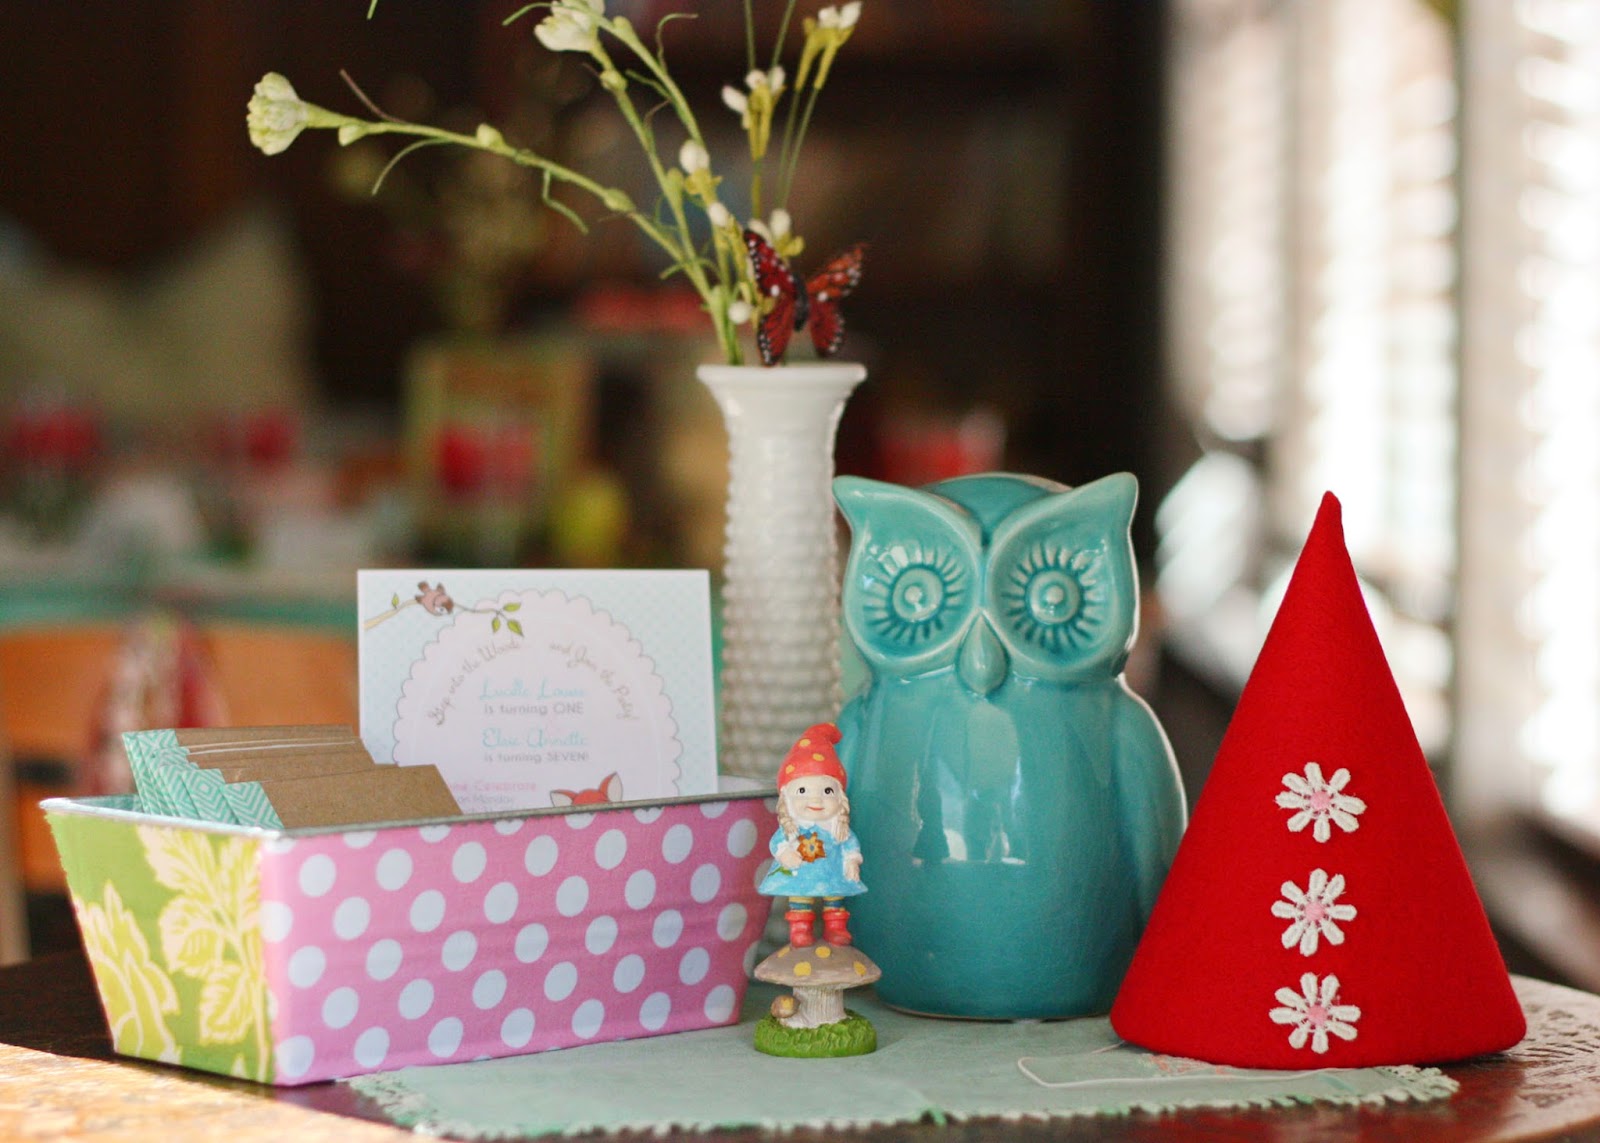
THE FREE PRINTABLES! … ’cause what’s a party without something to take home?!

Okay, so I also must tell you… that these crazy cute little woodland critter graphics that you see everywhere, are IN MY ETSY STORE!  I know… awesome, right!?  That means that you can make all this stuff too! 


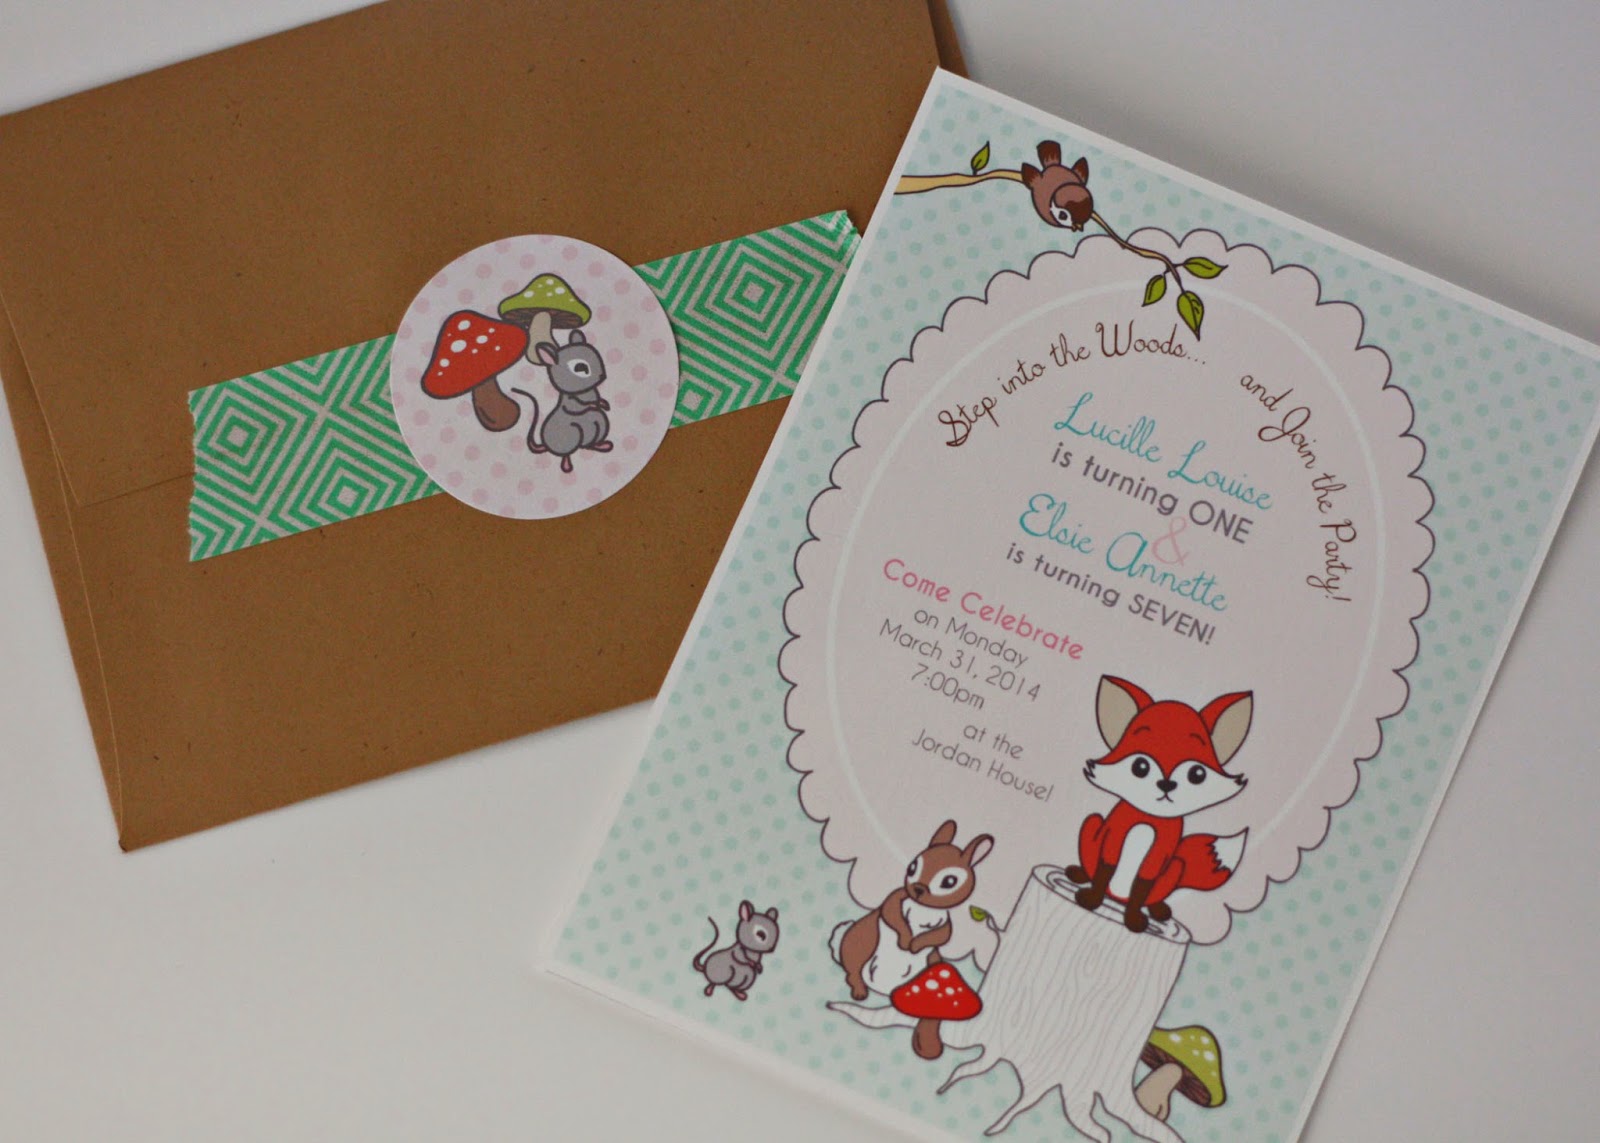
This is the invite I plan to use for the real party in a month… 
I made this blank version, below, for you! 
You can use it to make your own invites, signs, or even thank you notes!


* Just click on the image and save the .PNG file to your computer! 
You can use it just like a photo image… 

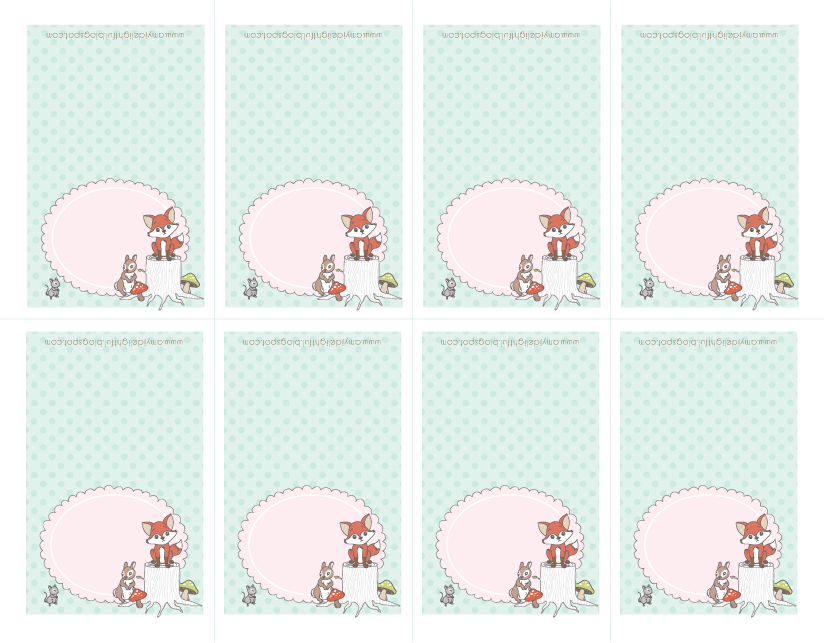
Then I also have some place cards for you!


**Please remember these printables are for personal use only.  May not be used for profit of any kind.  Files may not be distributed. Enjoy!


Okay… I’ve used up enough of Jaime’s blog space, y’all.  Time to say goodbye.  
But hey!  Come on over to my blog and say hi!  And don’t forget to go pick up some of your own woodland animal clip art in my store… and then get crazy creative 🙂

Blessings… 🙂

kay. don’t lie.
you eeeeeek.
i know you did! and those printables …
thank you sweet Amy!

guys the other thing is, if you haven’t been to her blog already
you need to hop over and see … it just got a super sweet makeover 
and everything is so fun to look at 
i’m like a kid in a candy shop when i’m there


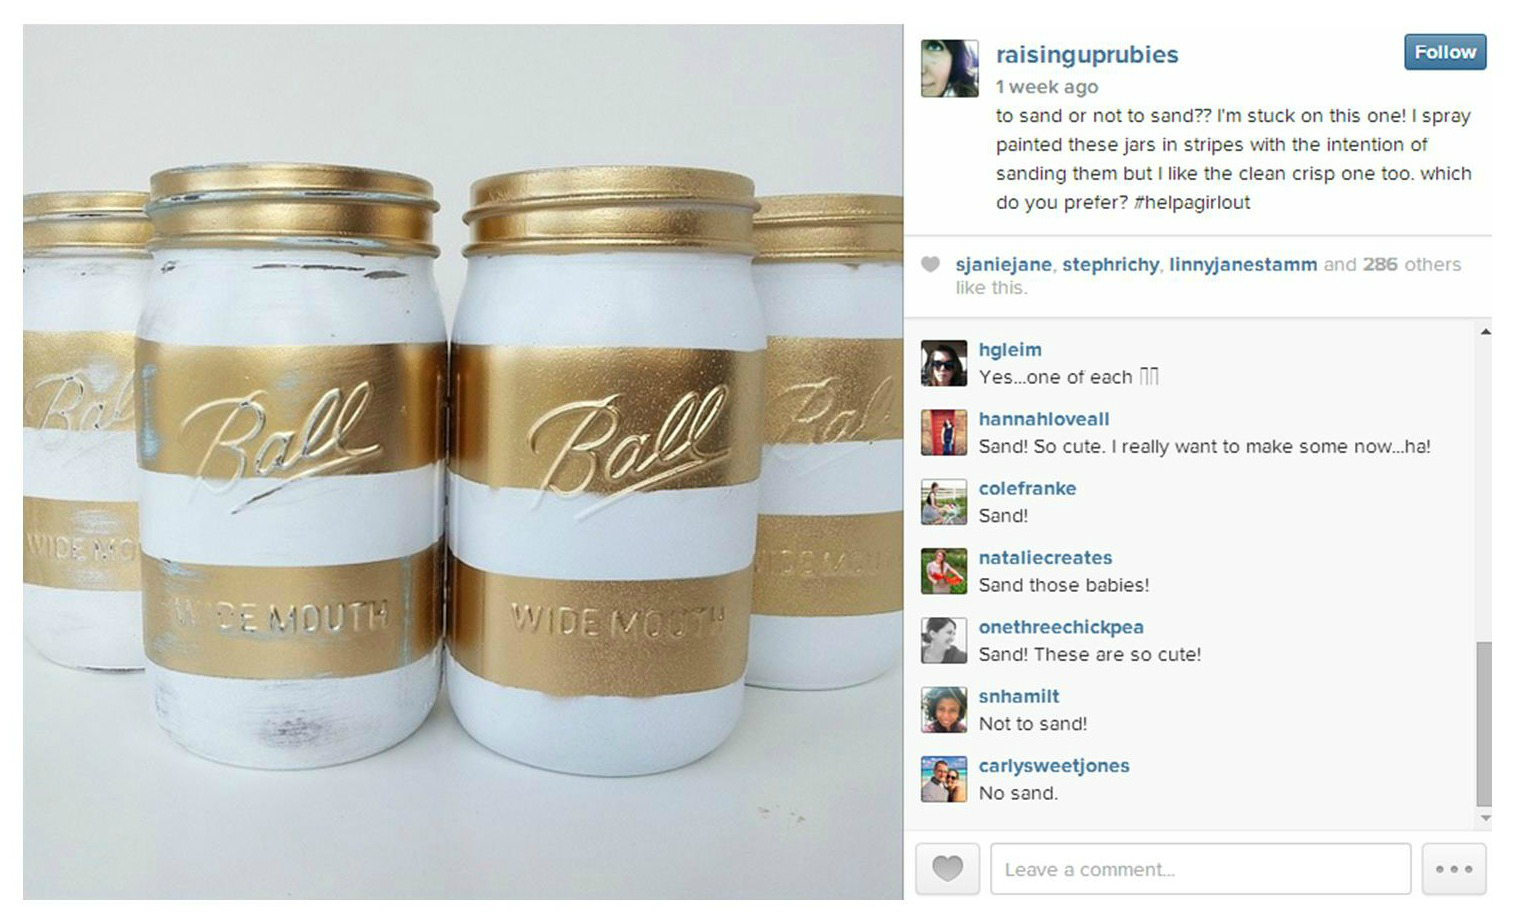
that little phone. i die.
kay i’ll stop.

but really, while you’re over there, spend some time in her home … 
you’ll find so much inspiration in every little space

i love looking at her pictures
it’s easy to see we are like minded … we love our families, we love our homes
and expressing our creativity in every room ♥
i love it when friends inspire & challenge you
to try new things. to think outside the box
dont’ you?

and make sure you pour another cup cause you’ll be there for a bit.

so about next week!
i’m super excited to finally finish and post about this menu plan thing 
that i’ve been workin on for like 10 years 
(kay not really, but it’s been forever)
(it’s just dragging on and on)
(and it’s really not complicated so i have no idea why)

but all that to say that AmyJ. and i put our heads together to bring you a whole set of printables & a simple plan to keep meal planning easy
and more importantly super cute ♥

they are to adorable & affordable to say no to


 … and next week we’ll have a few freebies for ya 
cause we really love & appreciate you guys. 
like a lot. 
yeah.
i’m so excited about this!
(can you tell)
see you next week!